QNAP Hybrid Backup Sync
Intro
QNAP Hybrid Backup Sync is a comprehensive data backup and disaster recovery solution for QNAP NAS. It integrates backup, restoration and synchronization functions to provide a flexible and efficient way to safeguard important data. Hybrid Backup Sync supports local, remote, and cloud backup storage options, allowing users to create a secure and reliable backup plan that meets their specific needs.
Prerequisites
First, you need to get your access key and secret key, from the Cubbit Web Console or https://console.[your-tenant].cubbit.eu. Please follow these instructions on how to get started with a Cubbit account and generate these keys.
Installation
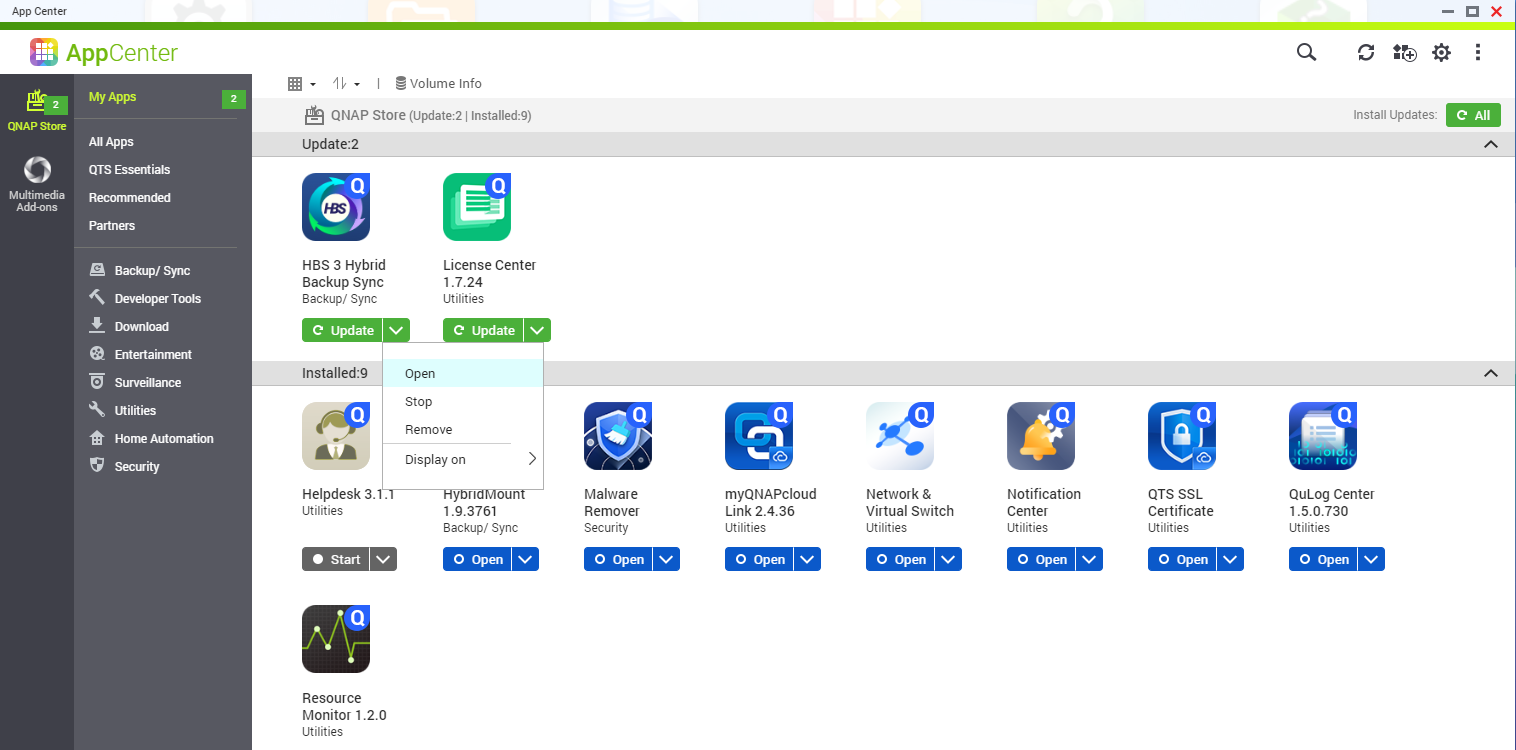
To install QNAP Hybrid Backup Sync you can proceed directly from the QNAP AppCenter.
Configuration
Launch Hybrid Backup Sync and select Backup & Restore. Click on Create and then on New backup job:

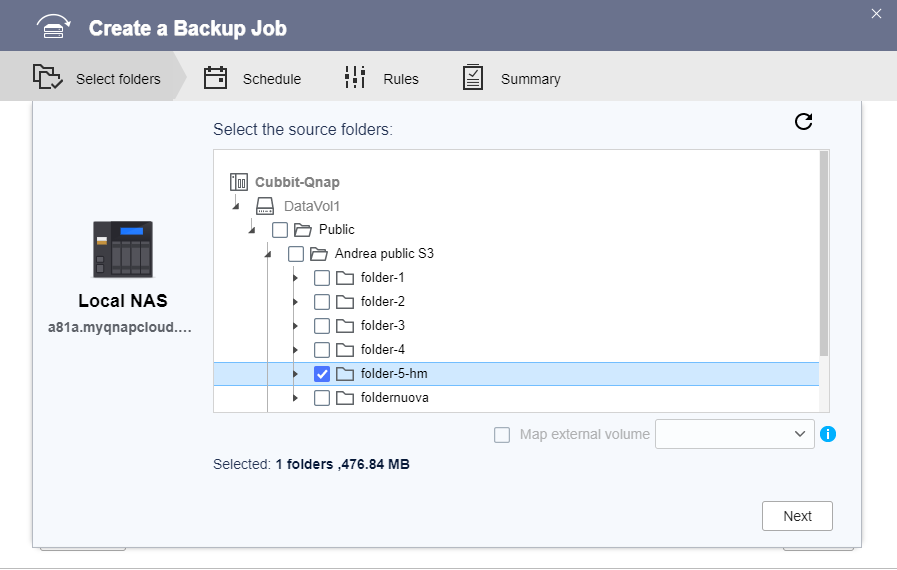
Select the folders you want to back up and click on Next:
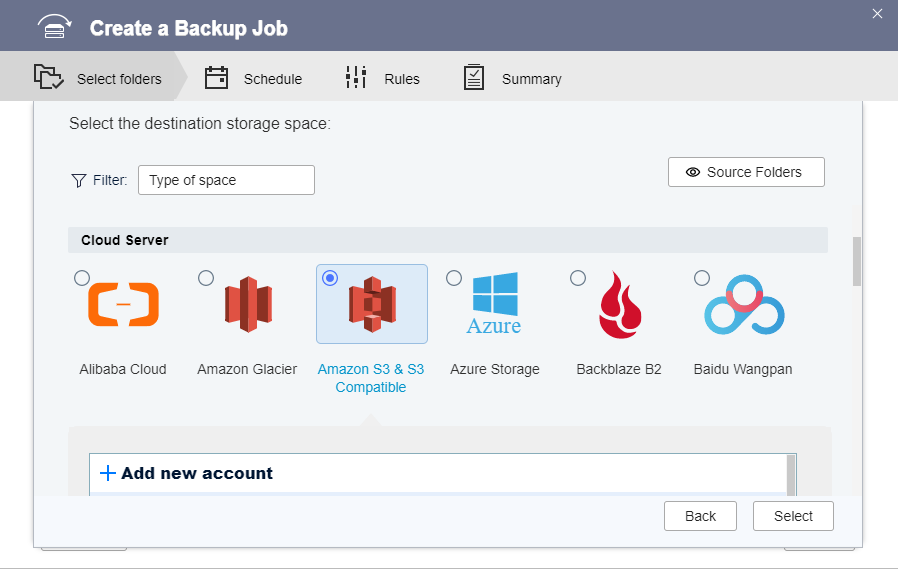
On the next screen select the backup destination. In this case, our destination will be Cloud Server - more specifically S3 Compatible, then click on Add new account:
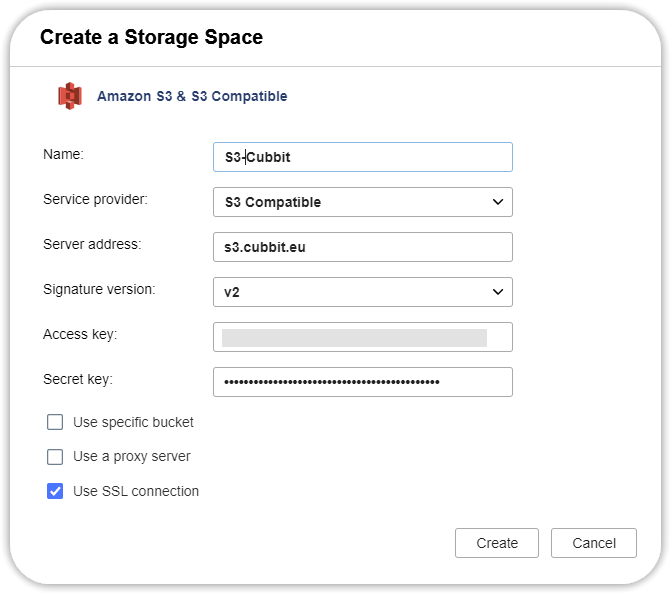
On the S3-Compatible object storage configuration page, fill in the fields as follows:
- Service provider: S3 Compatible
- Server address:
s3.cubbit.euor if you have a custom tenants3.[your-tenant].cubbit.eu - Signature version:
v2 or v4 - Access key and Secret key are the keys that can be created from the Cubbit web control interface (as outlined in the Prerequisites)
- Check the box
Use SSL connection - Then, click on Create:
How to
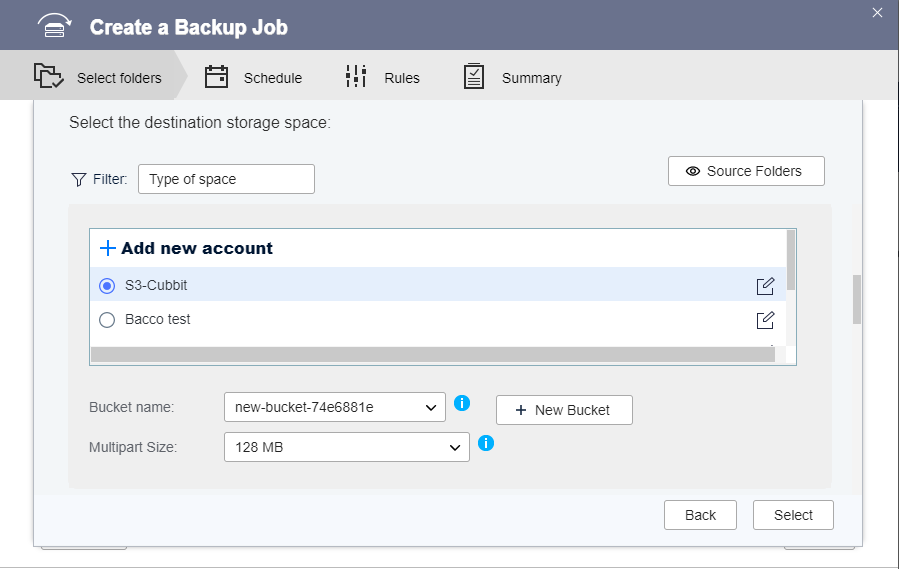
Once the S3 Cubbit endpoint is configured, the backup job can be created:
- Select the newly created S3 endpoint (S3-Cubbit) from the list.
- Bucket name: select a previously created bucket or click on new bucket to create a new bucket immediately.
- Multipart Size: you can leave the default value at 128 MB.
- Then, click on Select.
The value of 128 MB refers to the single part that makes up the multipart upload. Setting this value to 128 MB will theoretically allow uploading up to 1.28 TB maximum size per single file since the maximum number of parts that make up a multipart upload is 10,000. Increase this value if you plan to upload single files larger than 1.28 TB in size.
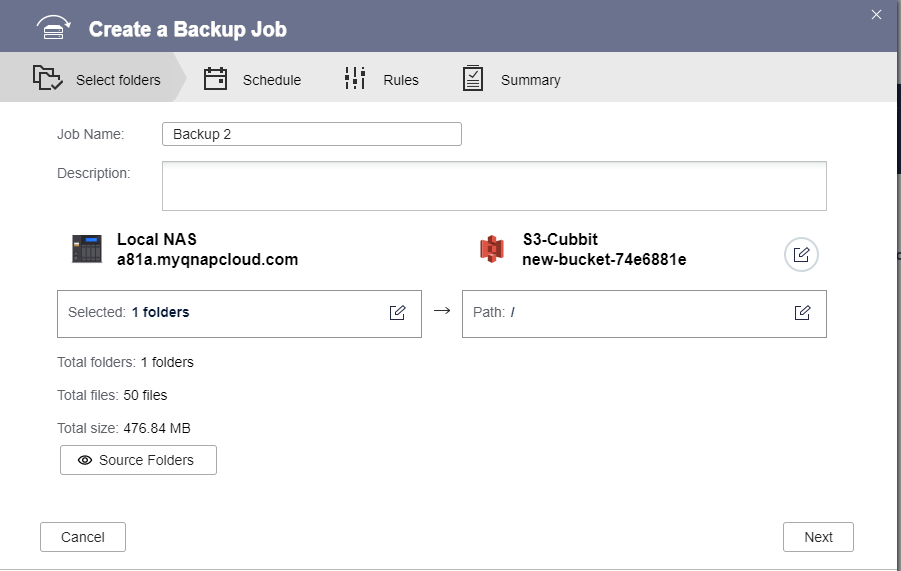
Choose the destination path within the previously selected bucket. Leave blank if desired. Press Next:
Check the Back Up Now box if you want to start the backup after the job creation or schedule a preferred date and time. Press Next:

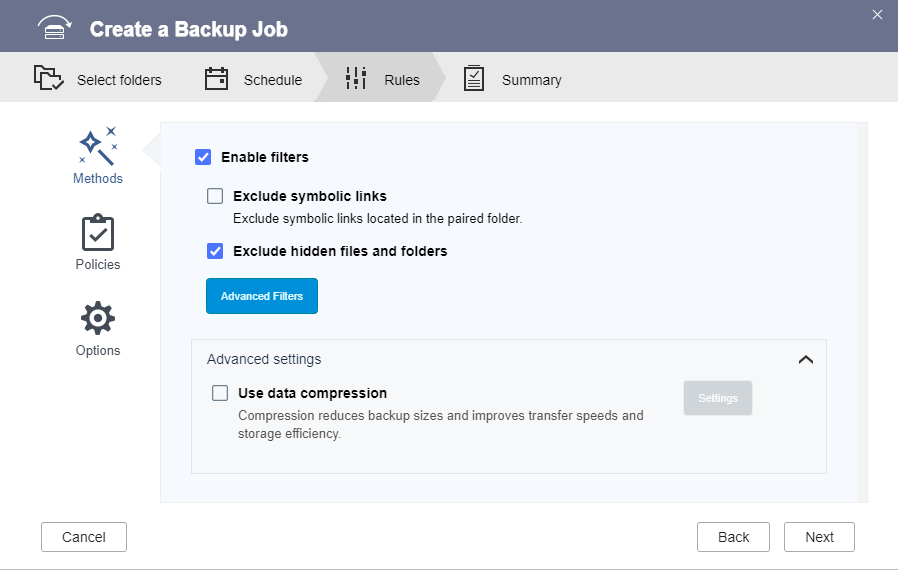
Set any filters and exceptions on the extensions of the files to be backed up, if needed. Press Next:
Confirm the creation of the backup job by clicking on Create:
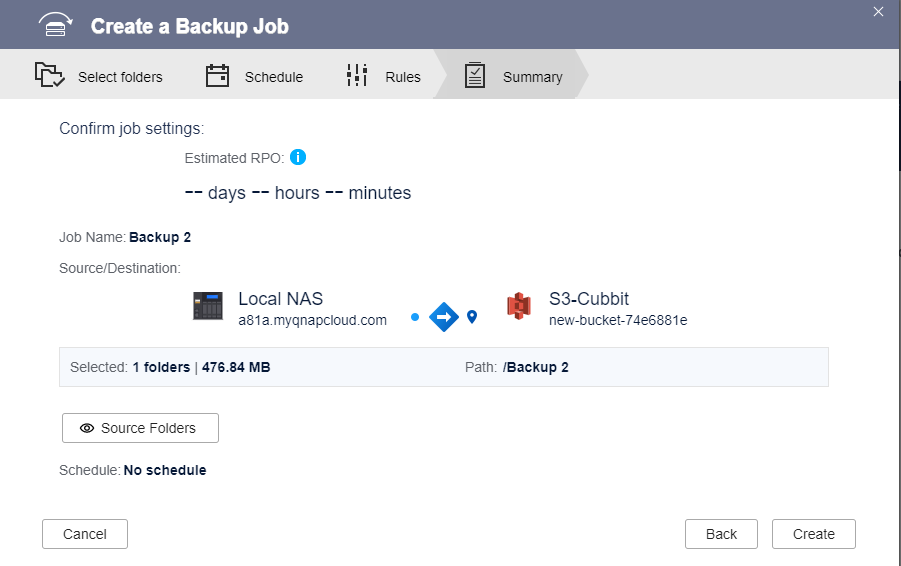
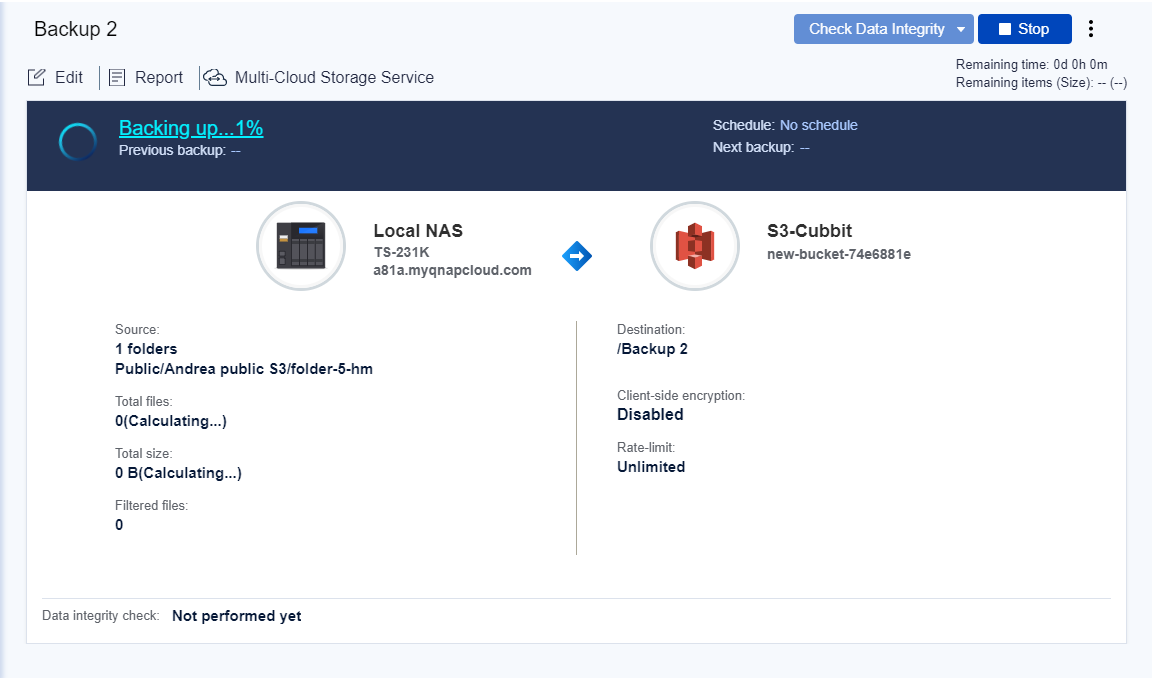
The backup job will start immediately and your data will begin to be transferred to Cubbit S3:
For more information on using QNAP products please visit the official documentation page.