FileZilla Pro
Intro
FileZilla Pro is a fast and reliable cross-platform FTP, FTPS and SFTP client with a user-friendly interface and advanced features. It supports multiple protocols for transferring files to and from remote servers, including Amazon S3, Backblaze B2, Dropbox, Google Cloud Storage, Google Drive, Microsoft Azure, Microsoft OneDrive, OpenStack Swift and Cubbit.
Prerequisites
First, you need to get your access key and secret key, from the Cubbit Web Console or https://console.[your-tenant].cubbit.eu. Please follow these instructions on how to get started with a Cubbit account and generate these keys.
To be able to use the S3 object storage protocol, you need a FileZilla Pro license. The standard version does not allow the use of the S3 protocol.
It is very important to use FileZilla Pro 3.62.2 or higher.
Installation
You can download and install FileZilla Pro by visiting the official site.
Configuration
From the top navigation panel select Edit, then click on Settings.
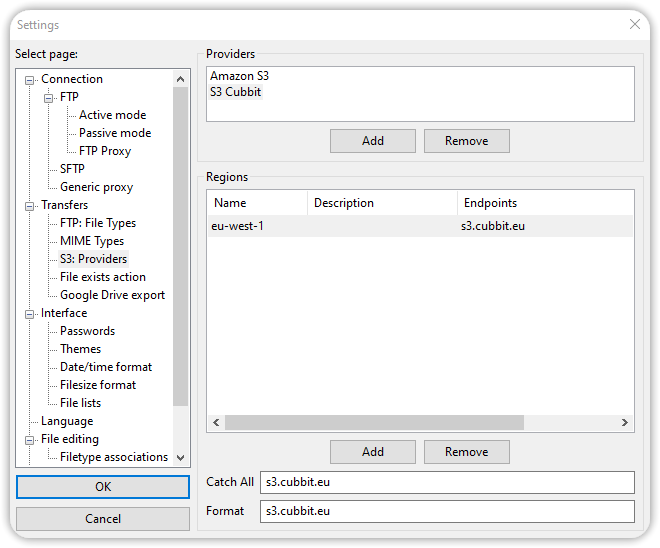
In the new window that will open, click on S3: Providers within the Transfers section. Click on Add and name the new S3 provider.
Fill in the Regions section with the following values:
- Name:
eu-west-1 - Description:
leave blank - Endpoints:
s3.cubbit.euor if you have a custom tenants3.[your-tenant].cubbit.eu.
At the bottom, in the Catch All and Format fields enter s3.cubbit.eu. Finally, click on OK.
Now that we have defined the new S3 provider we can enter the information to create the connection to the Cubbit S3 Object Storage service.
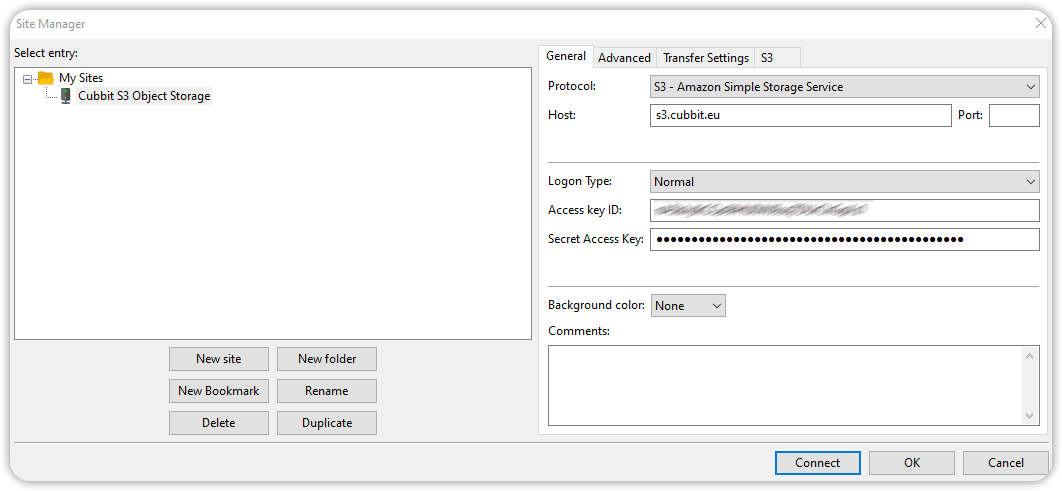
Select File from the top pane and click Site Manager. In the window that will open click on New site and name the connection.
Enter the following values:
- Protocol:
S3 - Amazon Simple Storage Service - Host:
s3.cubbit.eu - Port:
leave blank or enter port 443 - Logon Type:
leave the default valueNormal. Access Key IDandSecret Access Key: these are the keys that can be created from the Cubbit web control interface (as outlined in the Prerequisites)
Finally, press OK to save the newly created configuration.
The configuration of FileZilla Pro is now complete.
How to
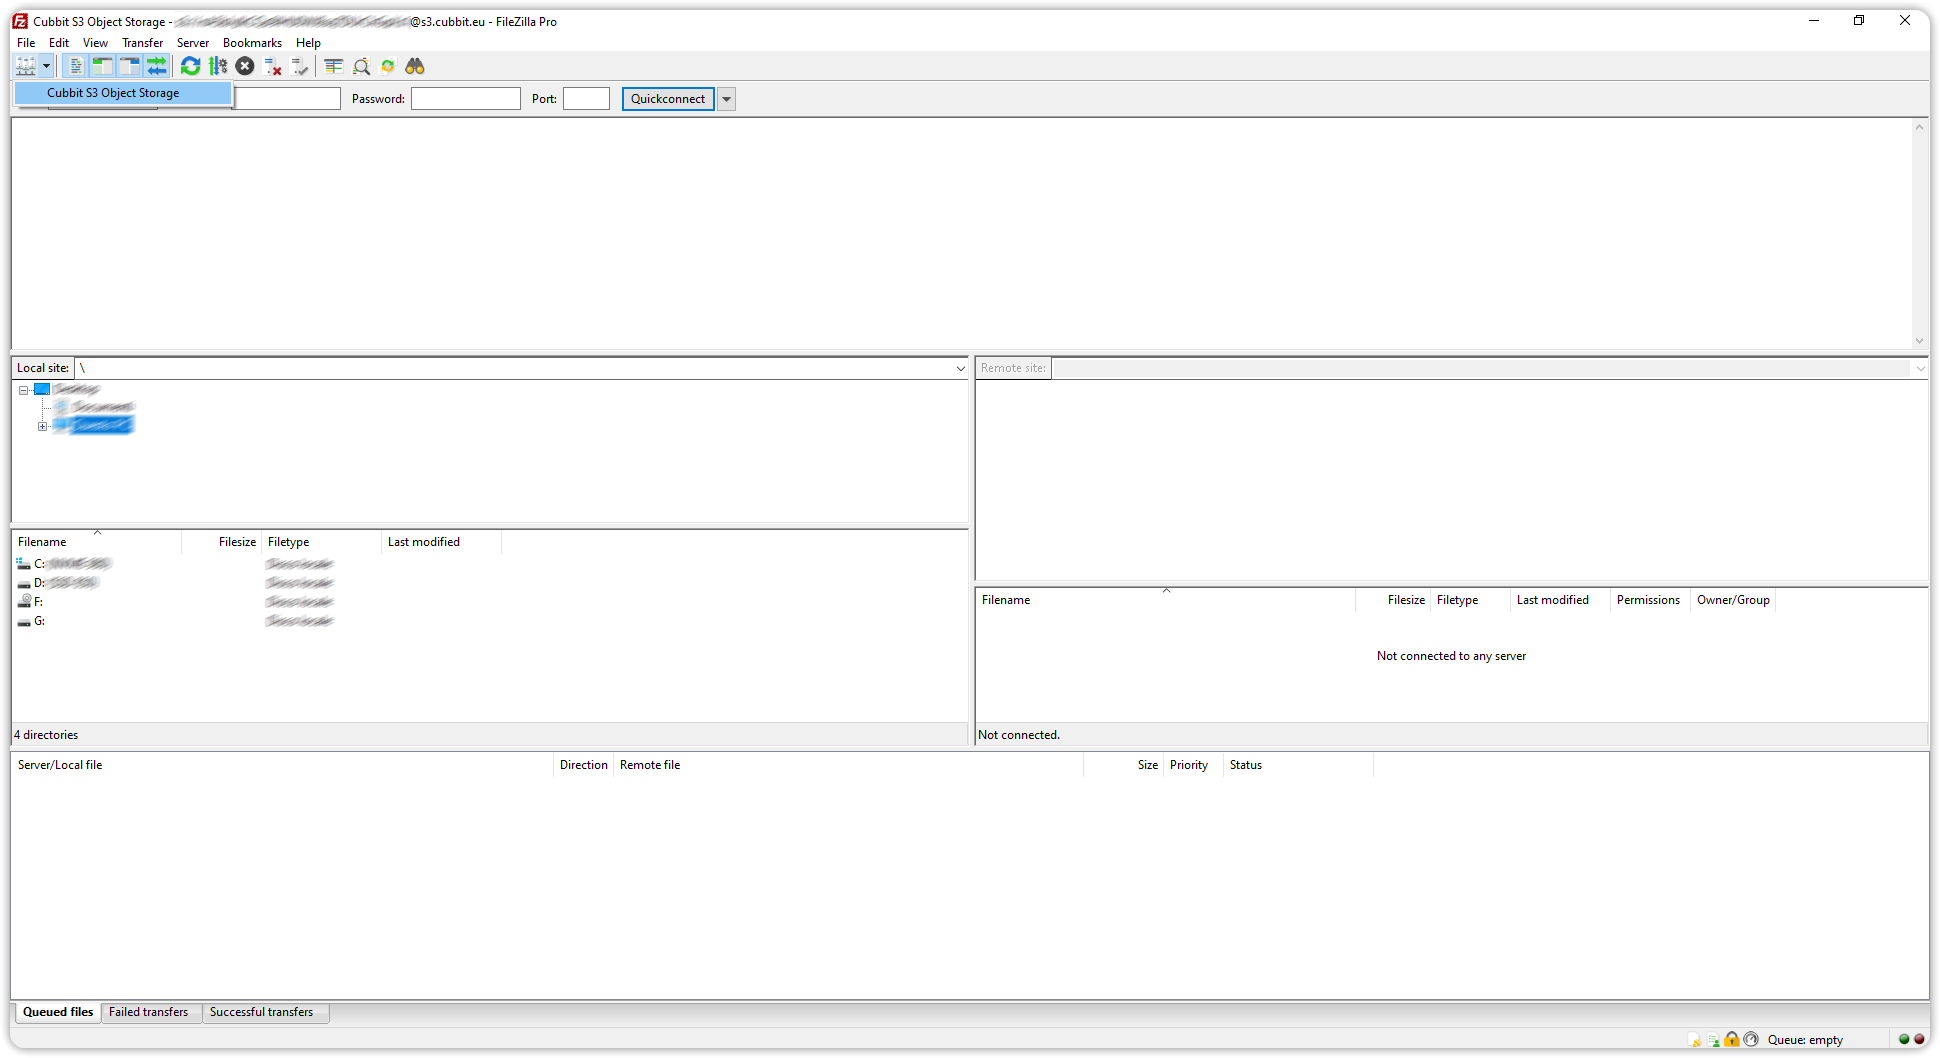
Once the FileZilla Pro configuration is completed, we can proceed with the connection. Click on the icon located under File in the upper left corner.
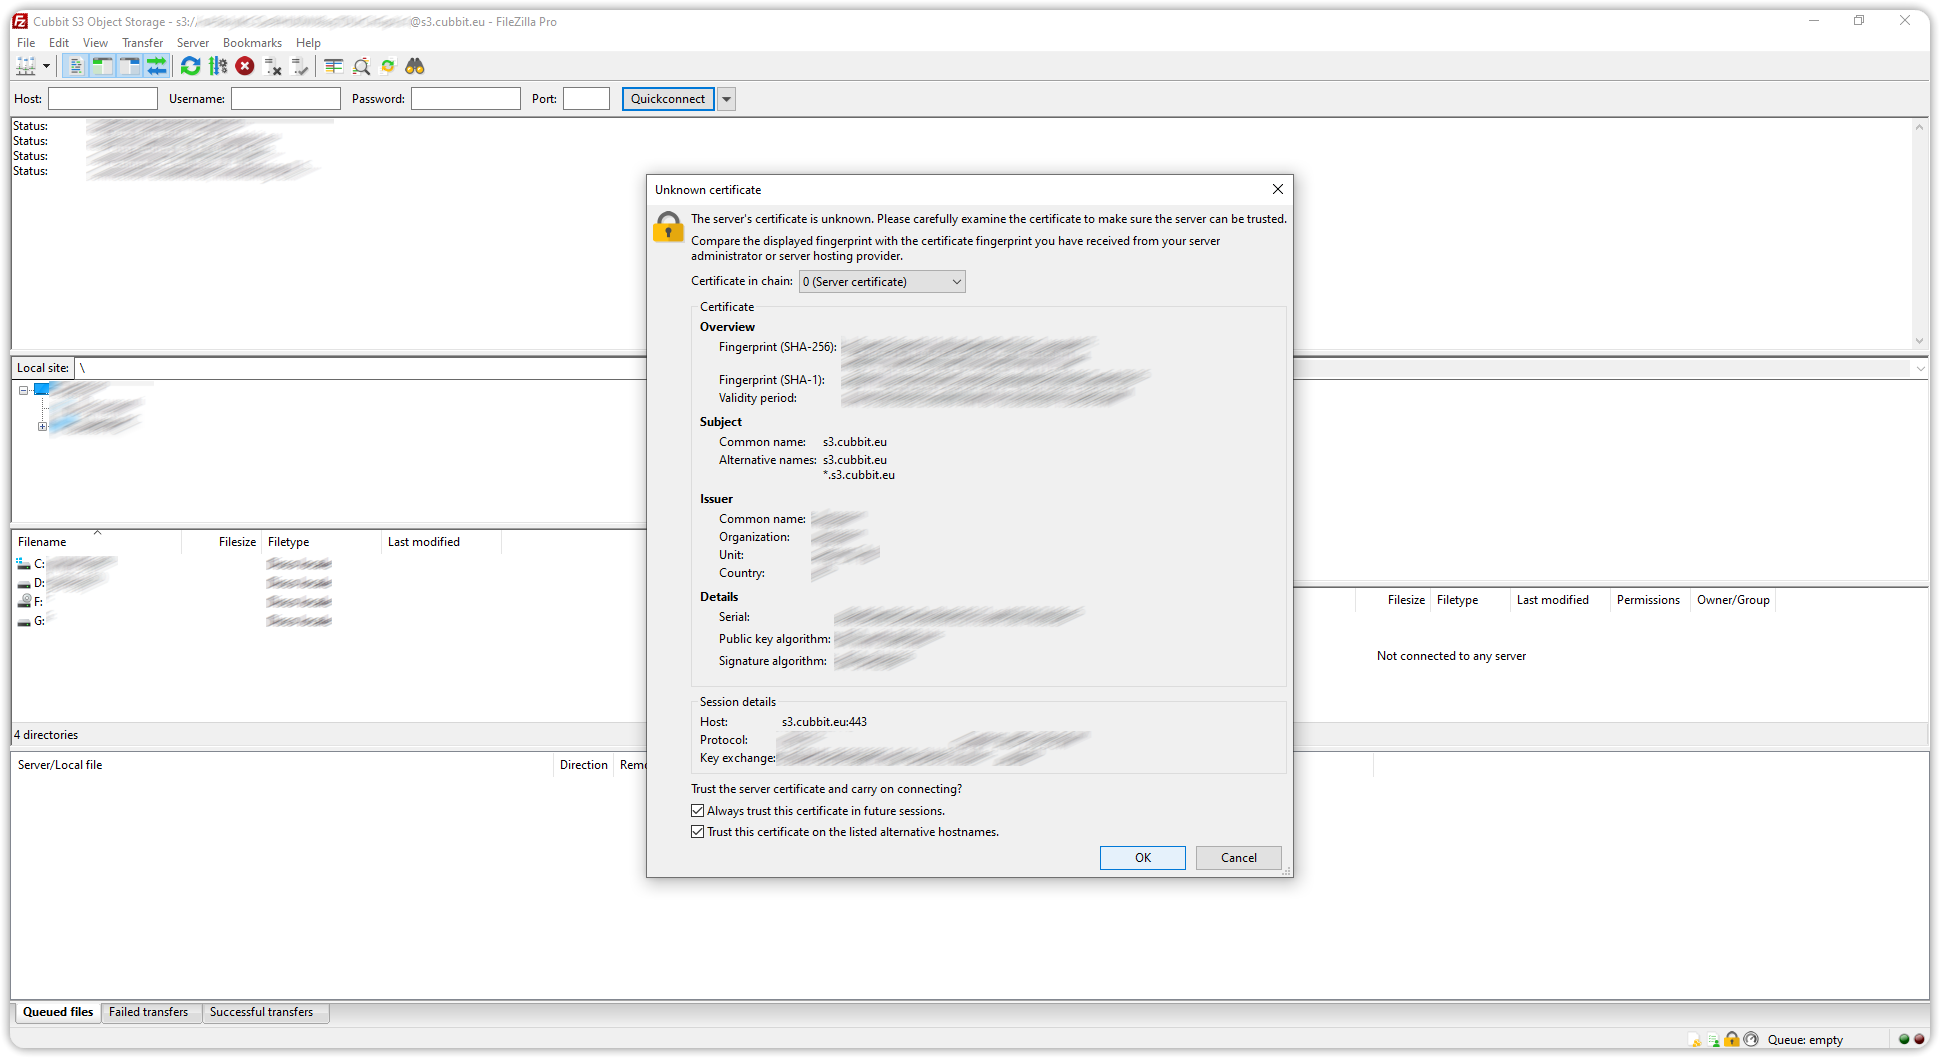
You will be asked to accept the Fingerprint Certificate (SHA-256) for authentication only the first time the connection with Cubbit S3 is established. Click on OK.
The connection will be established and you will see the buckets you have created from the Cubbit Web Console.
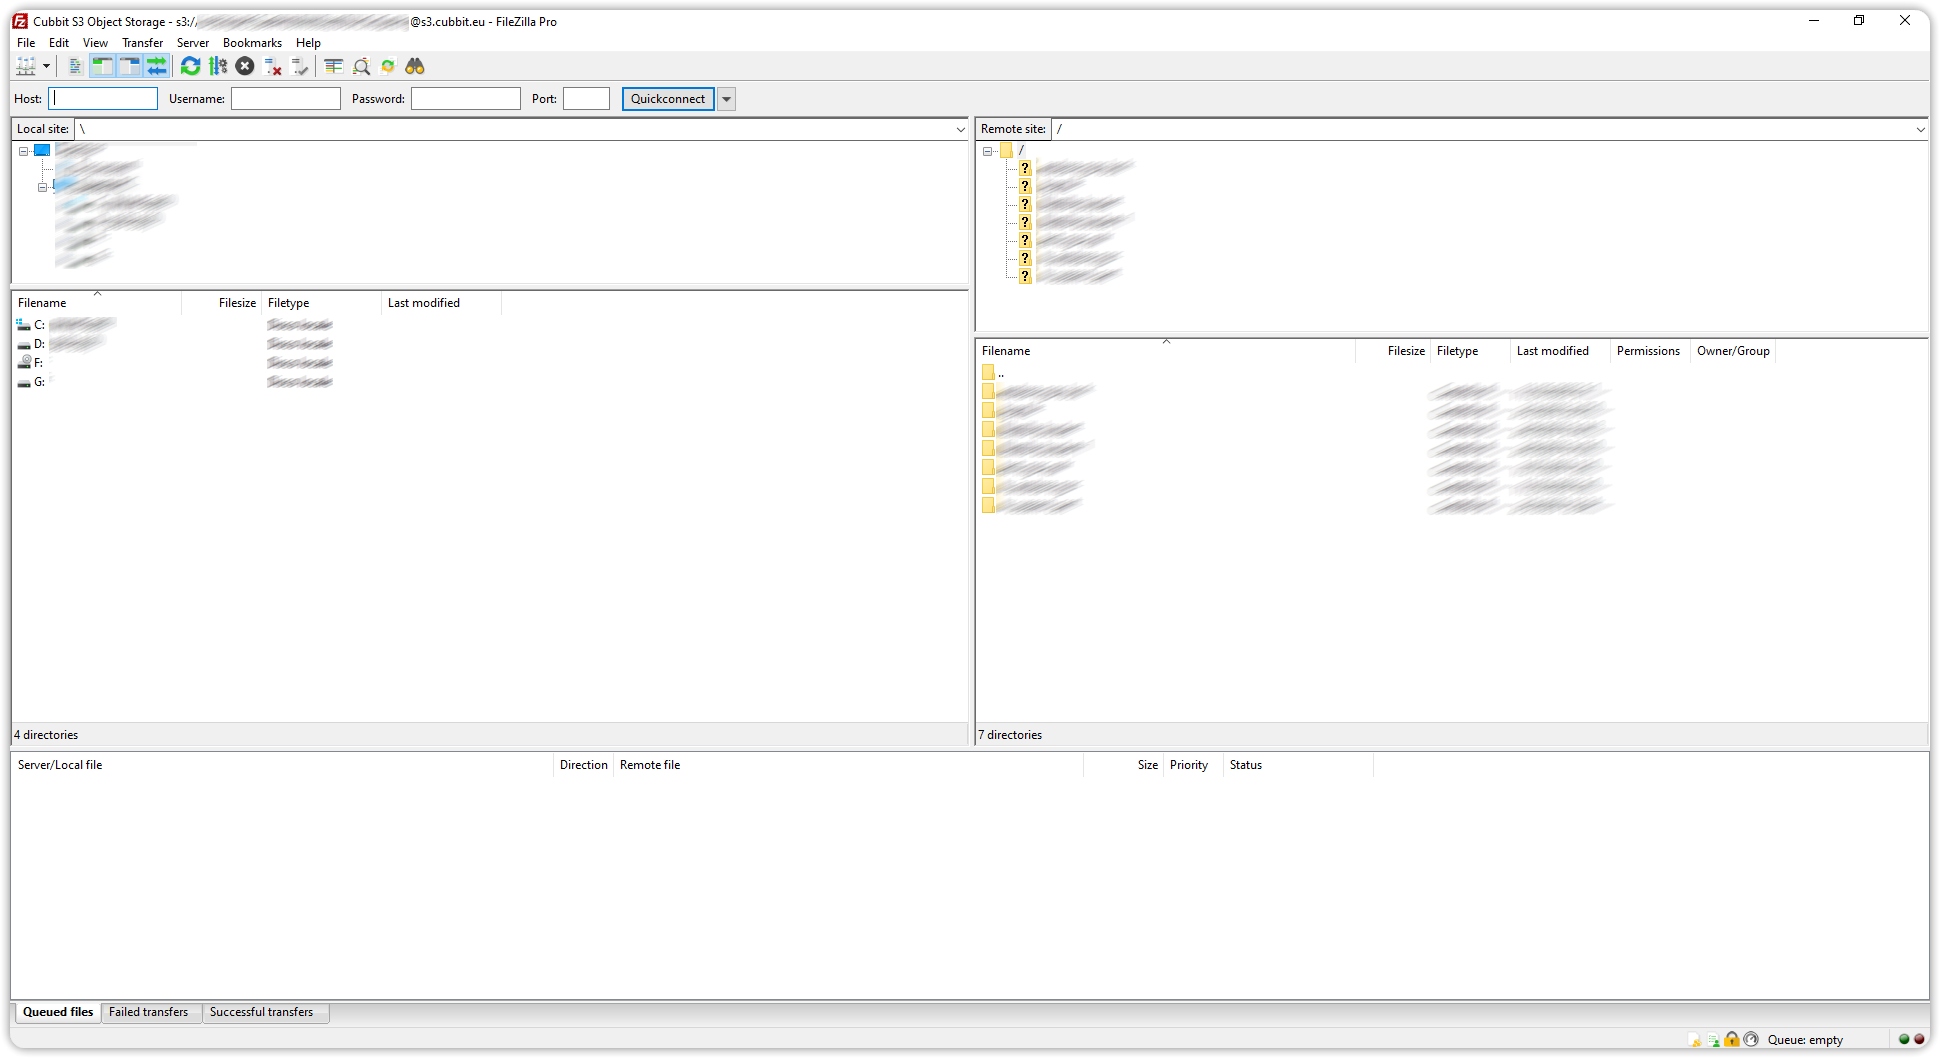
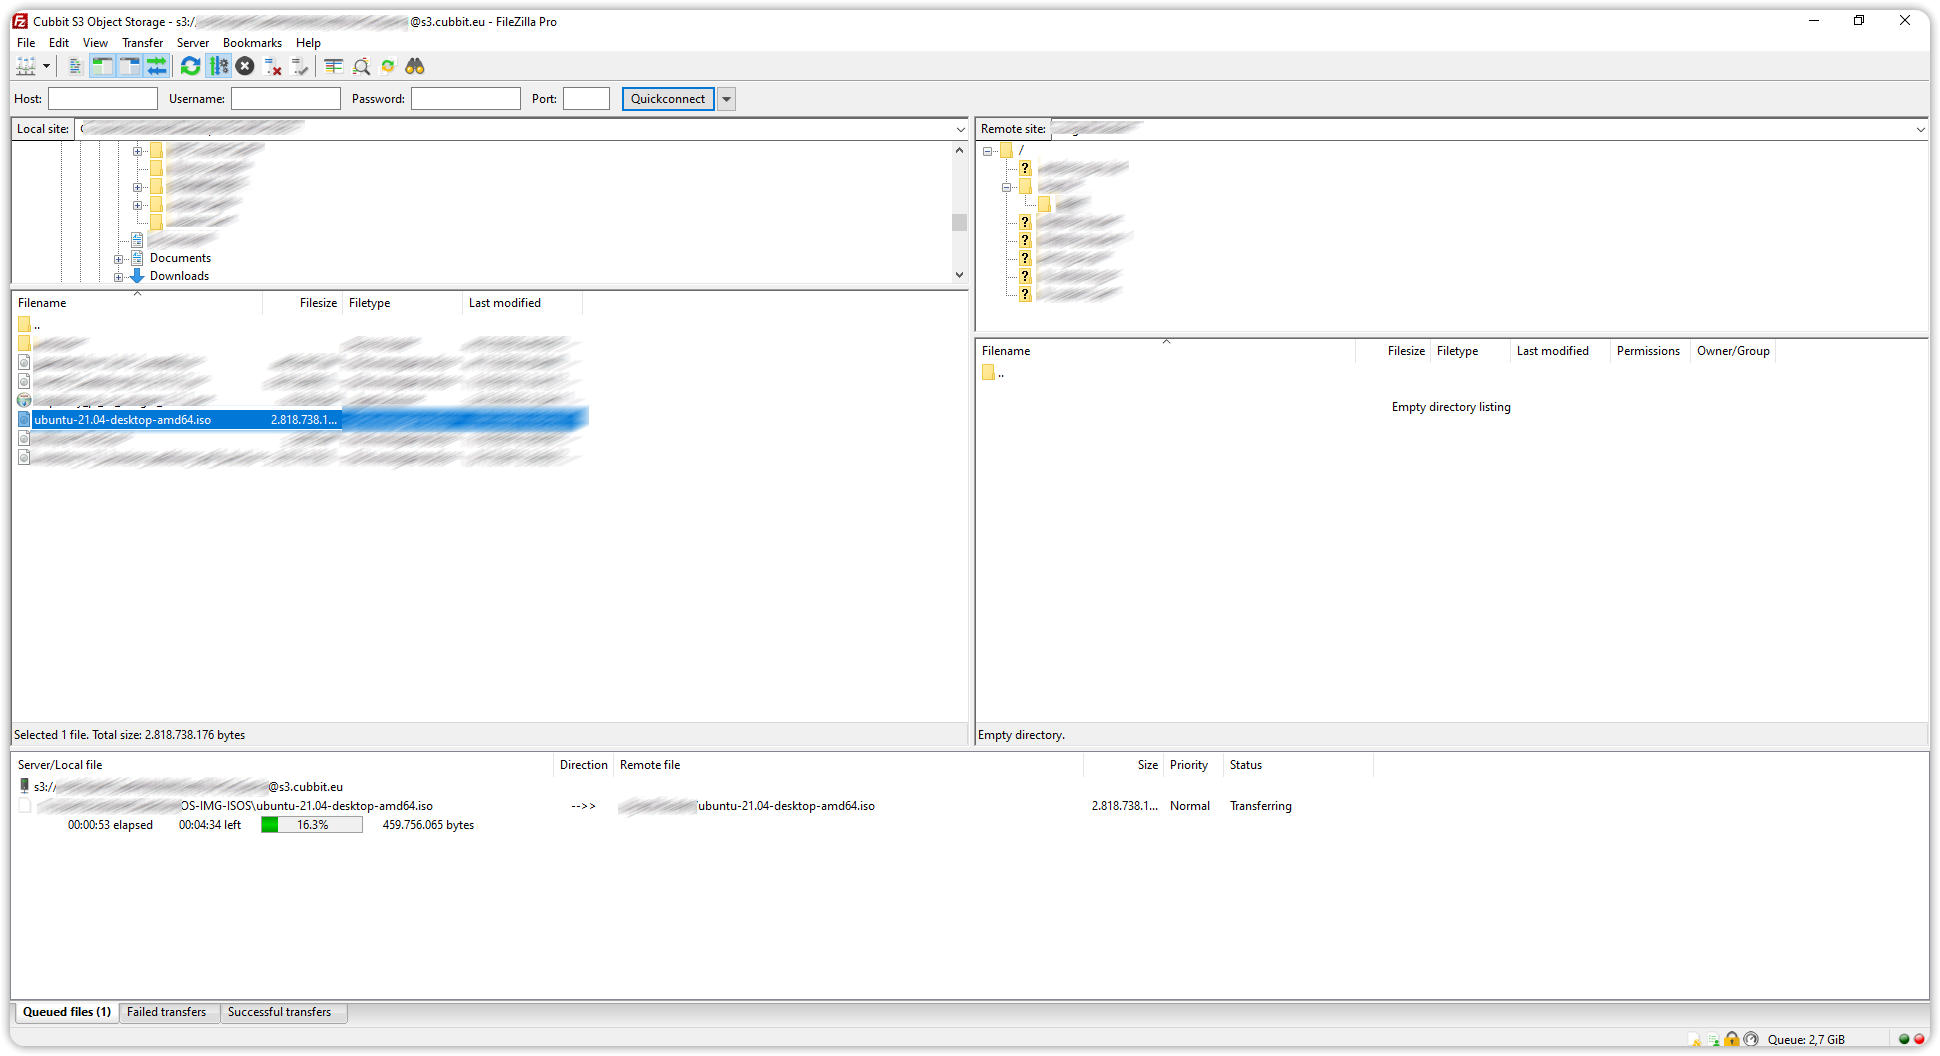
You can then access any bucket to perform folder creation, upload, or download operations.
For more information on using FileZilla please visit the official documentation page.