Cubbit Virtual Nas
Cubbit Virtual NAS Prerequisites
This product is a virtual machine image that exposes a Cubbit S3 bucket to a local network via NFS or SMB protocols, enabling seamless integration of cloud object storage with traditional file sharing systems. It operates on file blocks to support random-access operations and relies on a local cache for data and a local metadata database, which is backed up every 15 minutes. Objects stored in S3 are not directly readable and can only be accessed through the virtual machine. This architecture enables fast performance for file listings and supports advanced features like filesystem-level snapshots, while maintaining LAN-speed access and syncing only necessary, modified data to the S3 bucket.
To proceed with the configuration, the following is required:
- Virtualization environment (e.g. VMware)
OVA image installation
OVA image Cubbit NGC gateway: download link
Support for this VM is reserved exclusively for our Business & Enterprise customers.
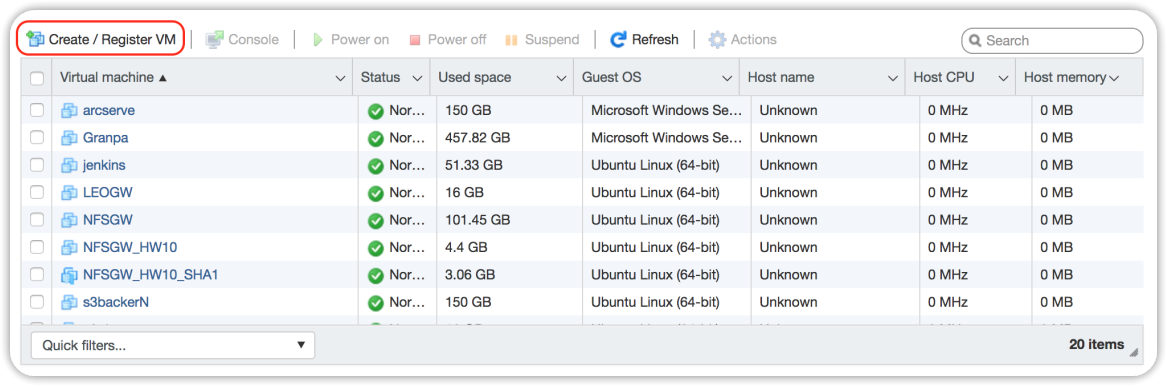
Connect to the ESXI web console, and press the Create/Register VM button.
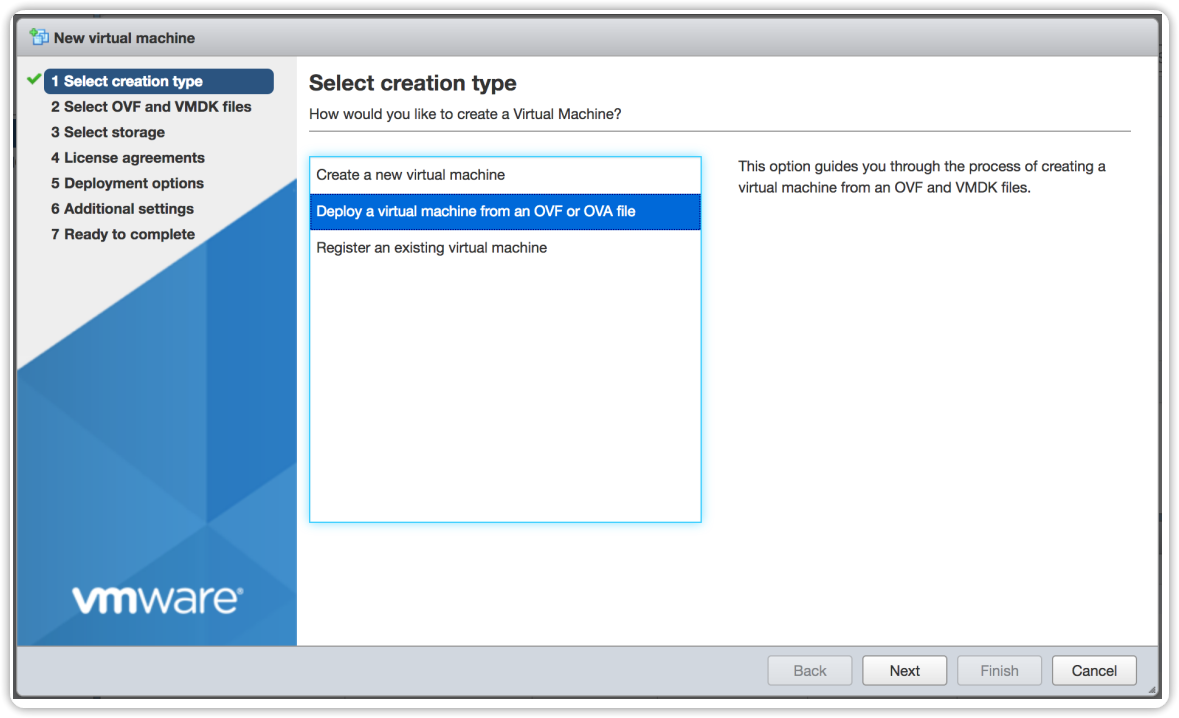
Choose Deploy a virtual machine from an OVF or OVA file.
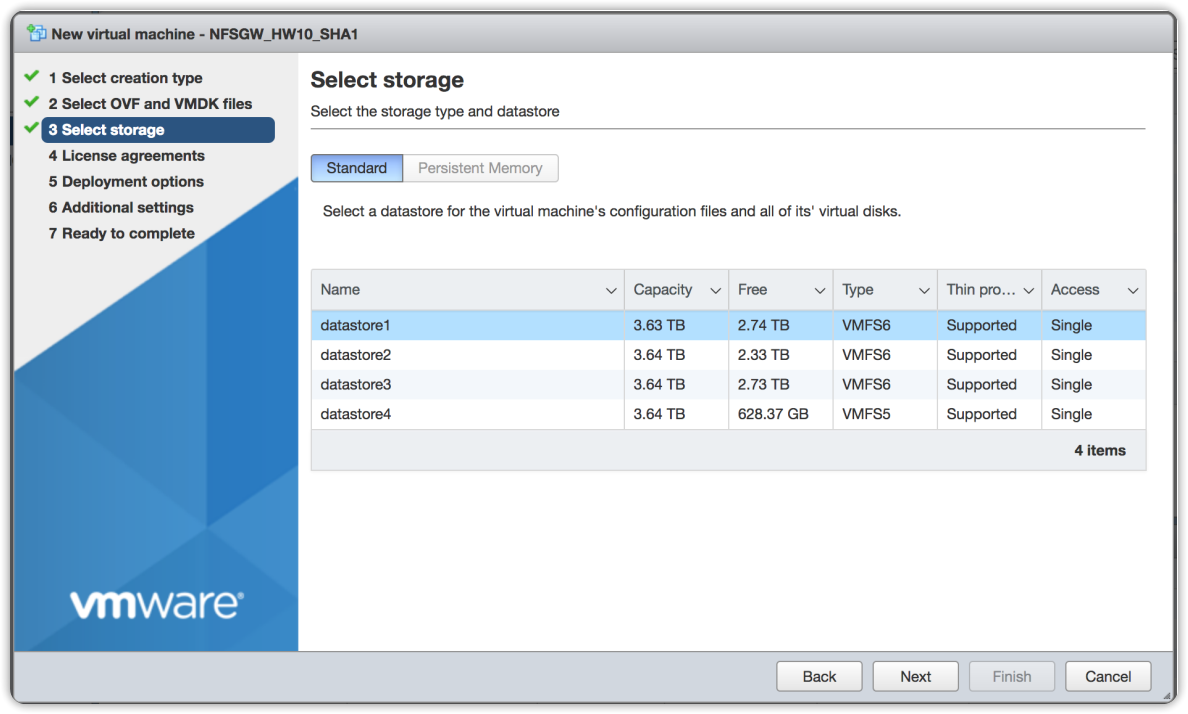
Choose a name for the VM and press Next. Choose a data store with enough free space.
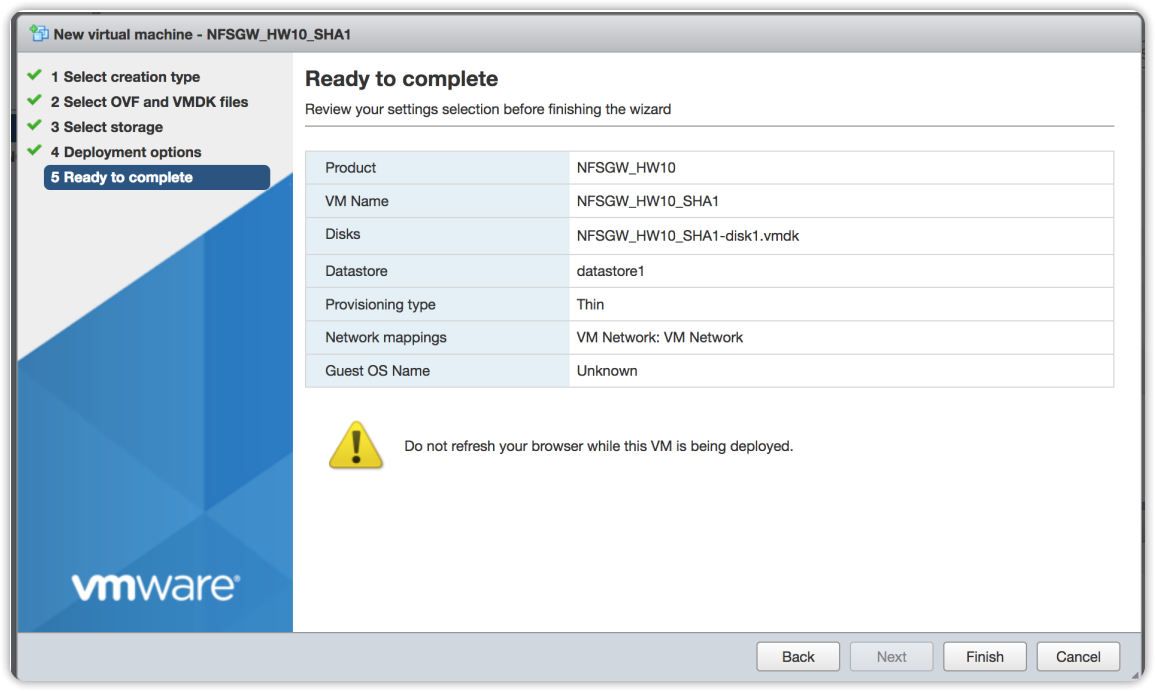
Select the deployment options and press Next.
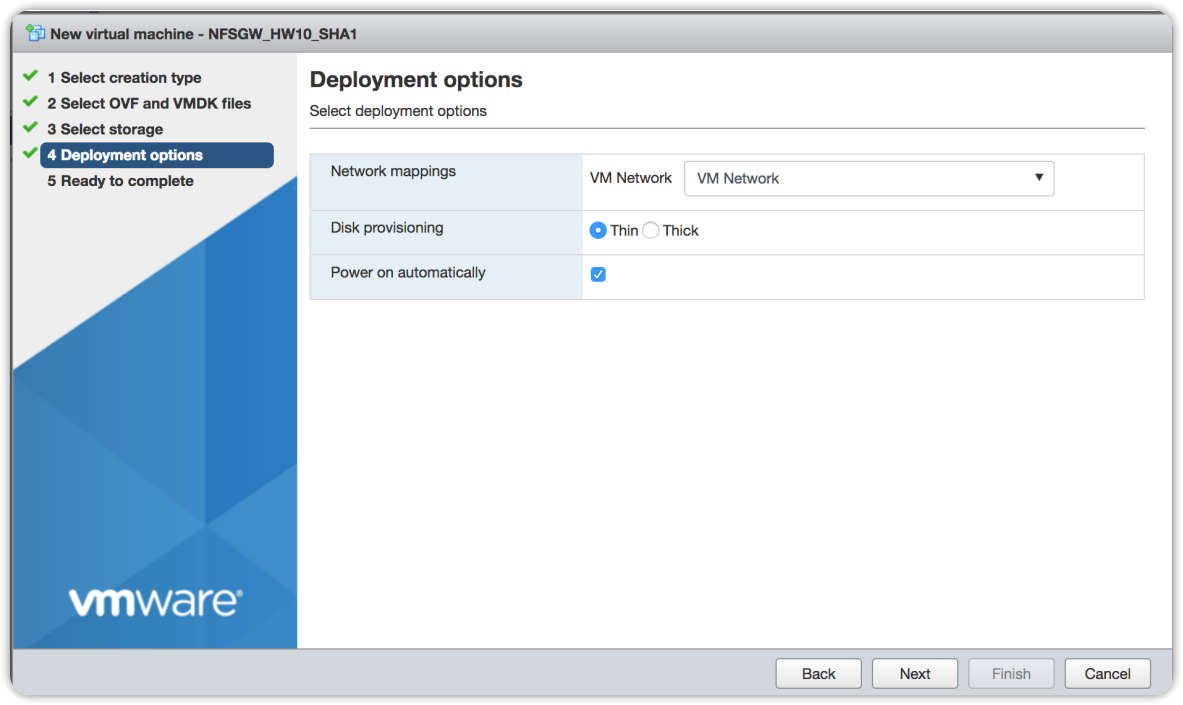
Then press Finish.
After installing the VM, login to the machine via console (user: cubbit password: cubbit) and set its network configuration.
Press enter (for default values) or set as preferred. Generally speaking, it is not necessary to restart the machine after running the script.
We will denote this IP as <your_local_ip> here and below:
~$ ssh cubbit@<your_local_ip>
Password: cubbit
Once the VM has access to the Internet, you can run the script (configure.sh) that will allow you to locally mount a bucket from the Cubbit cloud. The script will need to be run as a superuser:
~$ sudo ./configure.sh
-------------------------------------------------------------------
Hello! This script will help you to mount a Cubbit bucket in your
filesystem using S3QL.
-------------------------------------------------------------------
You will need the following information in order to correctly mount
a bucket via S3QL:
_ Your access_key and secret_key provided to you from your backup
_ A bucket name that has not been already created.
-------------------------------------------------------------------
1 - Enter your access key: nWLhbj2
2 - Enter your secret key: **********
3 - Enter a bucket name: test
4 - Enter maximum size for storage object in KiB - default 10MB: 10240
5 - Enter maximum number of parallel threads to use - default 20: 20
6 - Enter maximum size of cache in KiB - default 50GB: 50000000
Created bucket test
where:
- Bucket name (3): this is the name of the S3 bucket (Cubbit cloud) on which the data of this VM will be loaded.
At the end of execution, the bucket will be mounted in the /mnt/cubbit folder. This can be verified with the command df -h:
~$ df -h
Filesystem Size Used Avail Use% Mounted on
/dev/root 97G 2.6G 95G 3% /
devtmpfs 965M 0 965M 0% /dev
tmpfs 971M 0 971M 0% /dev/shm
tmpfs 195M 1000K 194M 1% /run
tmpfs 5.0M 0 5.0M 0% /run/lock
tmpfs 971M 0 971M 0% /sys/fs/cgroup
/dev/loop1 62M 62M 0 100% /snap/core20/1587
/dev/loop0 56M 56M 0 100% /snap/core18/2538
/dev/loop3 68M 68M 0 100% /snap/lxd/22753
/dev/loop4 47M 47M 0 100% /snap/snapd/16292
/dev/sda15 105M 5.2M 100M 5% /boot/efi
tmpfs 195M 0 195M 0% /run/user/1001
/dev/loop5 62M 62M 0 100% /snap/core20/1611
s3c://s3.cubbit.eu/mybucket/ 1.0T 0 1.0T 0% /mnt/cubbit
The /mnt/cubbit folder will also be shared via NFS on the VM's first network interface. The full name of the NFS share on Windows systems will be:
\\<your_local_ip>\mnt\cubbit
While on Linux systems it will be:
<your_local_ip>:/mnt/cubbit