Iperius
Intro
Iperius Backup is a backup software for Windows that allows you to create backups of files, operating systems, and virtual machines.
You can perform scheduled backups to various destinations and incremental backups of VMware ESXi and Hyper-V virtual machines. It supports drive image (disaster recovery), backups of SQL Server, MySQL, MariaDB, PostgreSQL, and Oracle databases, backups of Exchange mail servers, backups to LTO tape, NAS and RDX, backups to external USB drives, backups of open files (VSS), backups of Outlook and Thunderbird, Microsoft 365, FTP backups (upload and download), ZIP compression, file synchronization, and online backups to cloud storage such as Google Drive, OneDrive, Dropbox, Amazon S3, Microsoft Azure, and any S3-compatible storage.
Prerequisites
First, you need to obtain access keys and secret keys from the Cubbit Web Console or https://console.[your-tenant].cubbit.eu. You can follow these instructions on how to get started with a Cubbit account and generate these keys.
Installation
To get started, you need to download, install and launch the Iperius Backup software. You can download the software from this link.
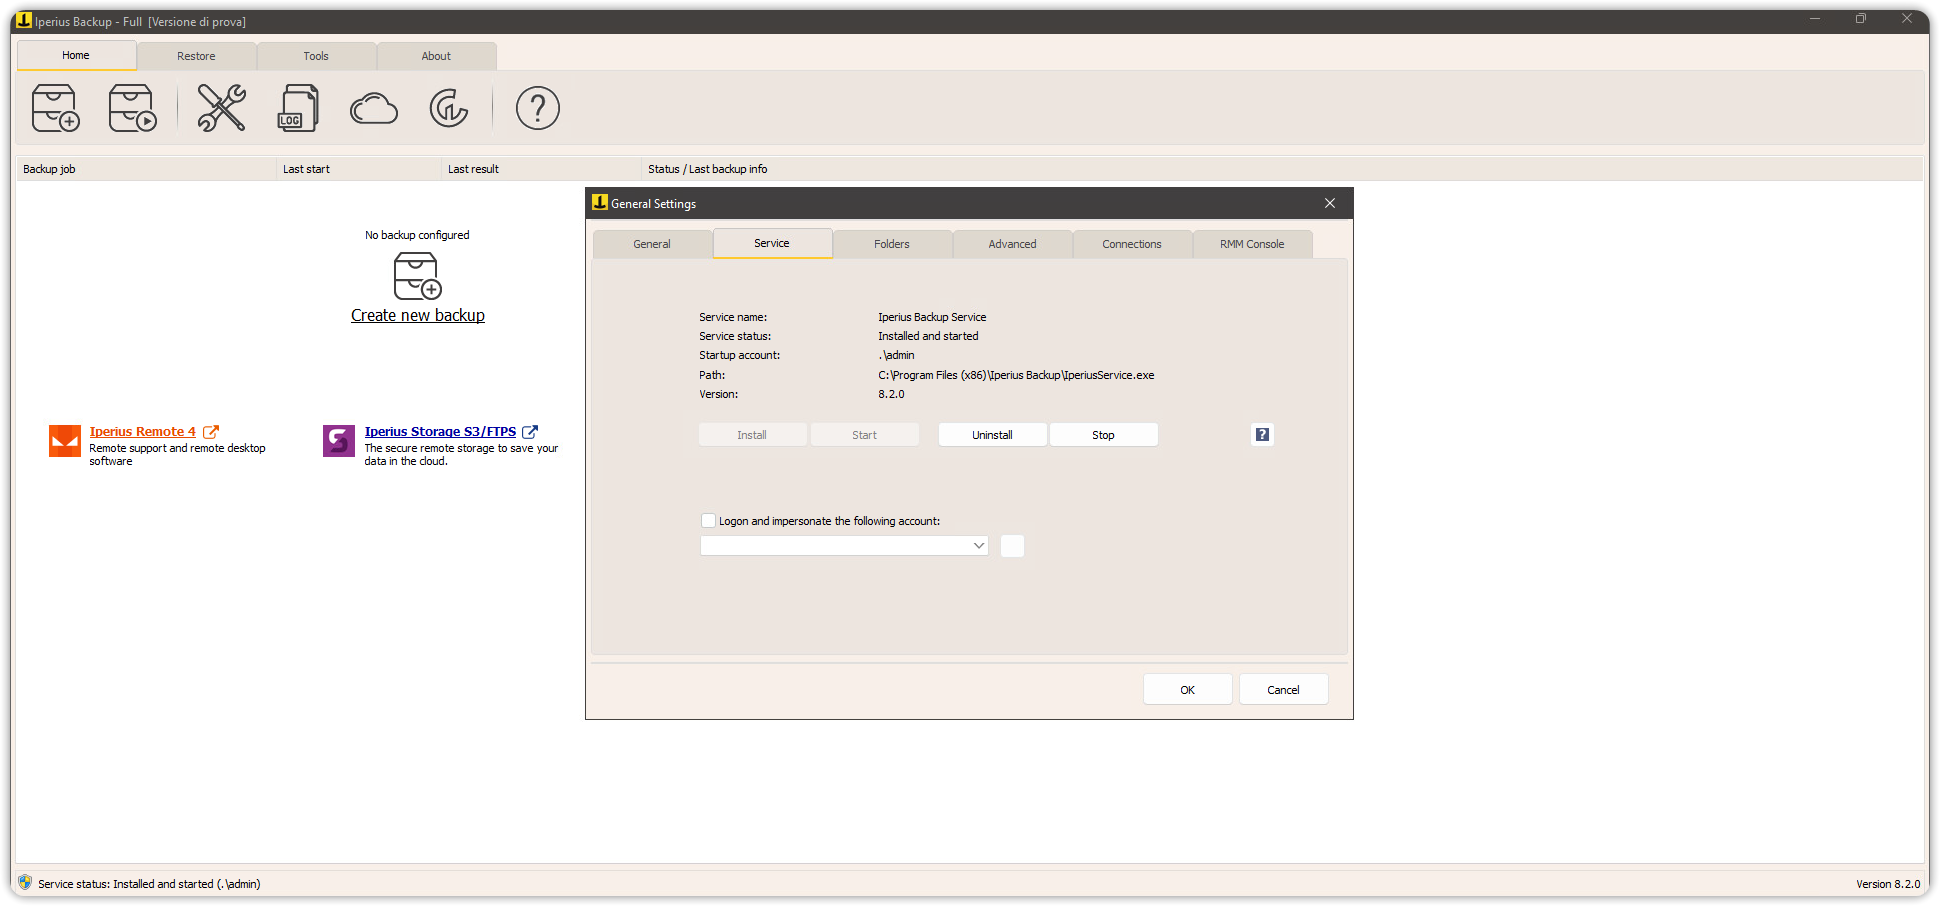
After installing the software, the Iperius team recommends also installing the related Windows service. For more details on installing Iperius Backup as a Windows service, you can refer to this article.
Configuration
Before adding Cubbit DS3 object storage as a backup destination, you need to follow the backup creation wizard. Click on Create New Backup. In this example, a backup of a VM operating in a VMware ESXi environment will be performed.
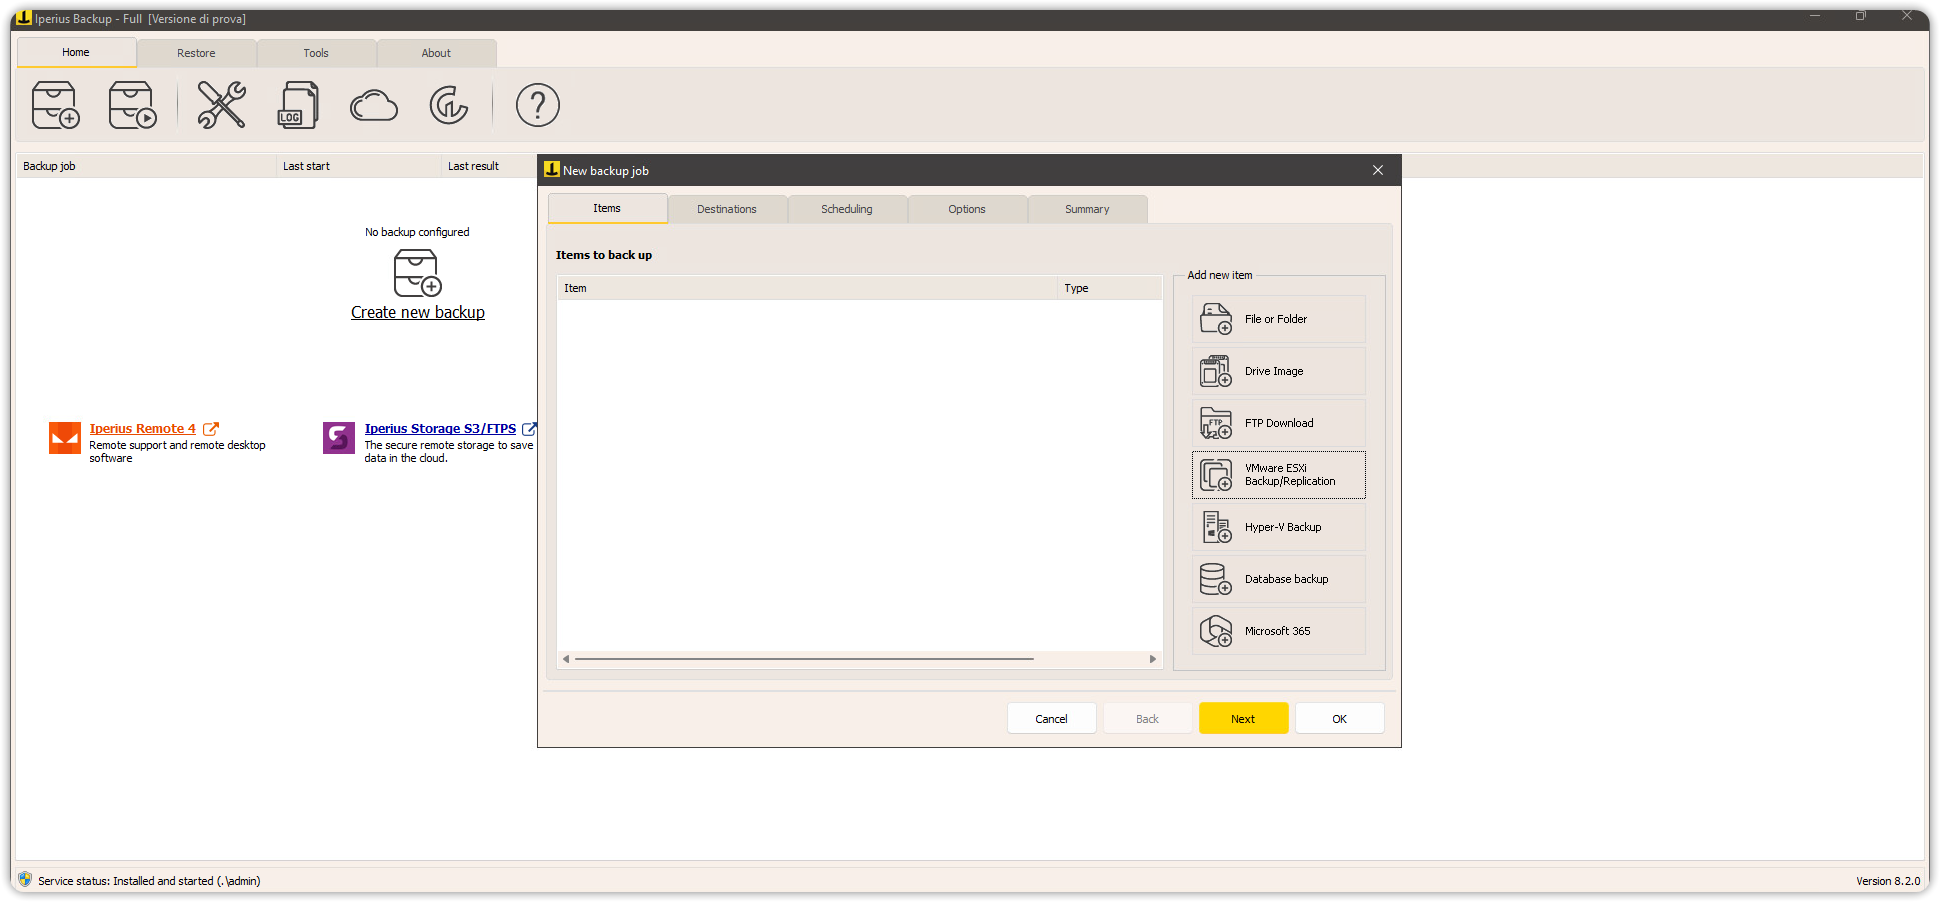
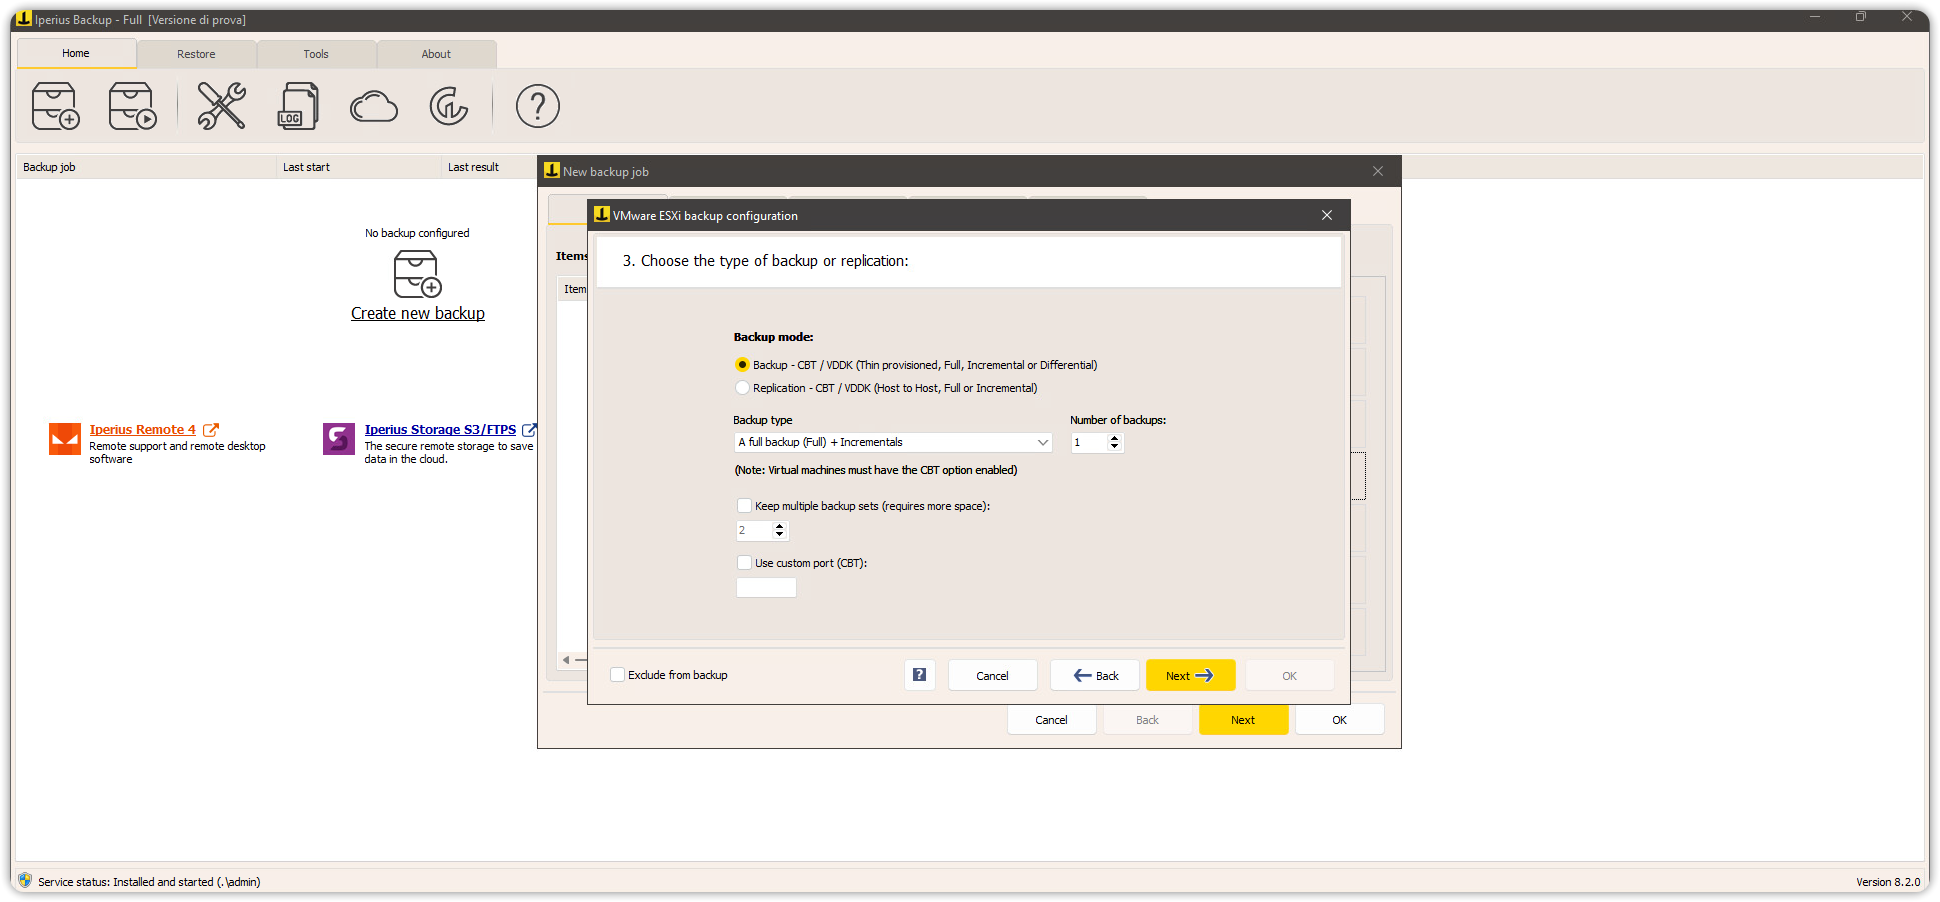
Select the backup type and click Next.
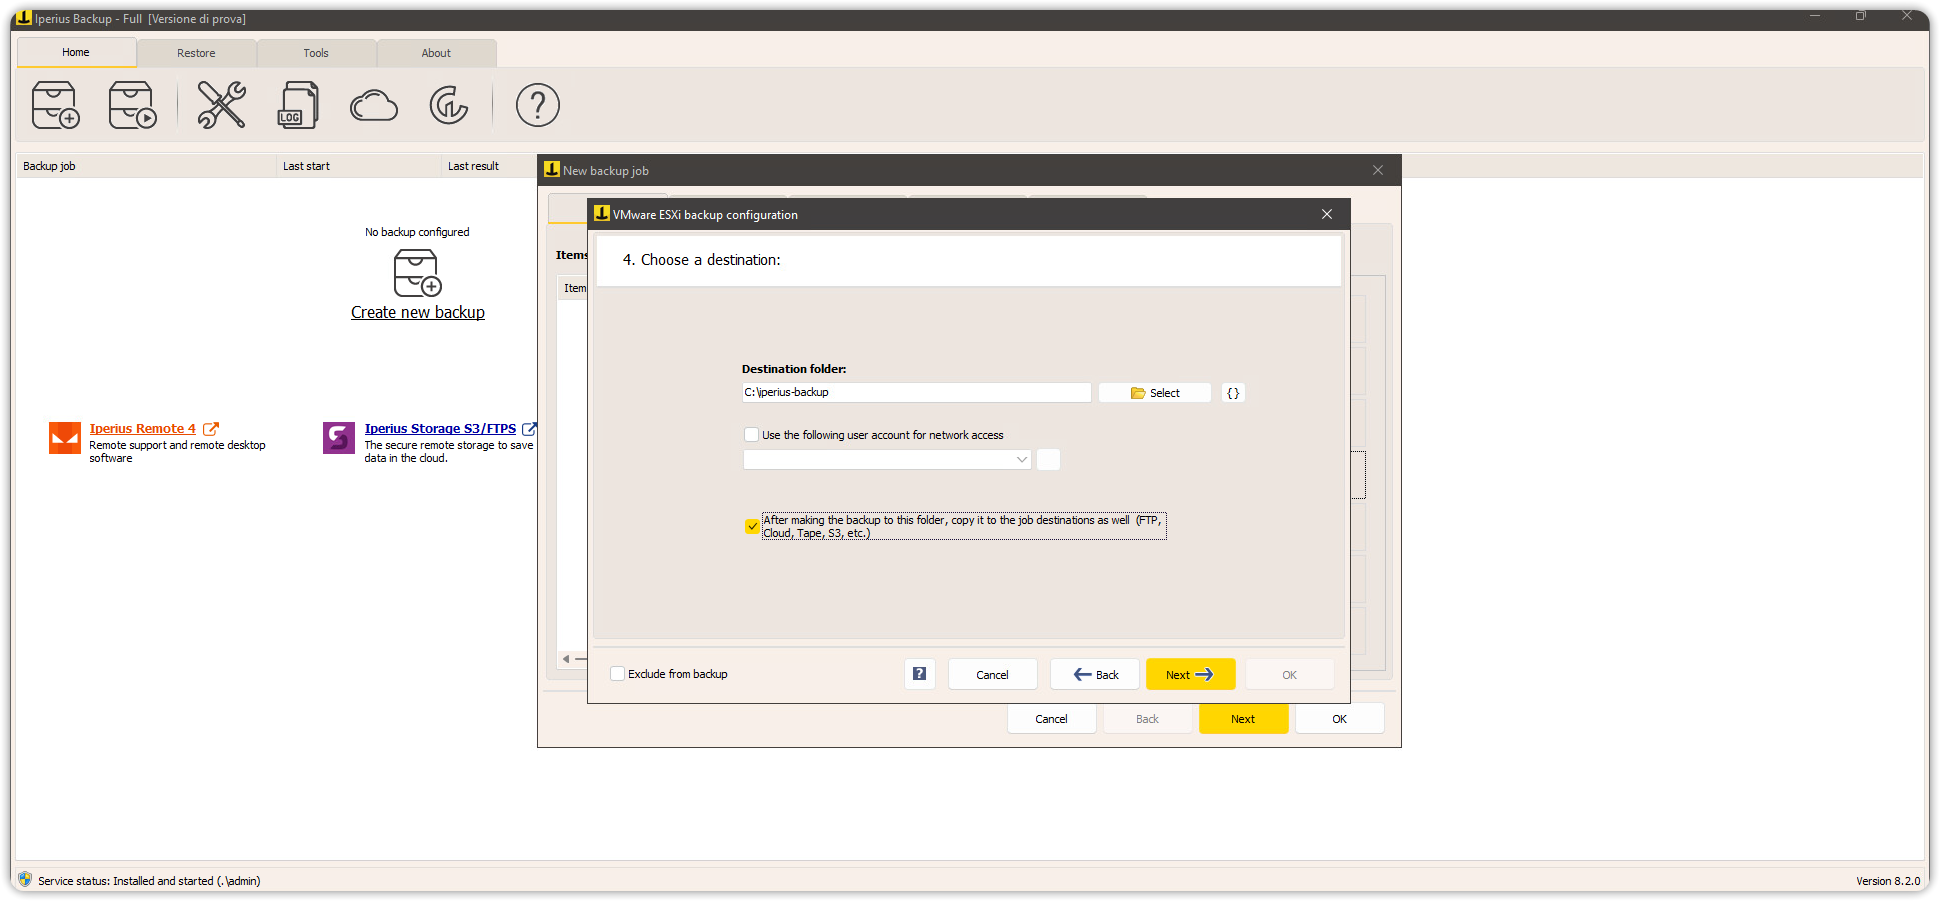
On the next screen, select the local or network folder where the backup will be saved. You can enable copying to Cubbit DS3 after local backup is complete, by selecting the option shown in the following screenshot. Then click Next.
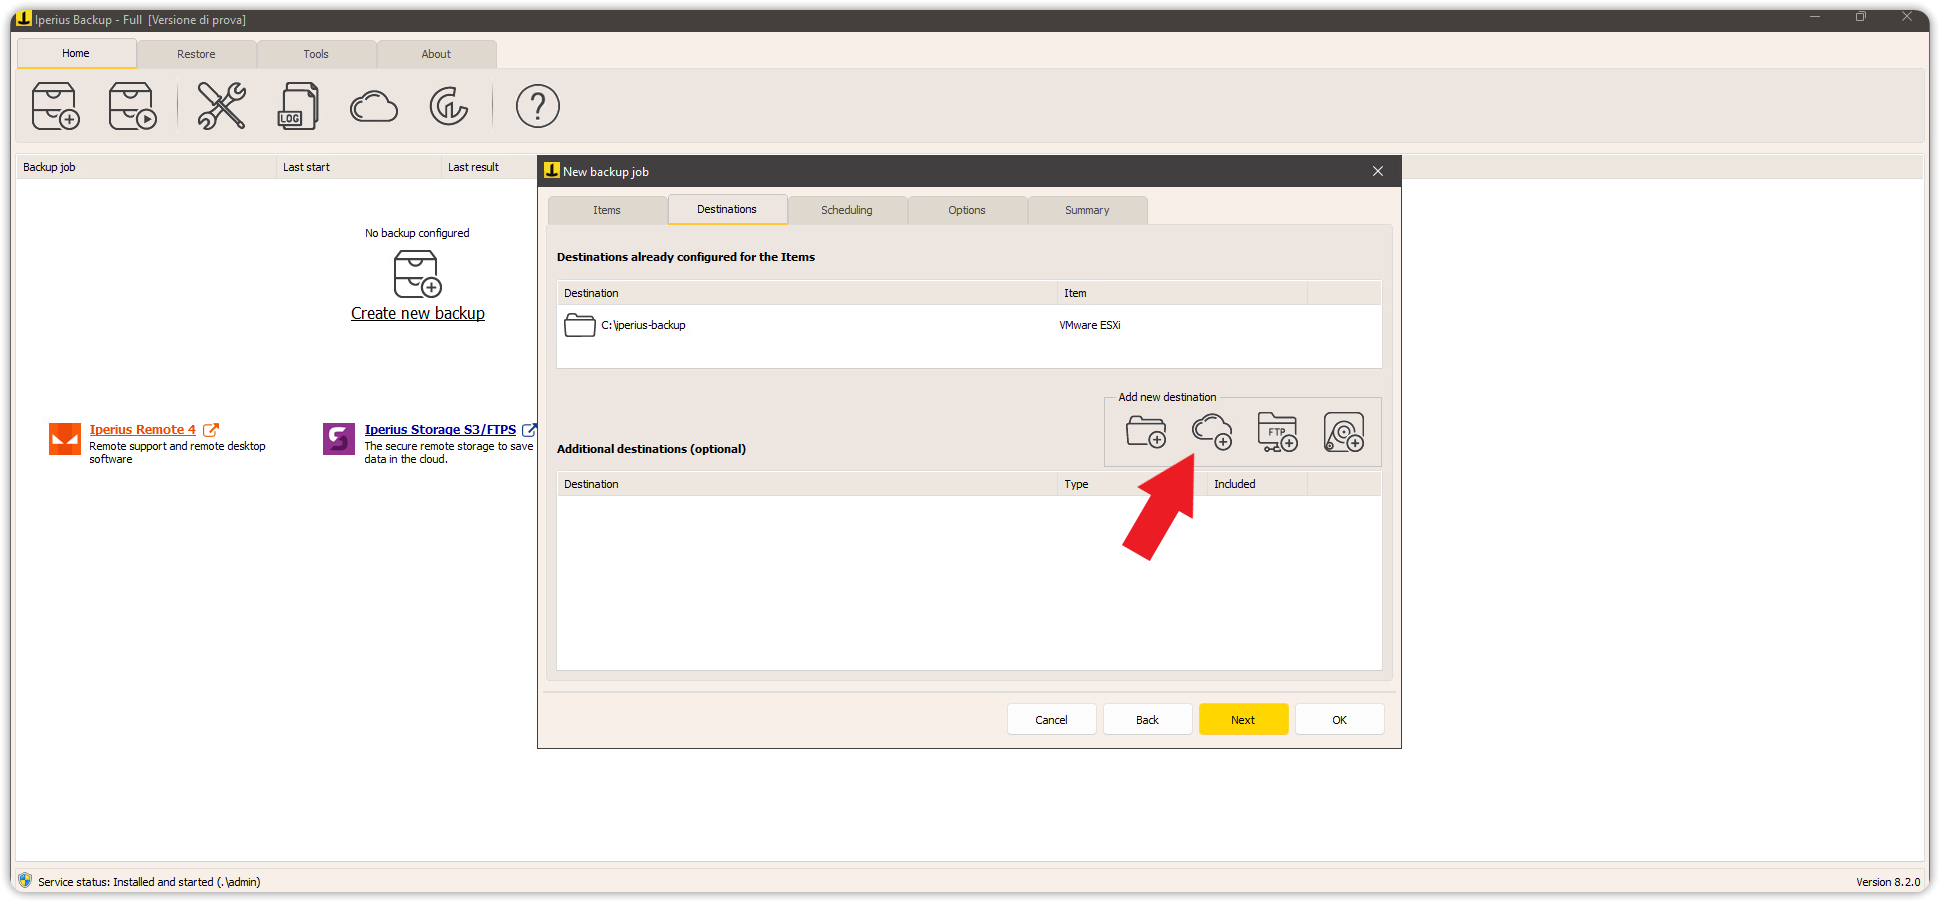
Now you can finally add Cubbit DS3 Object Storage as a cloud destination for the backups. Click on Add new destination.
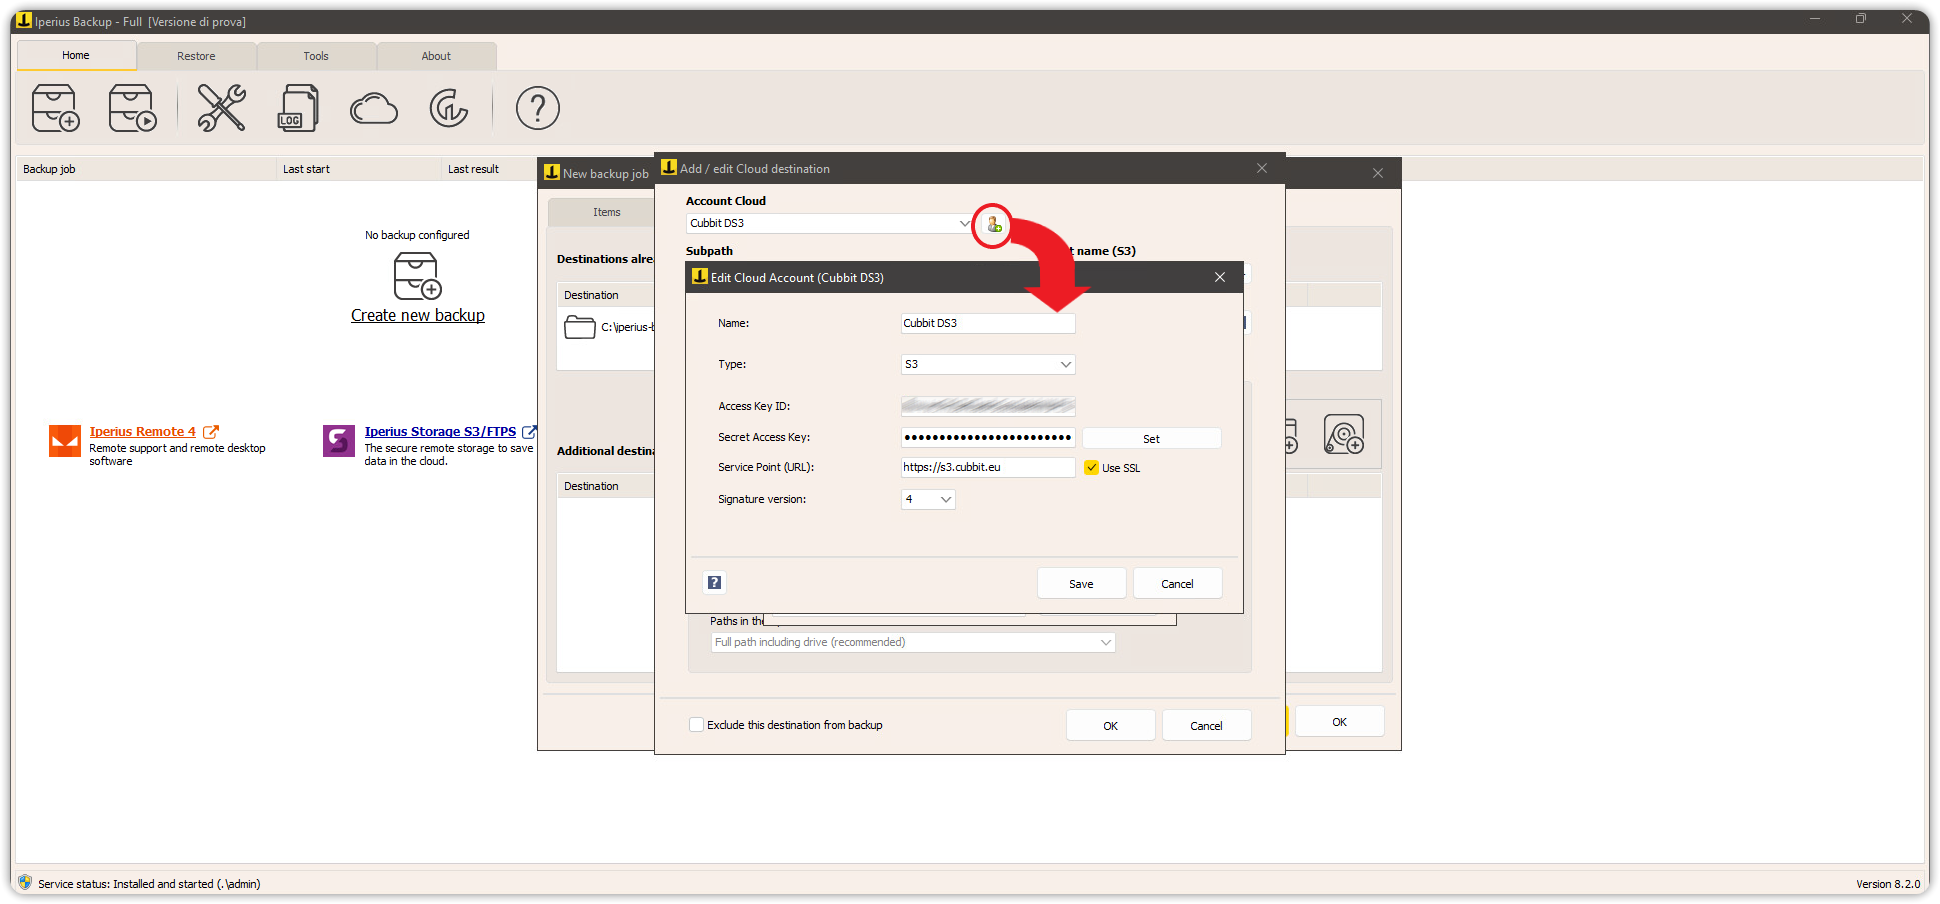
Then click on the icon to add the S3 cloud account and fill in the fields as shown in the image:
- Name: Cubbit DS3
- Type: S3
- Access Key ID: Access key generated from the Cubbit web console
- Secret Access Key: The secret key generated from the Cubbit web console
- Service Point (URL):
https://s3.cubbit.euor if you have a custom tenant:https://s3.[your-tenant].cubbit.eu - SSL: Yes
- Signature Version: 2 or 4
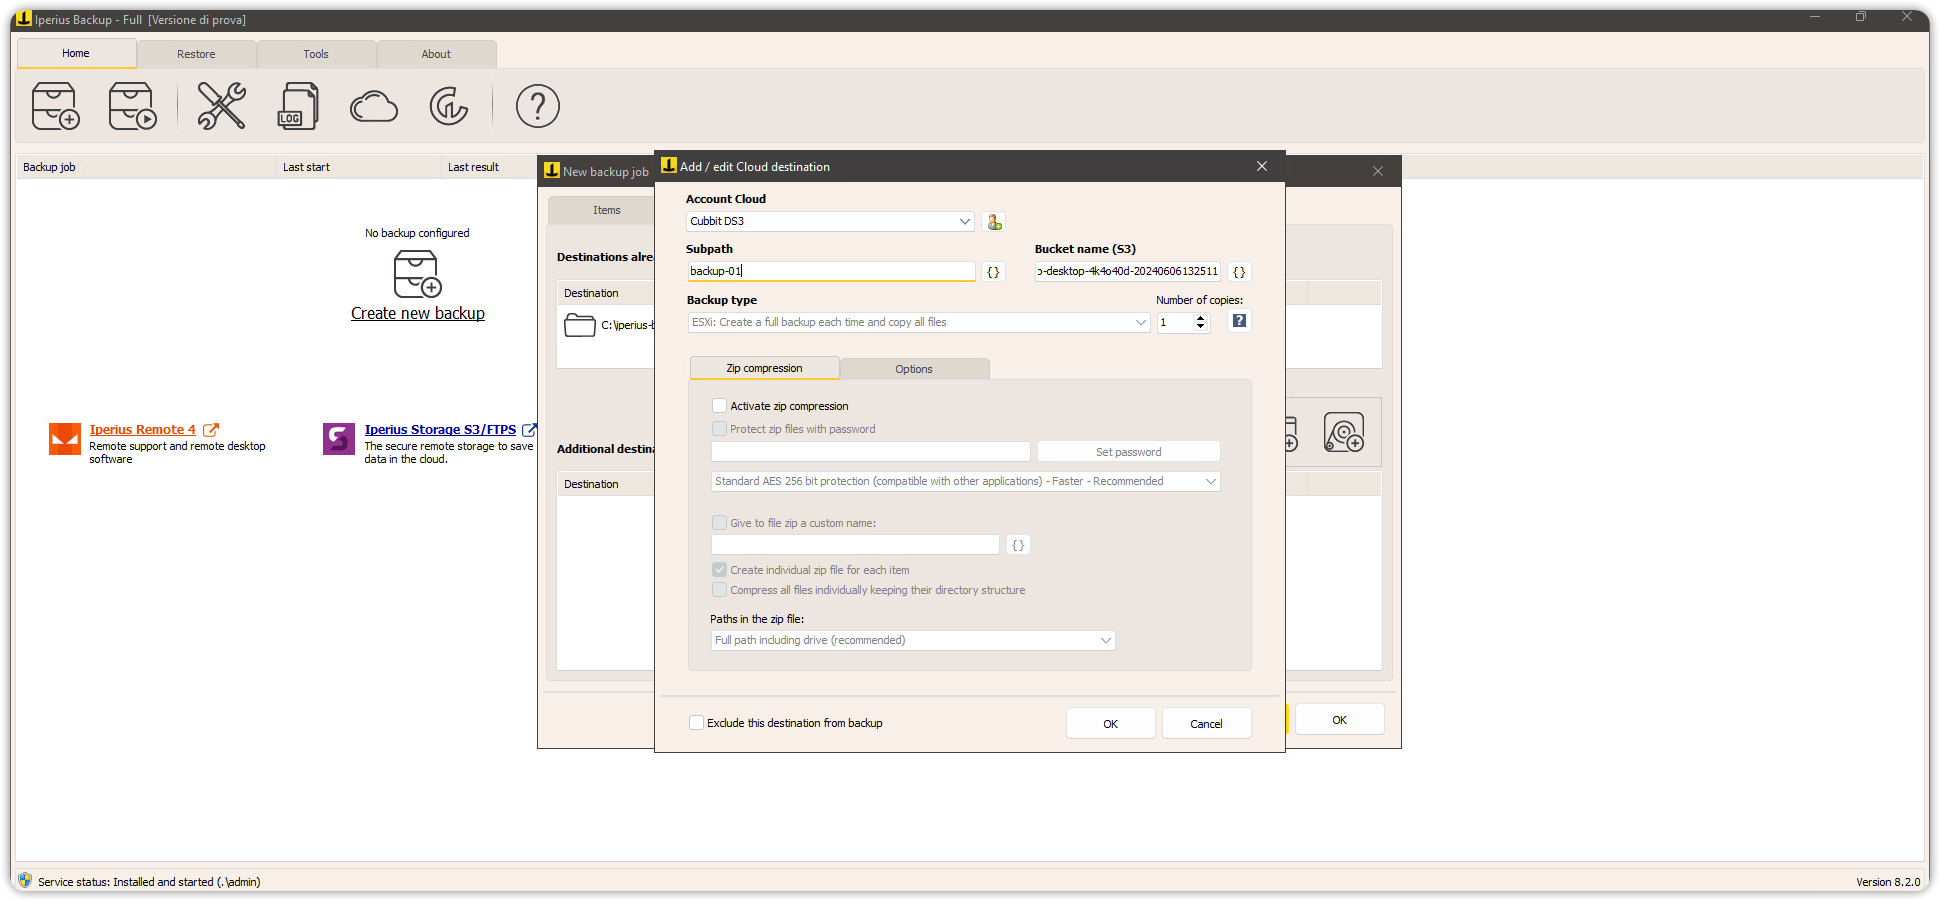
Specify the name of the new bucket that will be created by Iperius Backup and, if needed, indicate any other customization parameters. You can also choose to manually enter the name of a bucket already created on the Cubbit console.
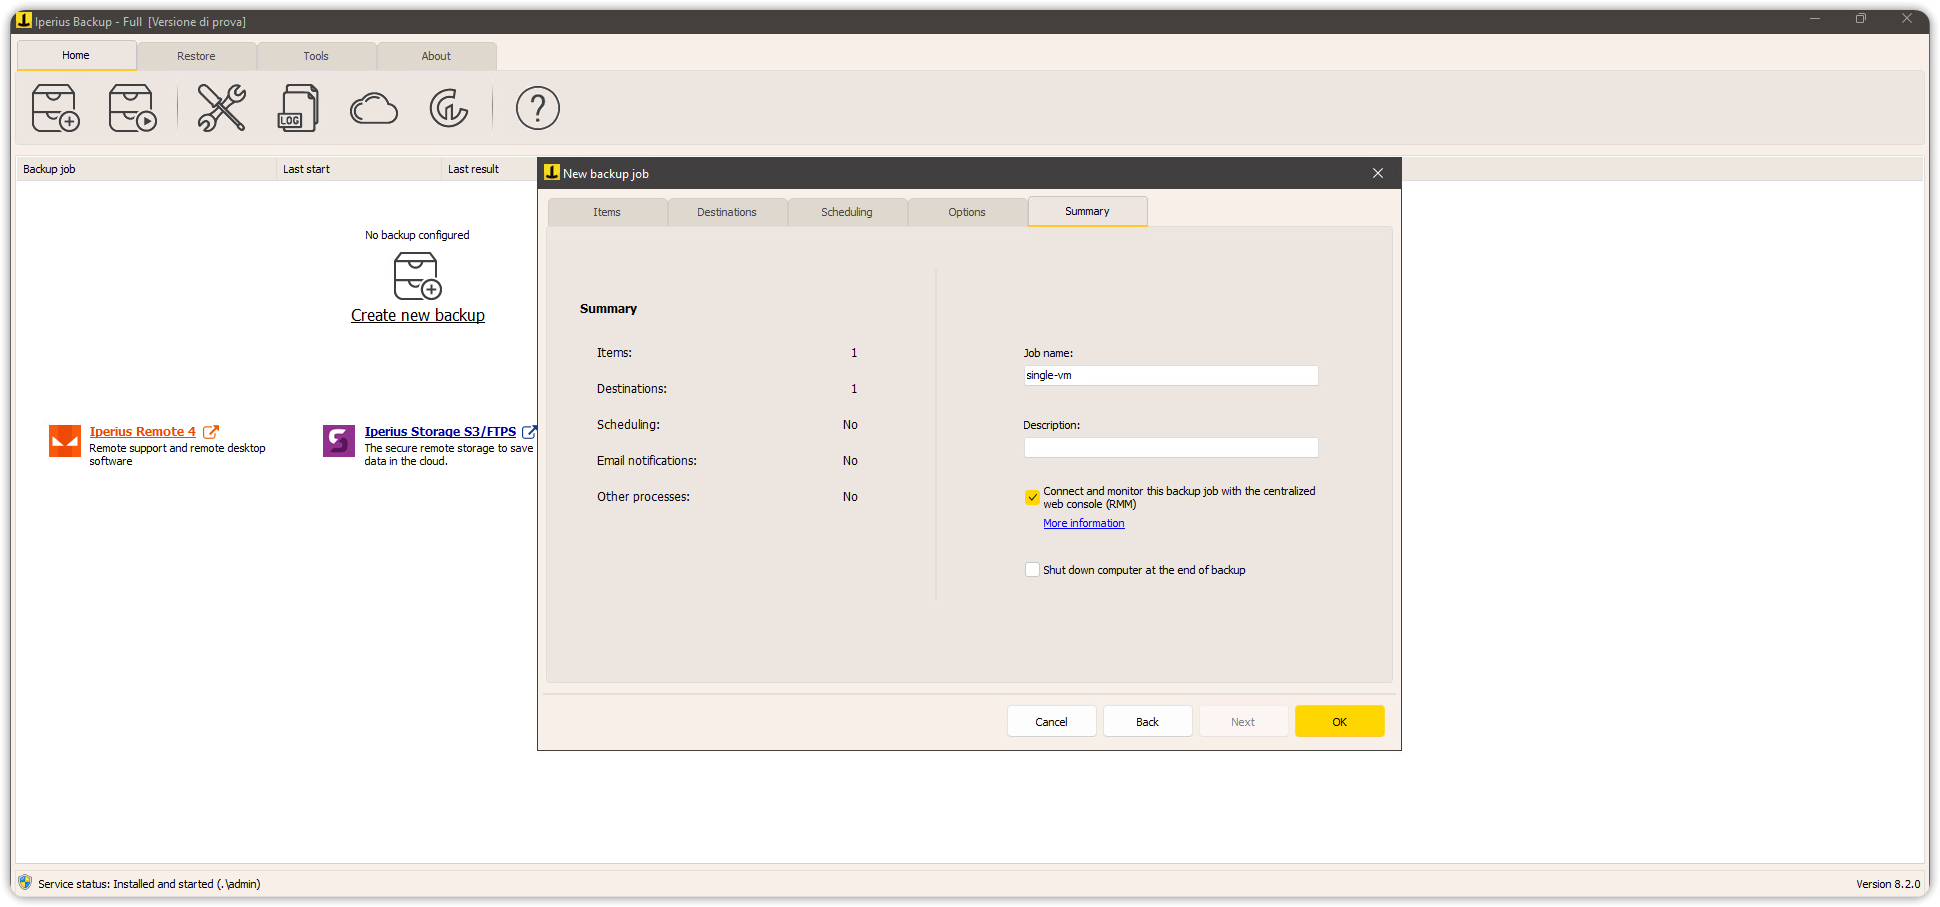
Finally, press OK to confirm the creation of the backup job.
How to
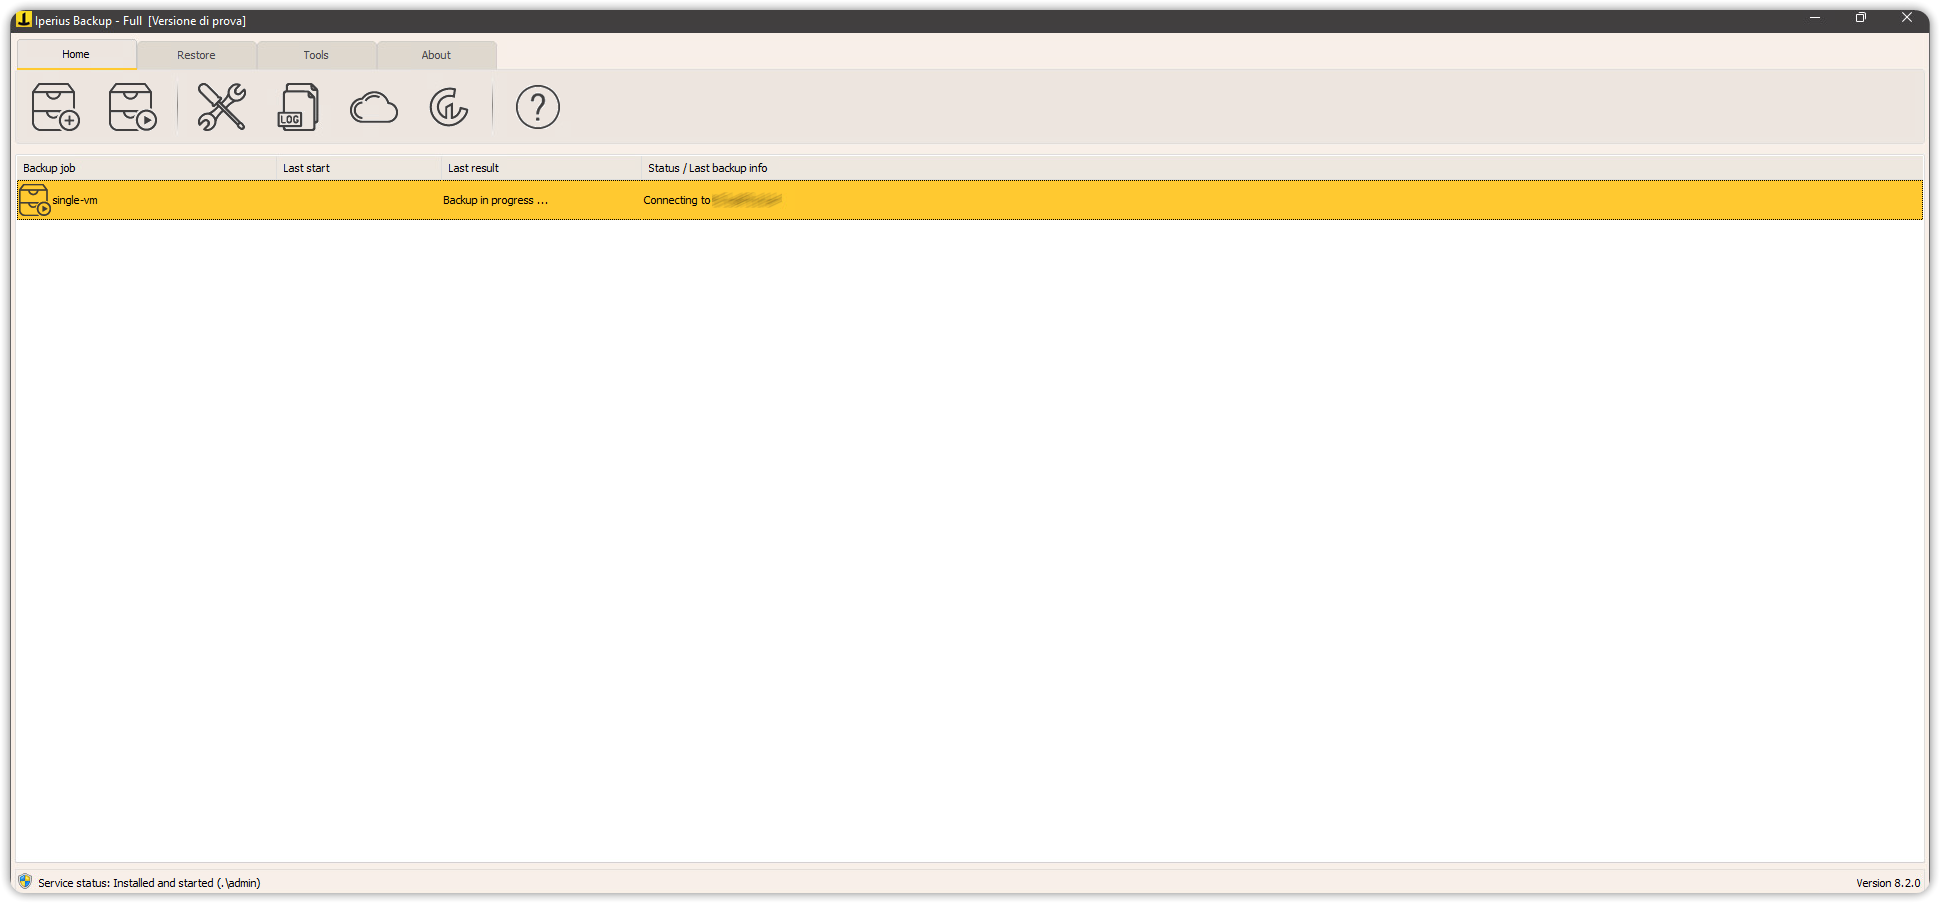
Backup
From the Home screen, you can manually start the backup job by right-clicking and selecting Run backup. The backup will first be saved in the local folder you specified and, upon its completion, will then be transferred to the Cubbit DS3 cloud.
If you experience errors during the process, you can refer to the articles and tutorials provided by Iperius.
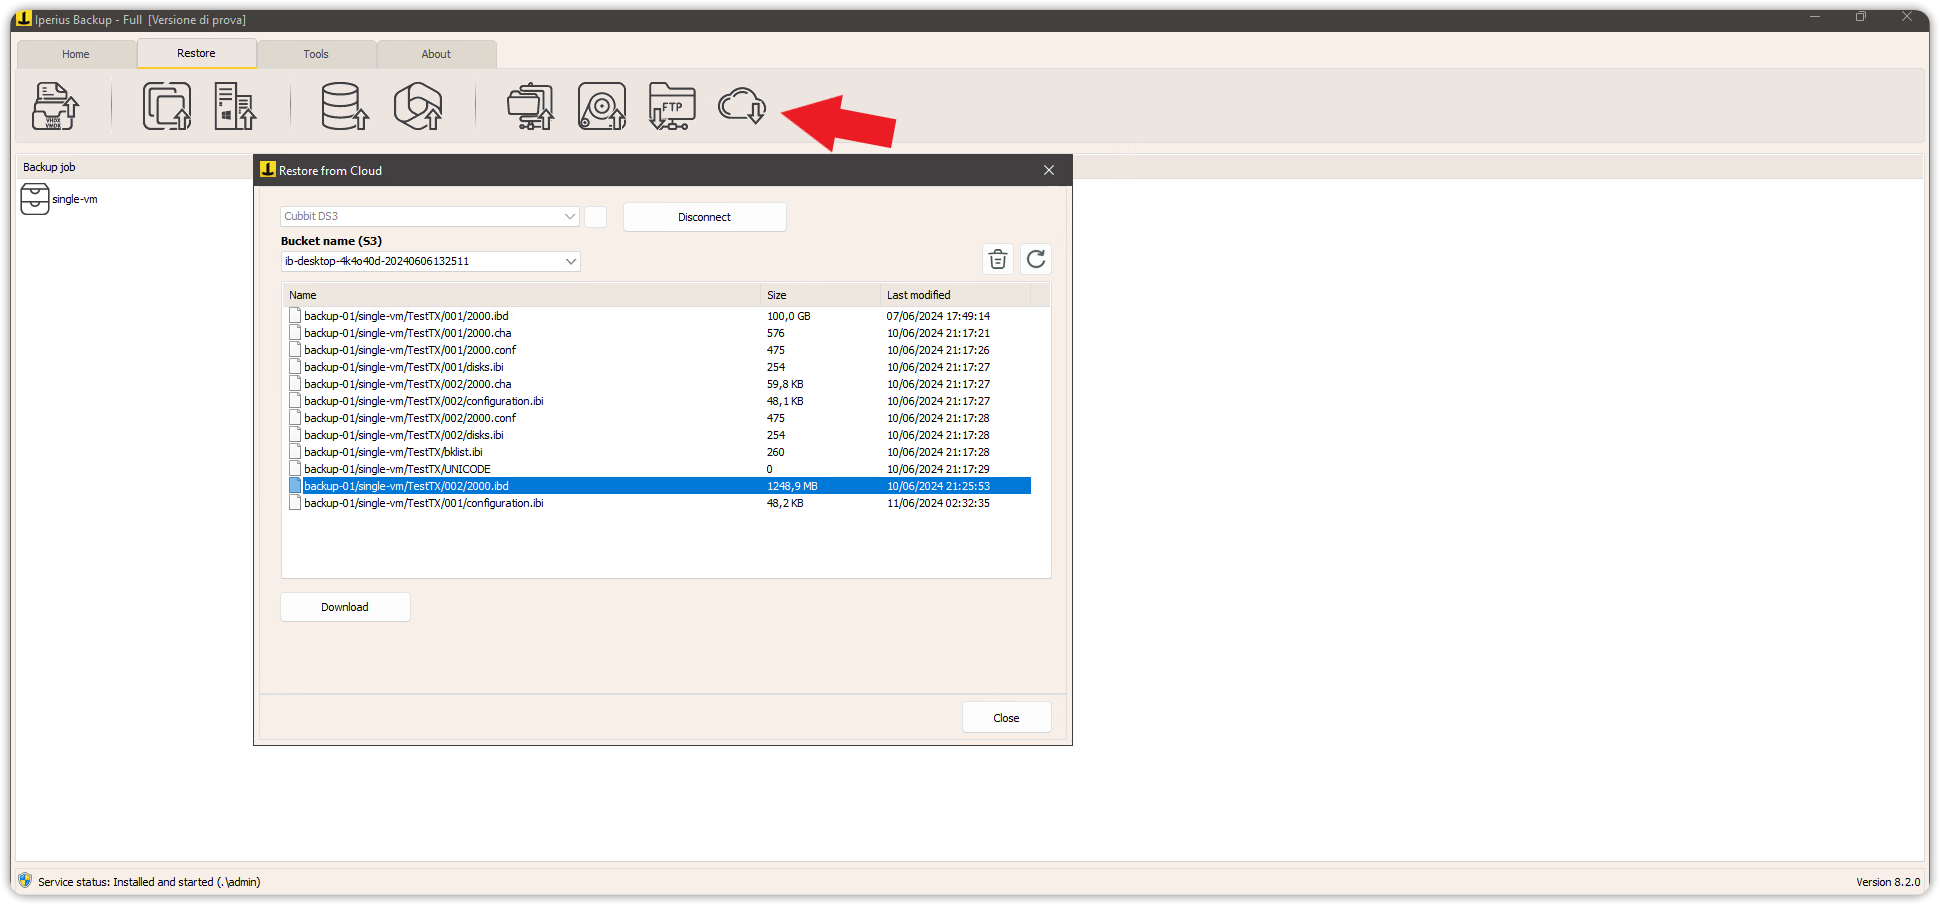
Restore
From the top menu, you can initiate various types of restore operations under the Restore section, such as restoring files from a virtual machine backup.
For more information on using Iperius Backup, you can refer to the official page of Iperius Backup.