Commvault
Intro
Commvault's software offers a range of features, including data copying, archiving, data protection, deduplication, data lifecycle management, and data management in multi-cloud environments. It enables companies to manage their data in a centralized manner, simplifying data backup, recovery, and archiving operations.
Prerequisites
To set up Commvault with Cubbit DS3, you first need to get your access and secret keys from the Cubbit Web Console or https://console.[your-tenant].cubbit.eu. You can follow the instructions provided to create a new Cubbit account and generate these keys. It is also highly recommended to create a new empty bucket.
Installation
You can refer to the guide on the installation and first use of Commvault through the following link
First, you need to install the Commvault software from the store: link
Configuration
Initial wizard
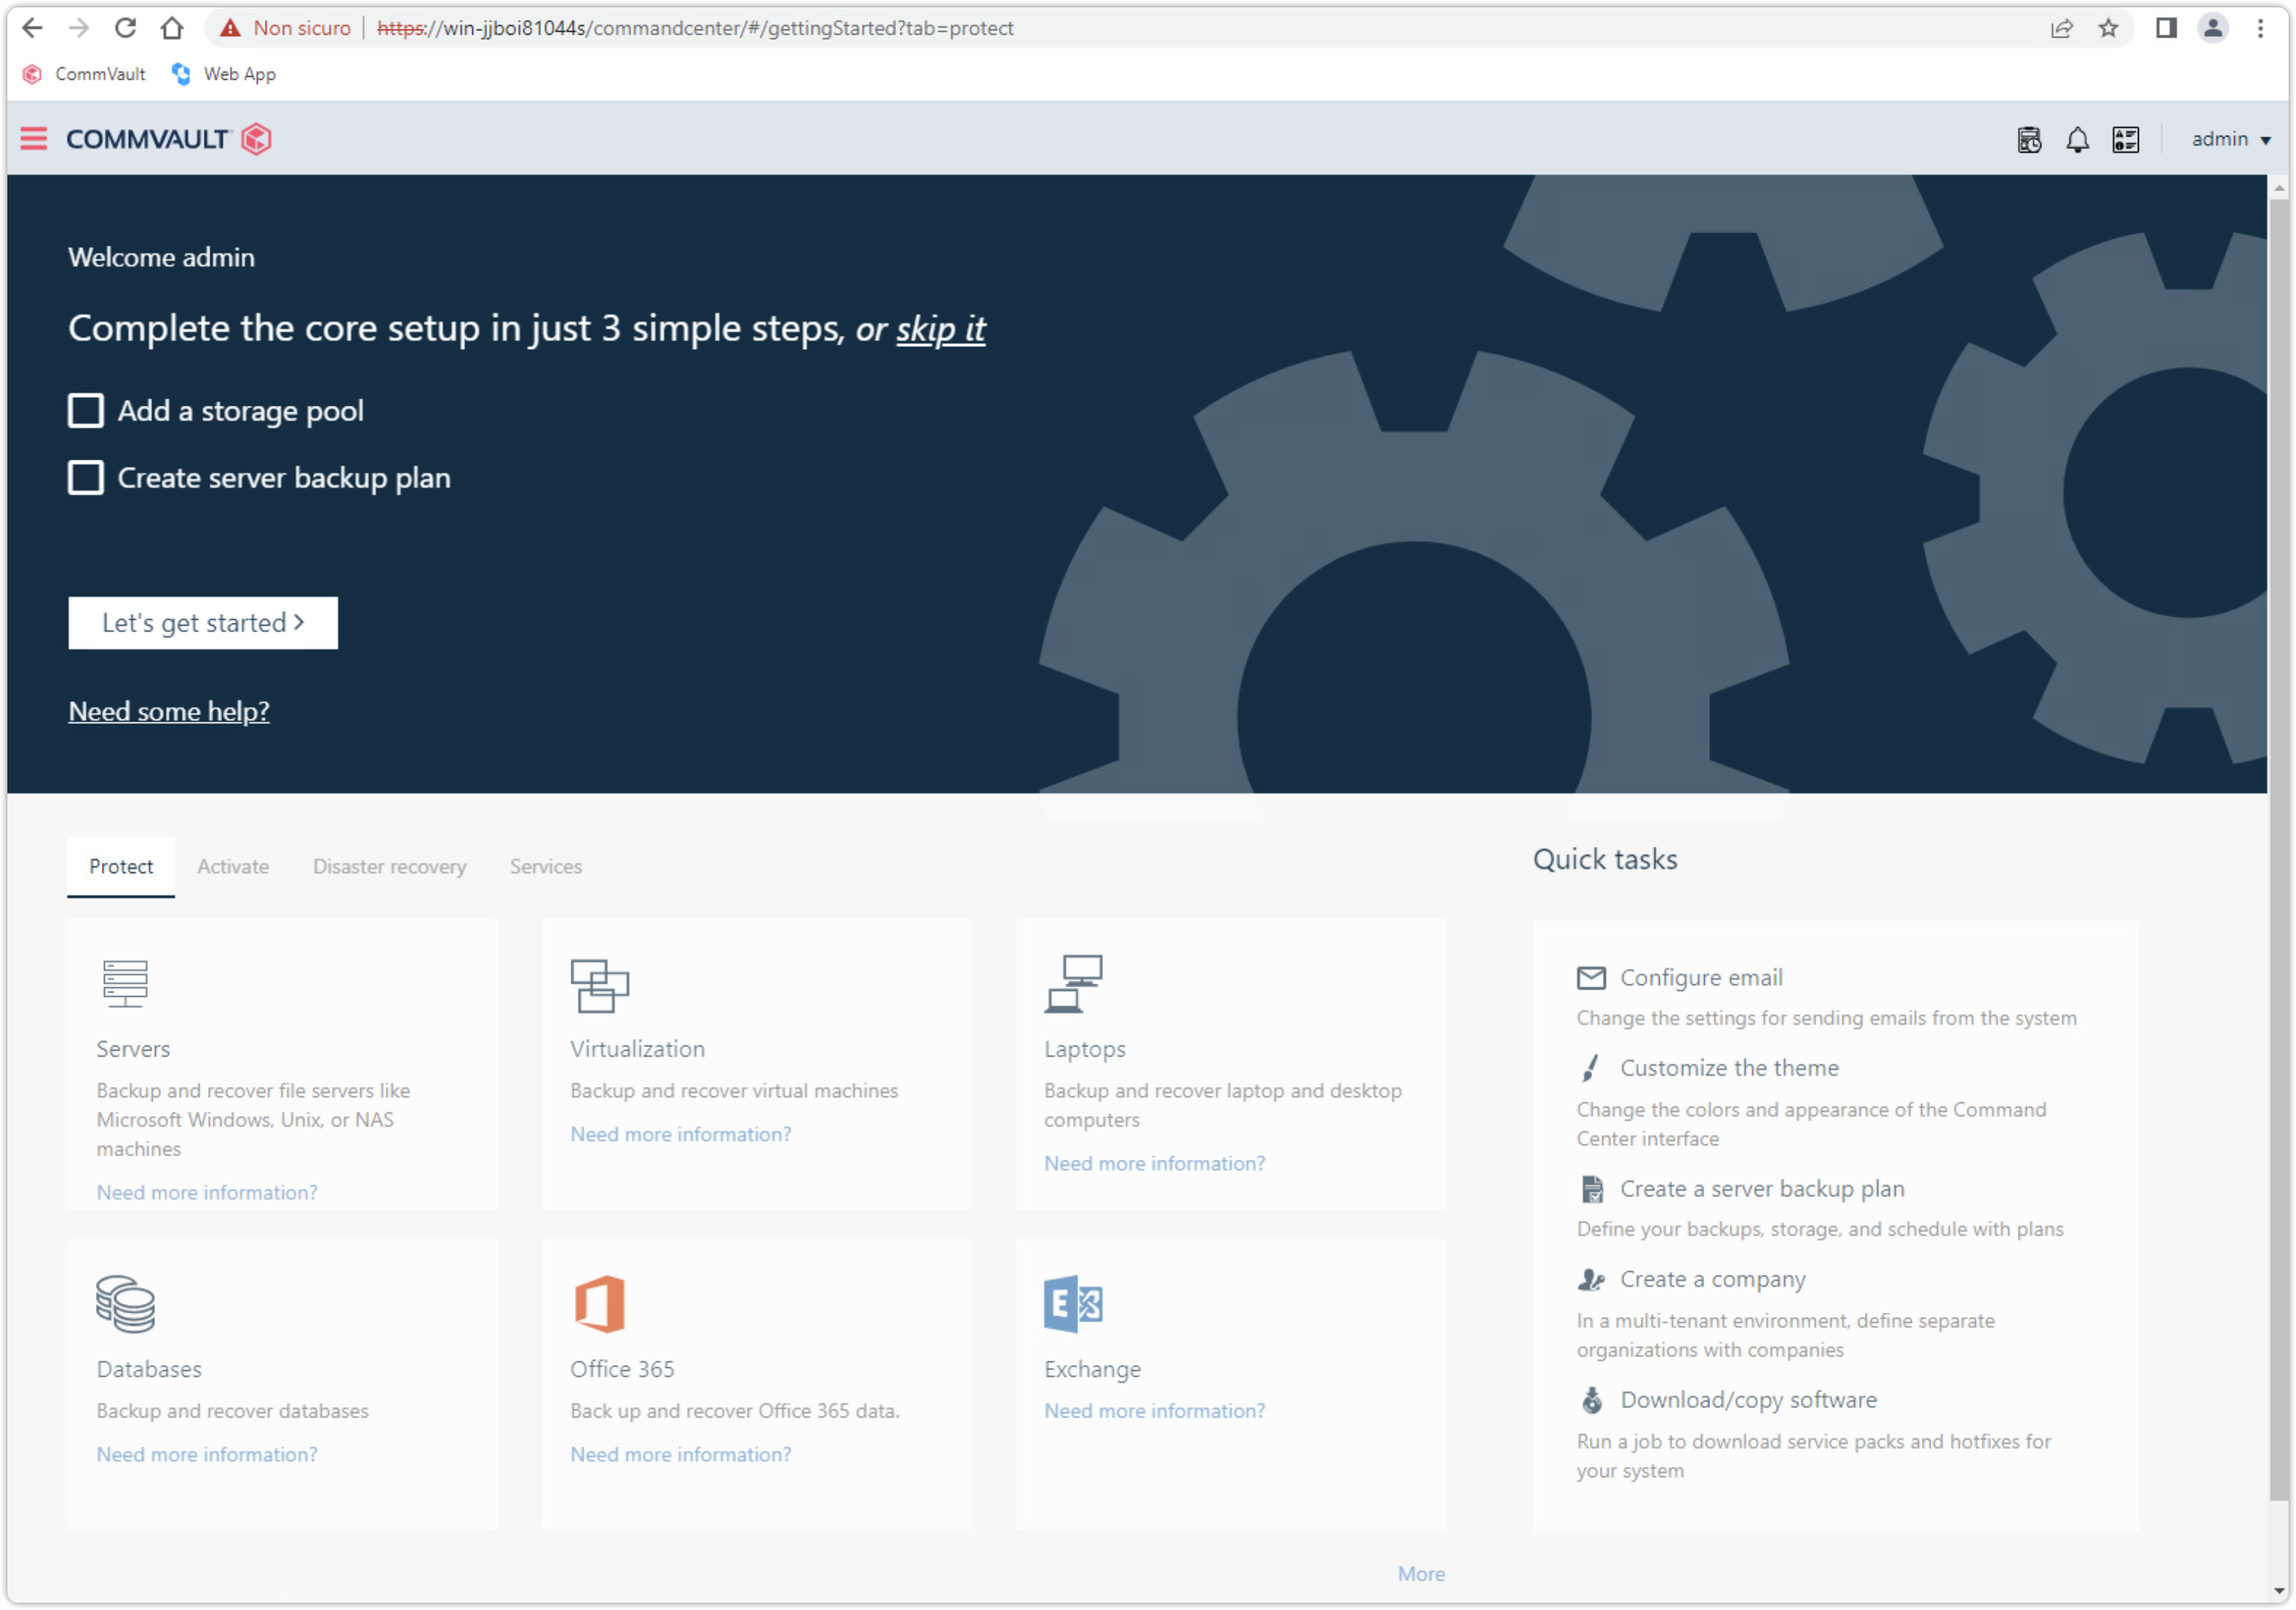
After installing the Commvault software and following the initial procedure, you will be able to reach the Command Center through the browser by typing the following address https://hostname/commandcenter/
Launch the wizard now by selecting the Let's get started button.
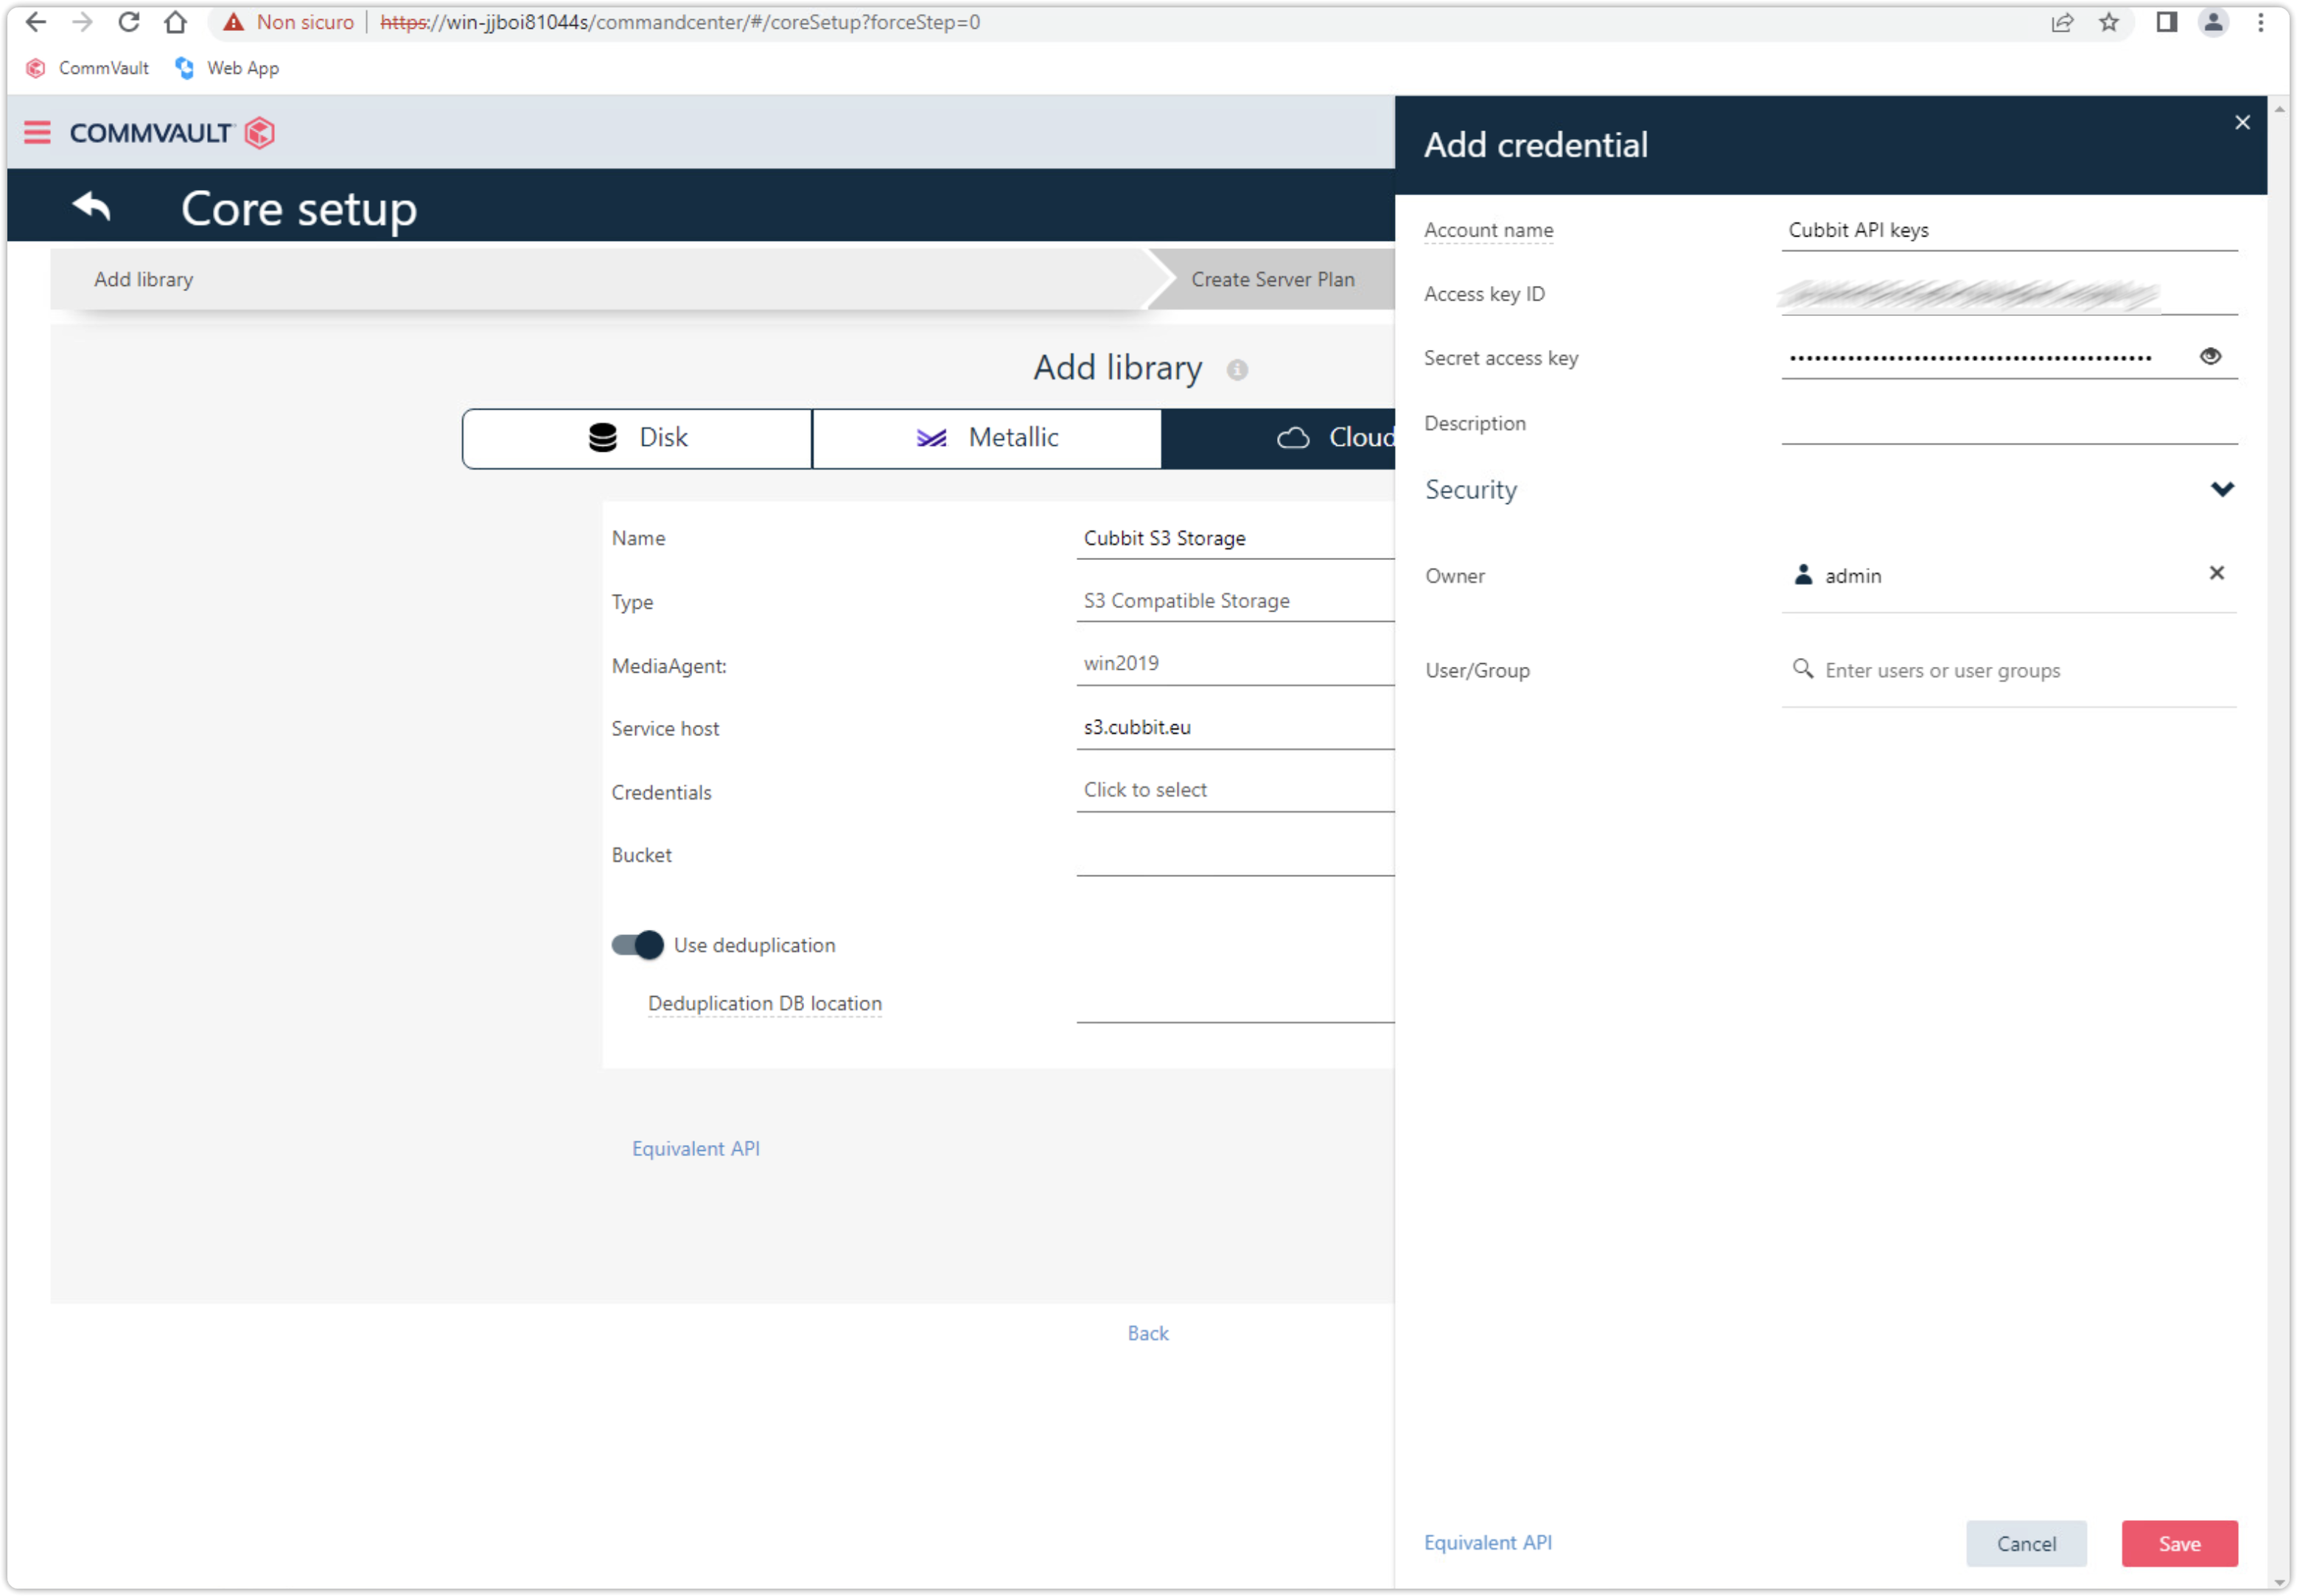
Select the Cloud tab and under service host enter s3.cubbit.eu or if you have a custom tenant s3.[your-tenant].cubbit.eu.
Enter the access key and secret key credentials generated in the (Prerequisites), as shown in the following image.
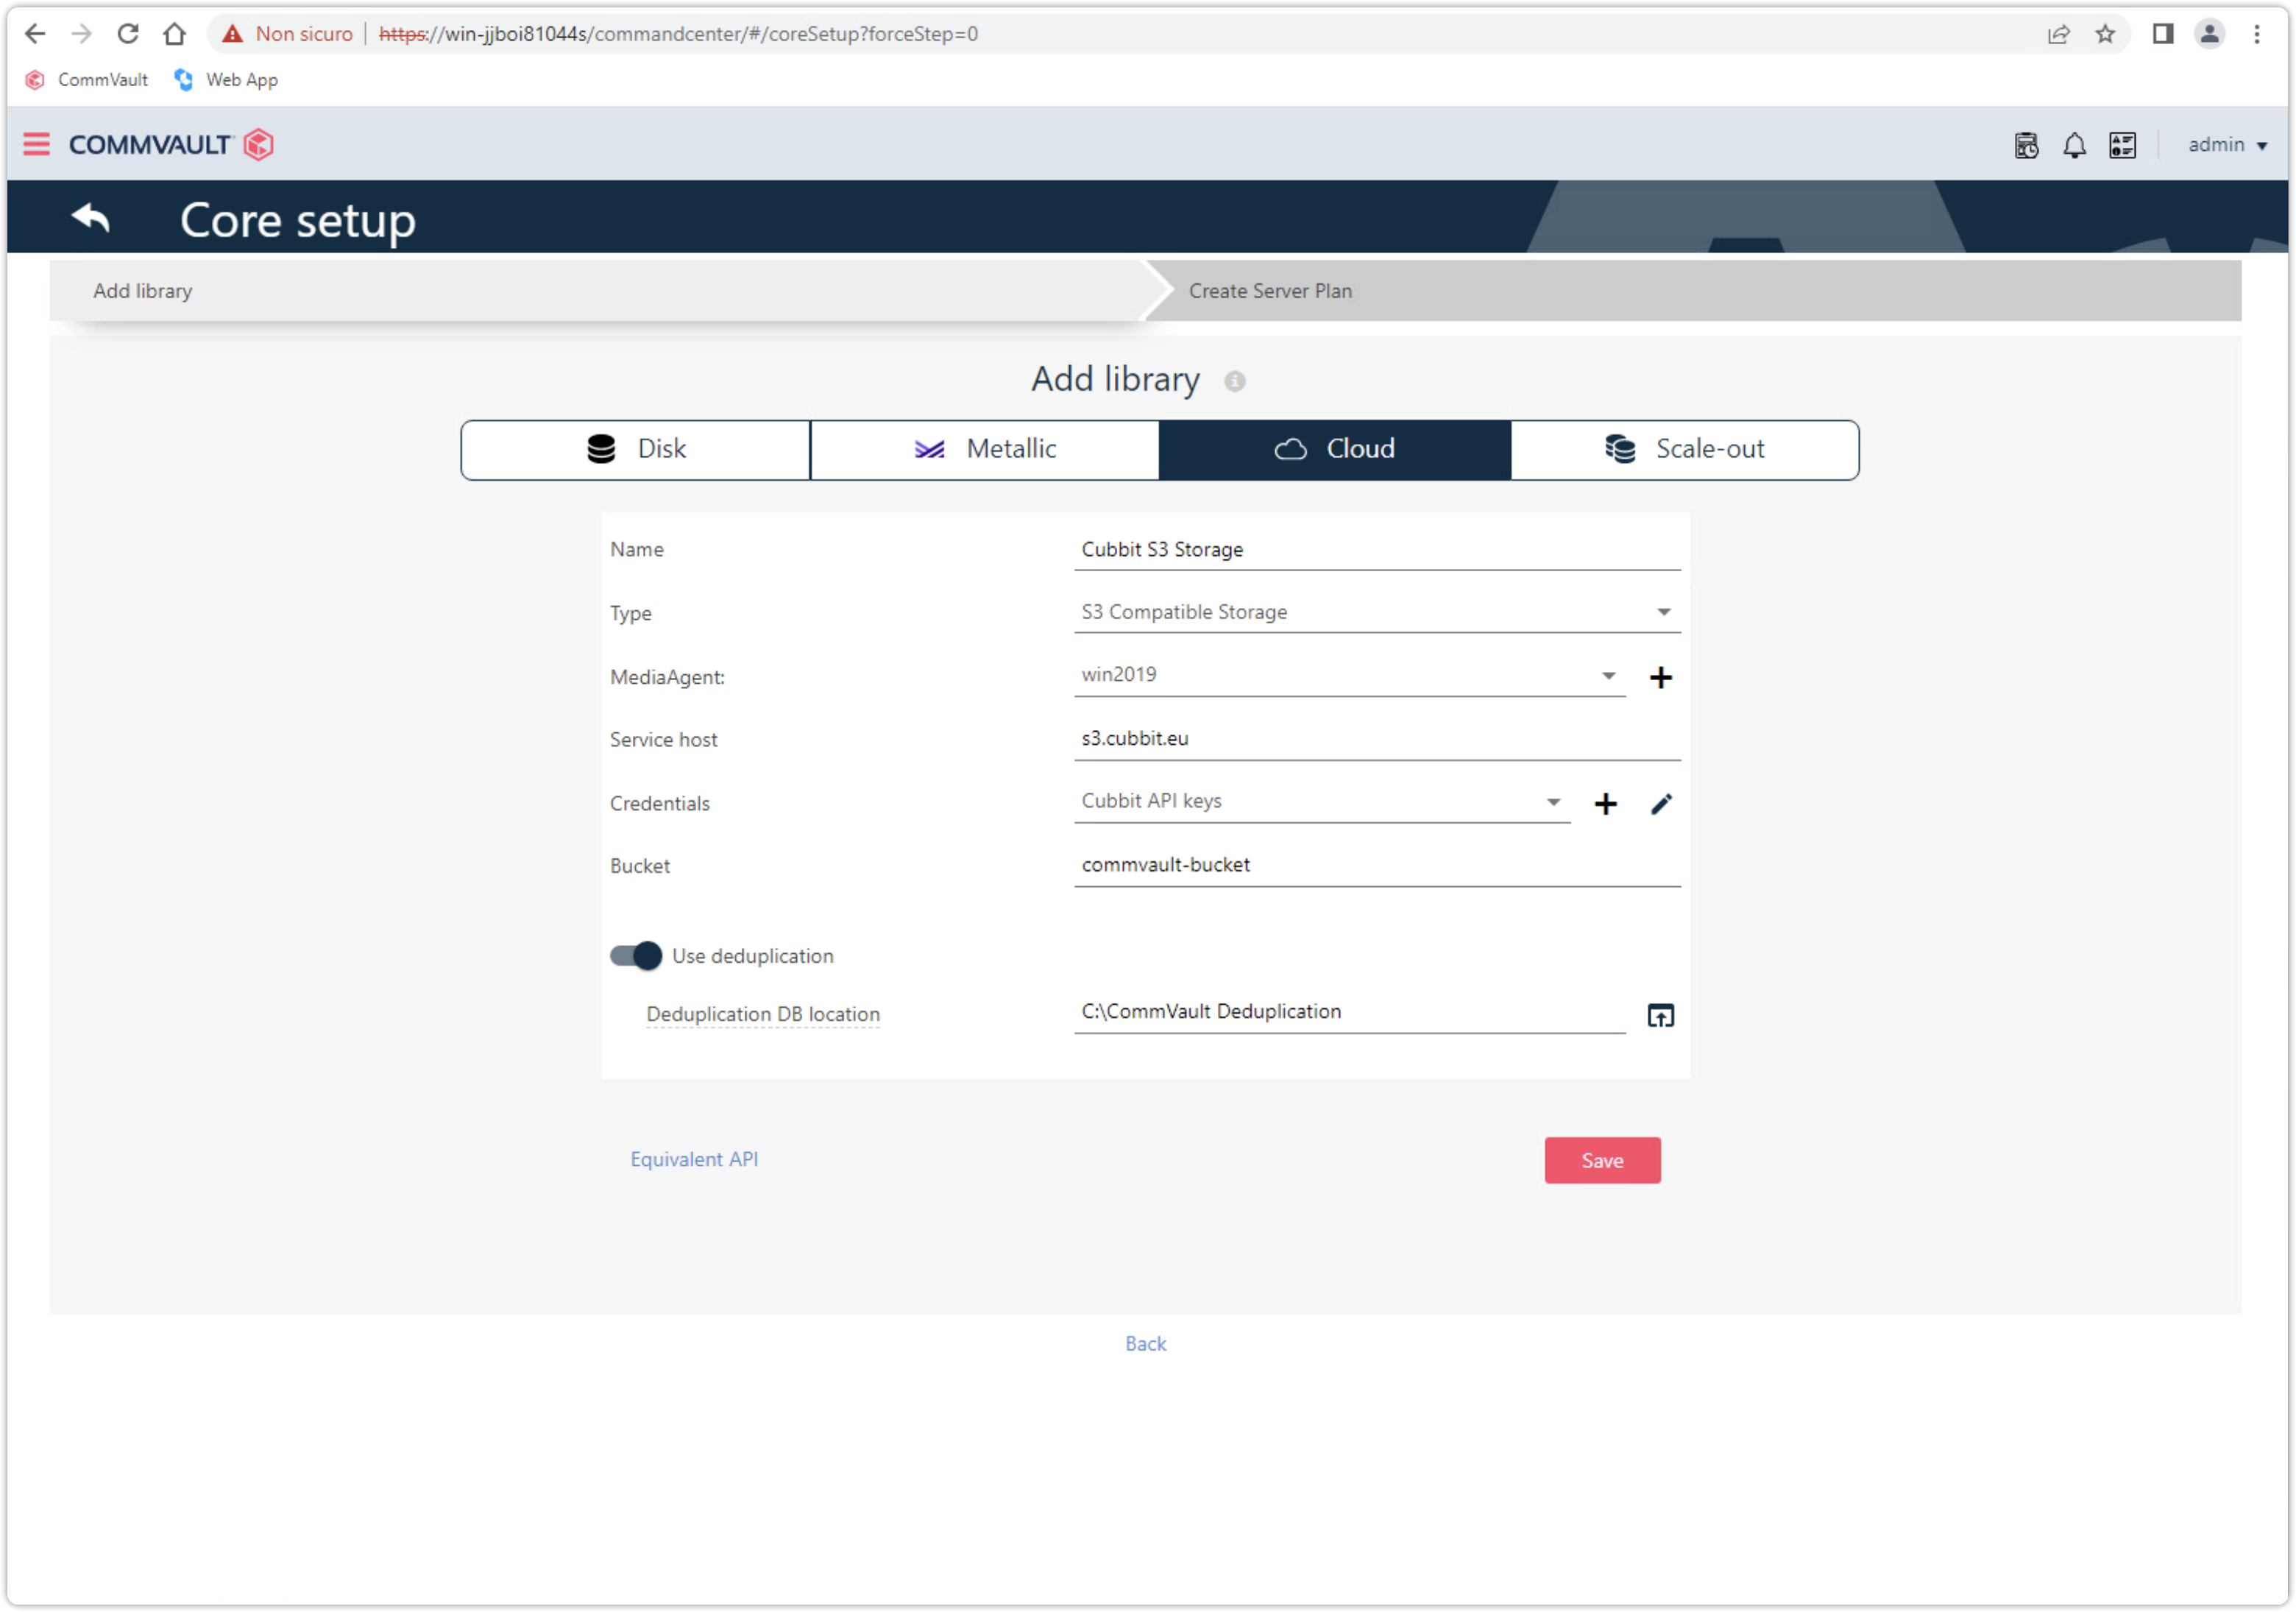
Enter the name of the bucket created previously in the (Prerequisites) section on the Cubbit Web Console, as shown in the following image.
Enable deduplication and select a new folder on disk C: as the deduplication destination.
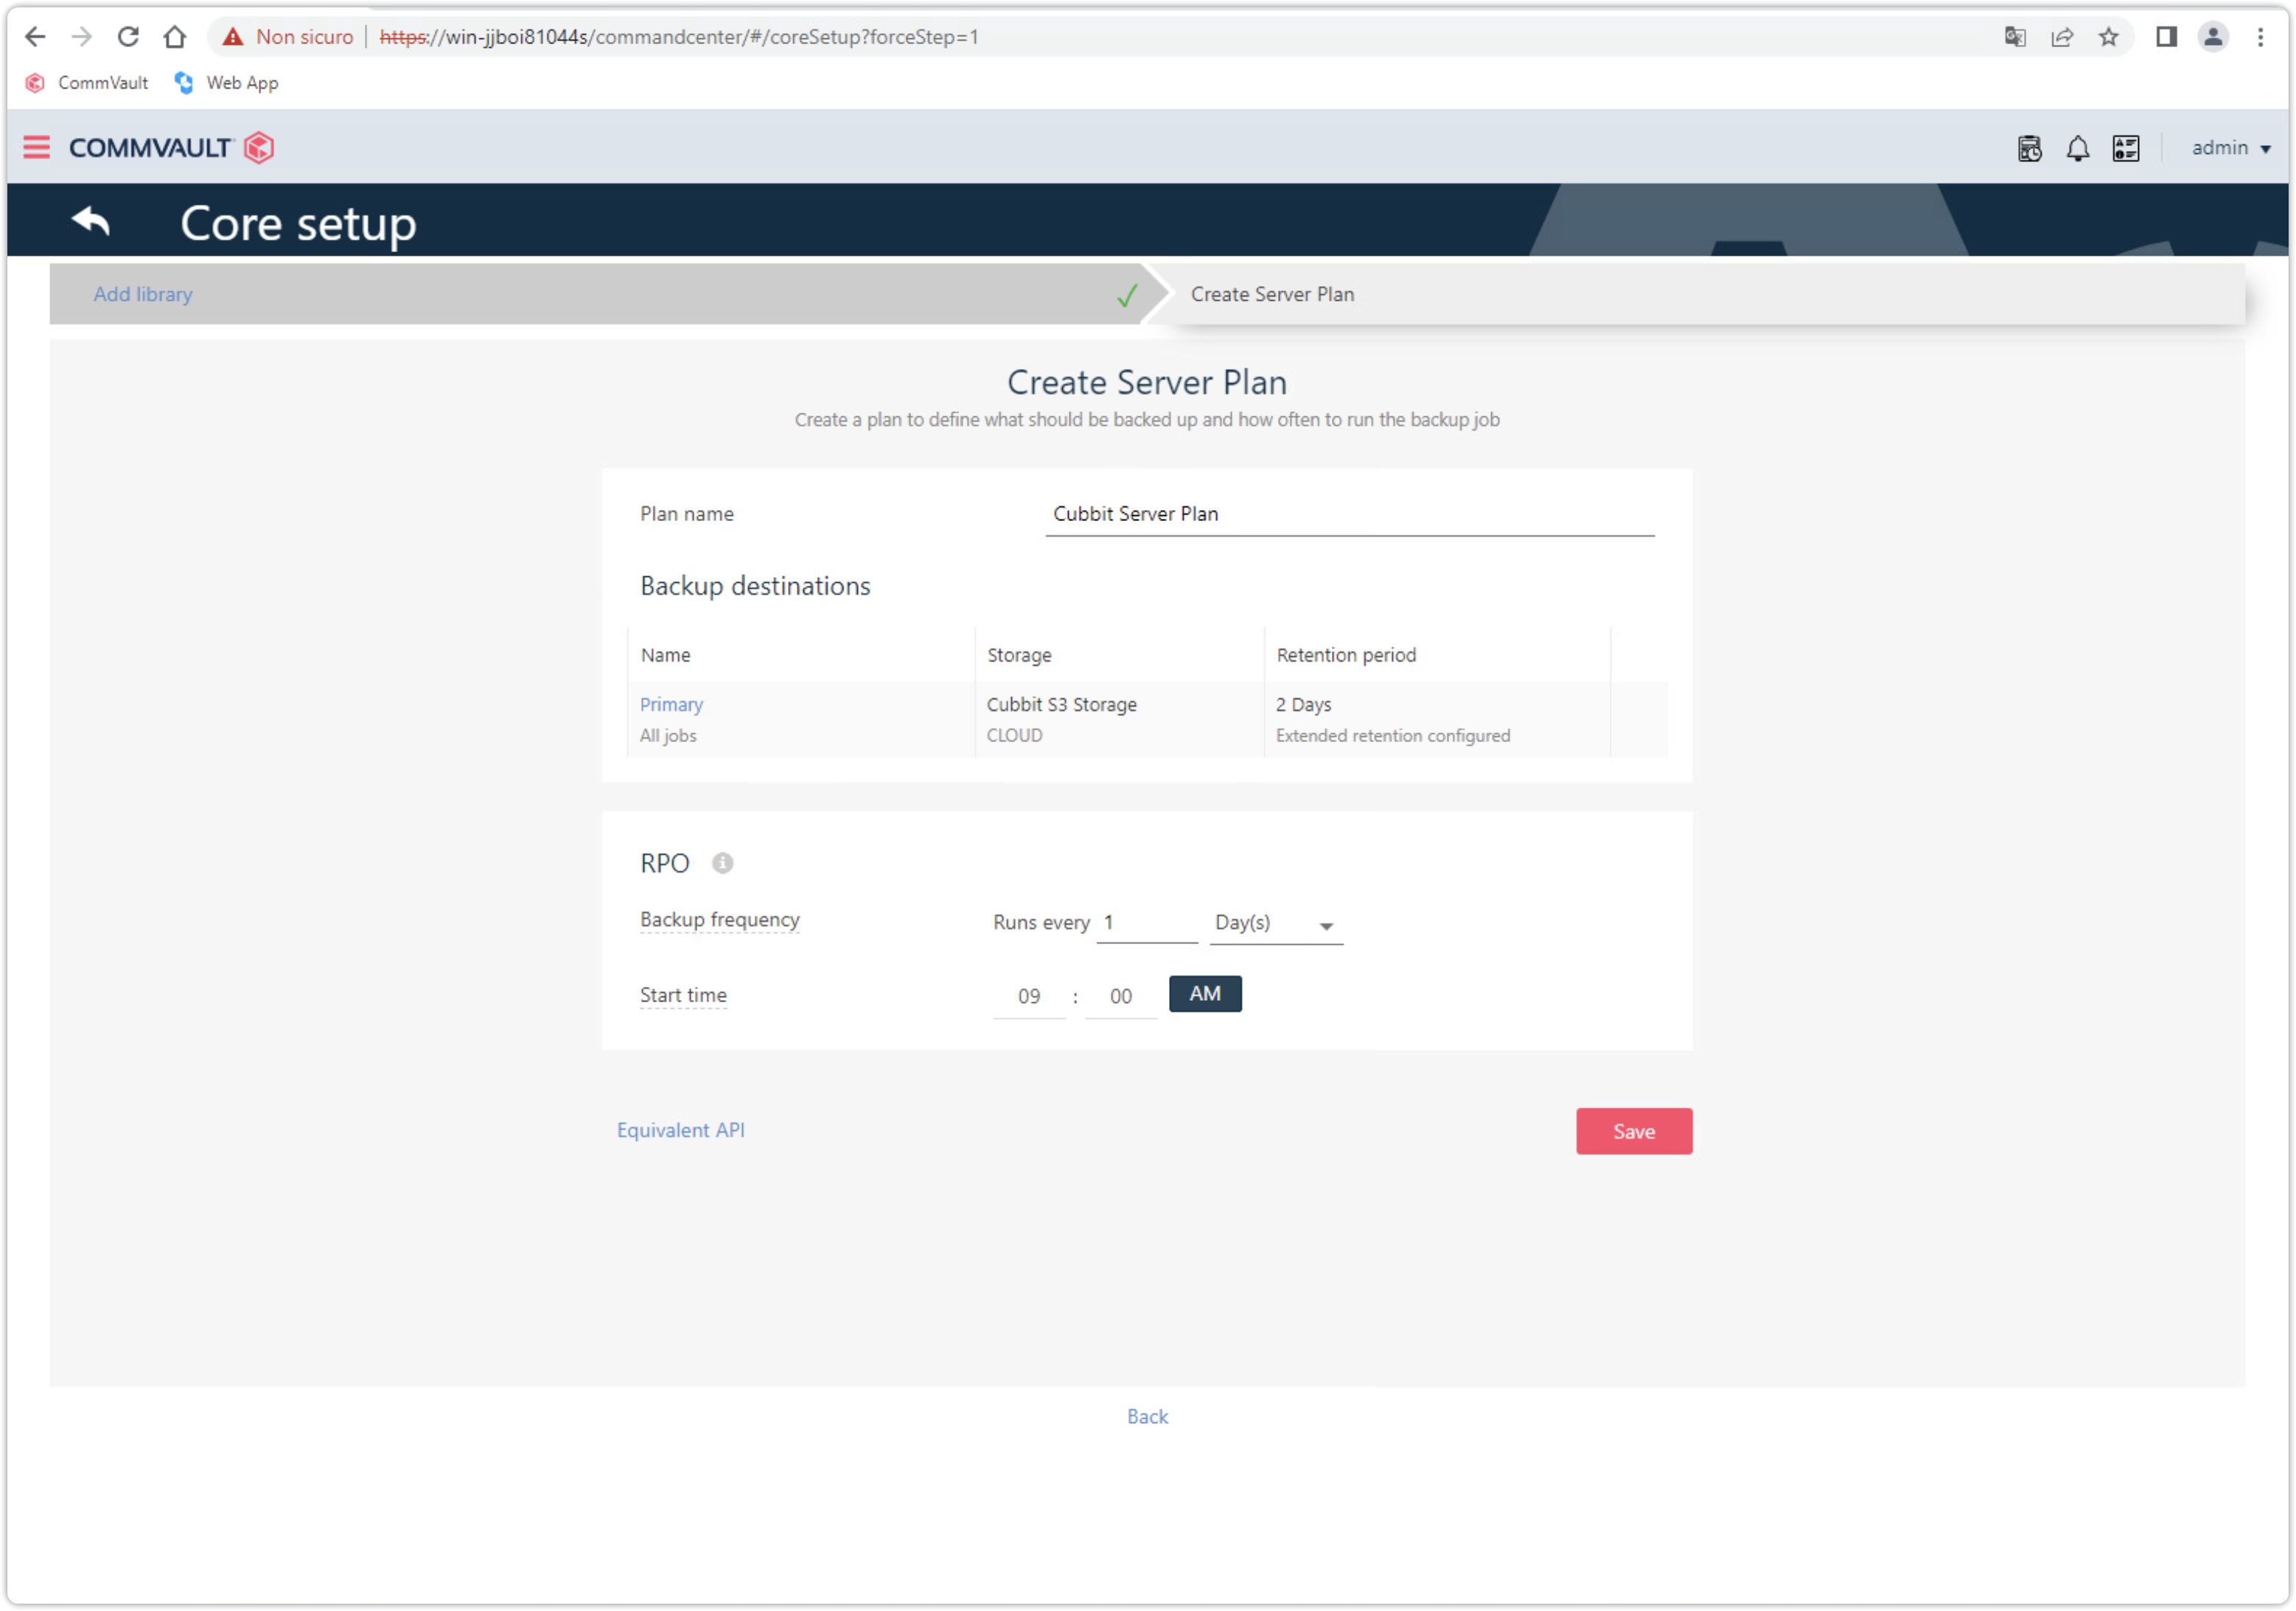
Configure backup retention according to your needs.
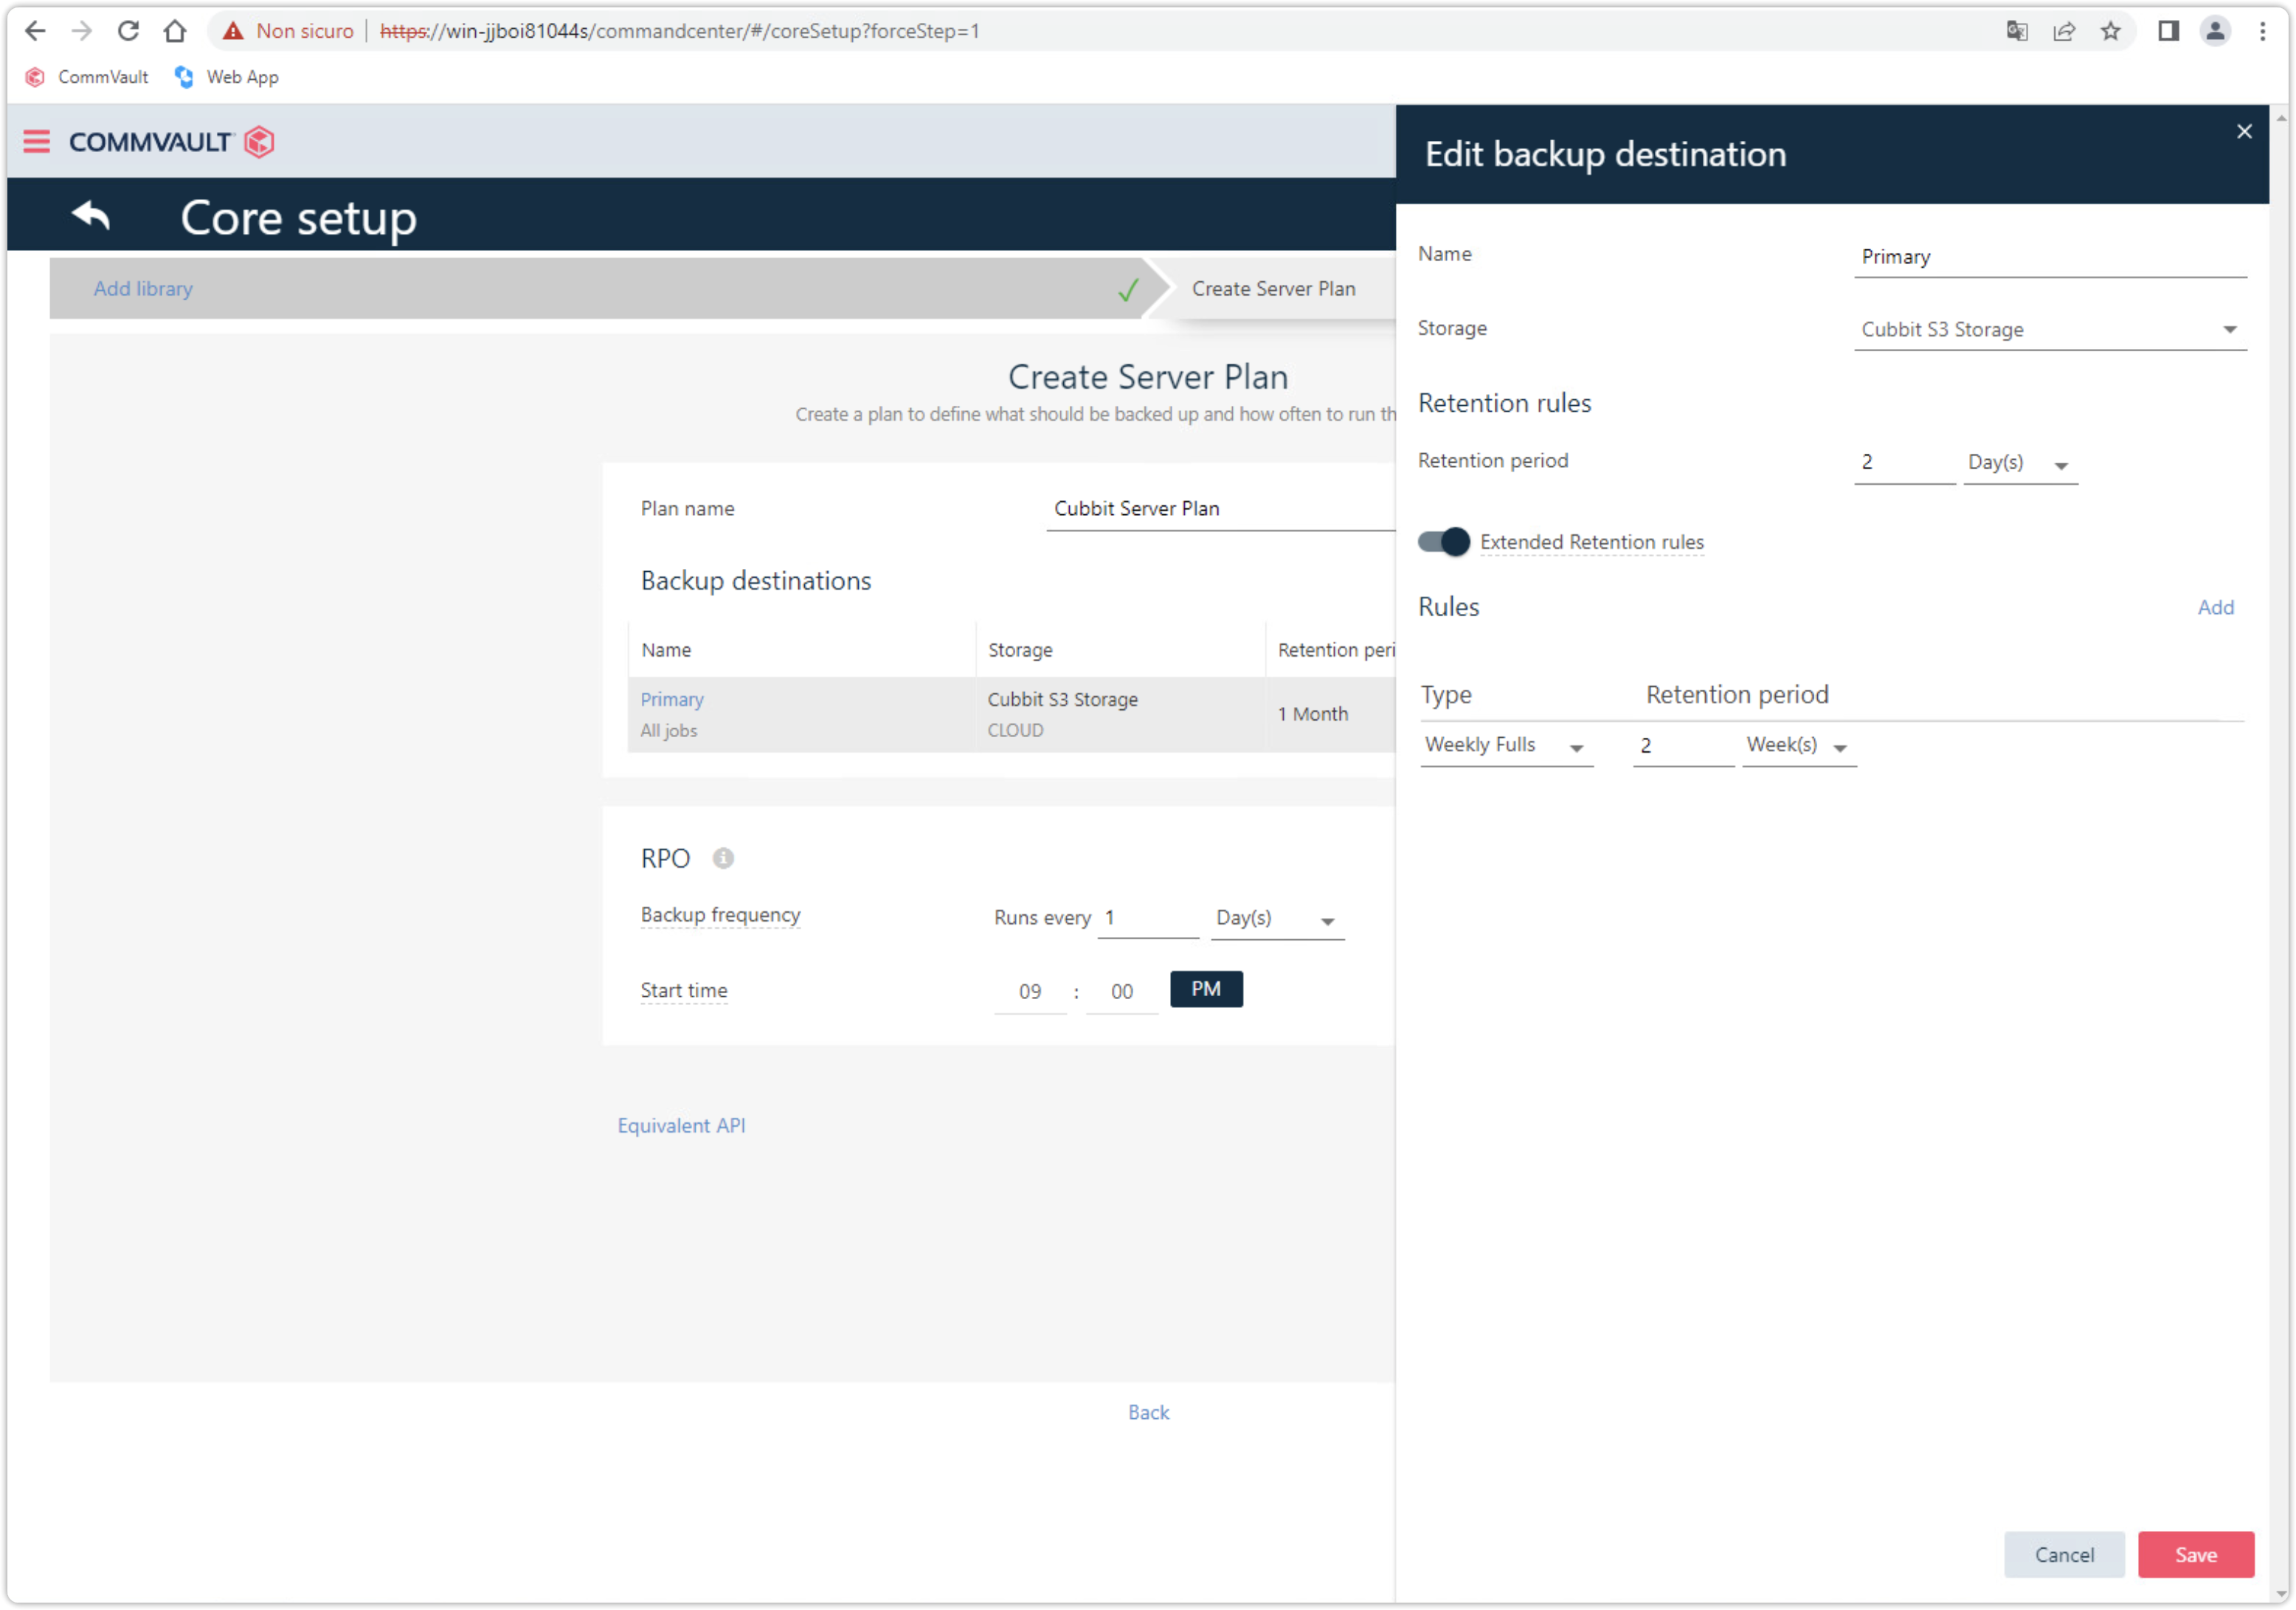
Click Save to complete the wizard.
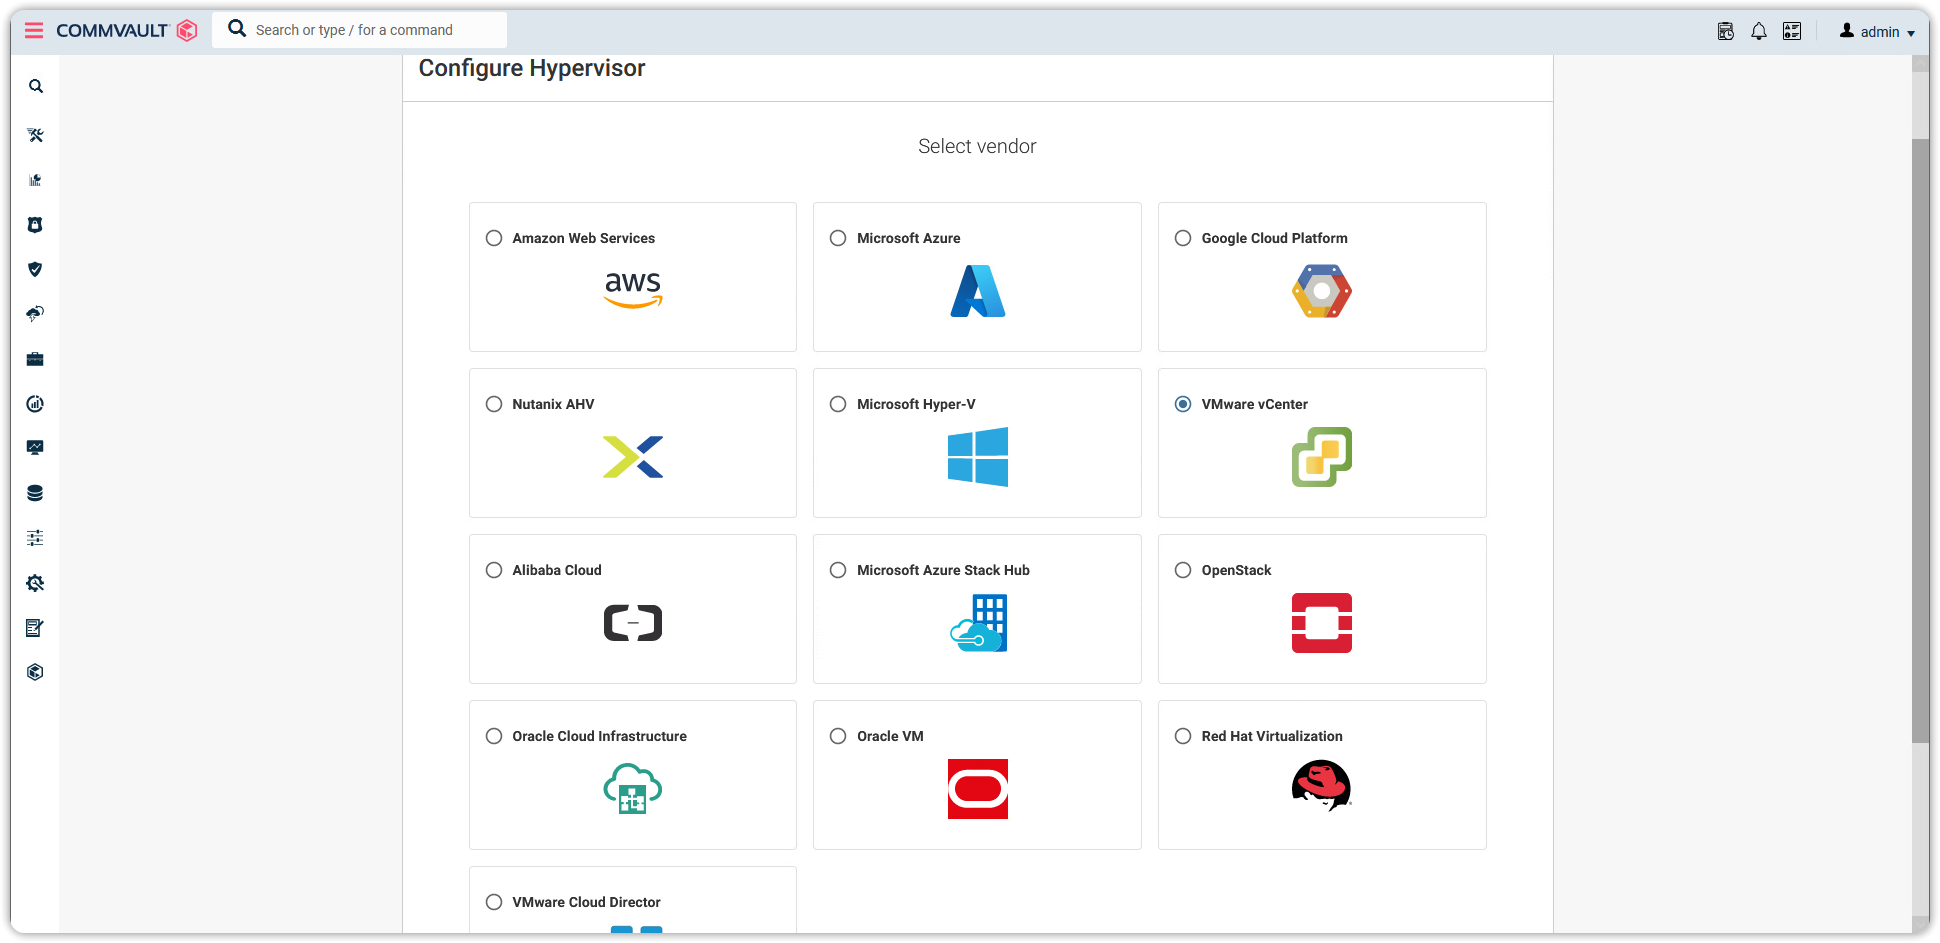
Hypervisor Configuration
From the Virtualization section of the Guided setup page, you can configure the manager of the infrastructure in use. In this example, VMware Vcenter (ESXi server) will be used.
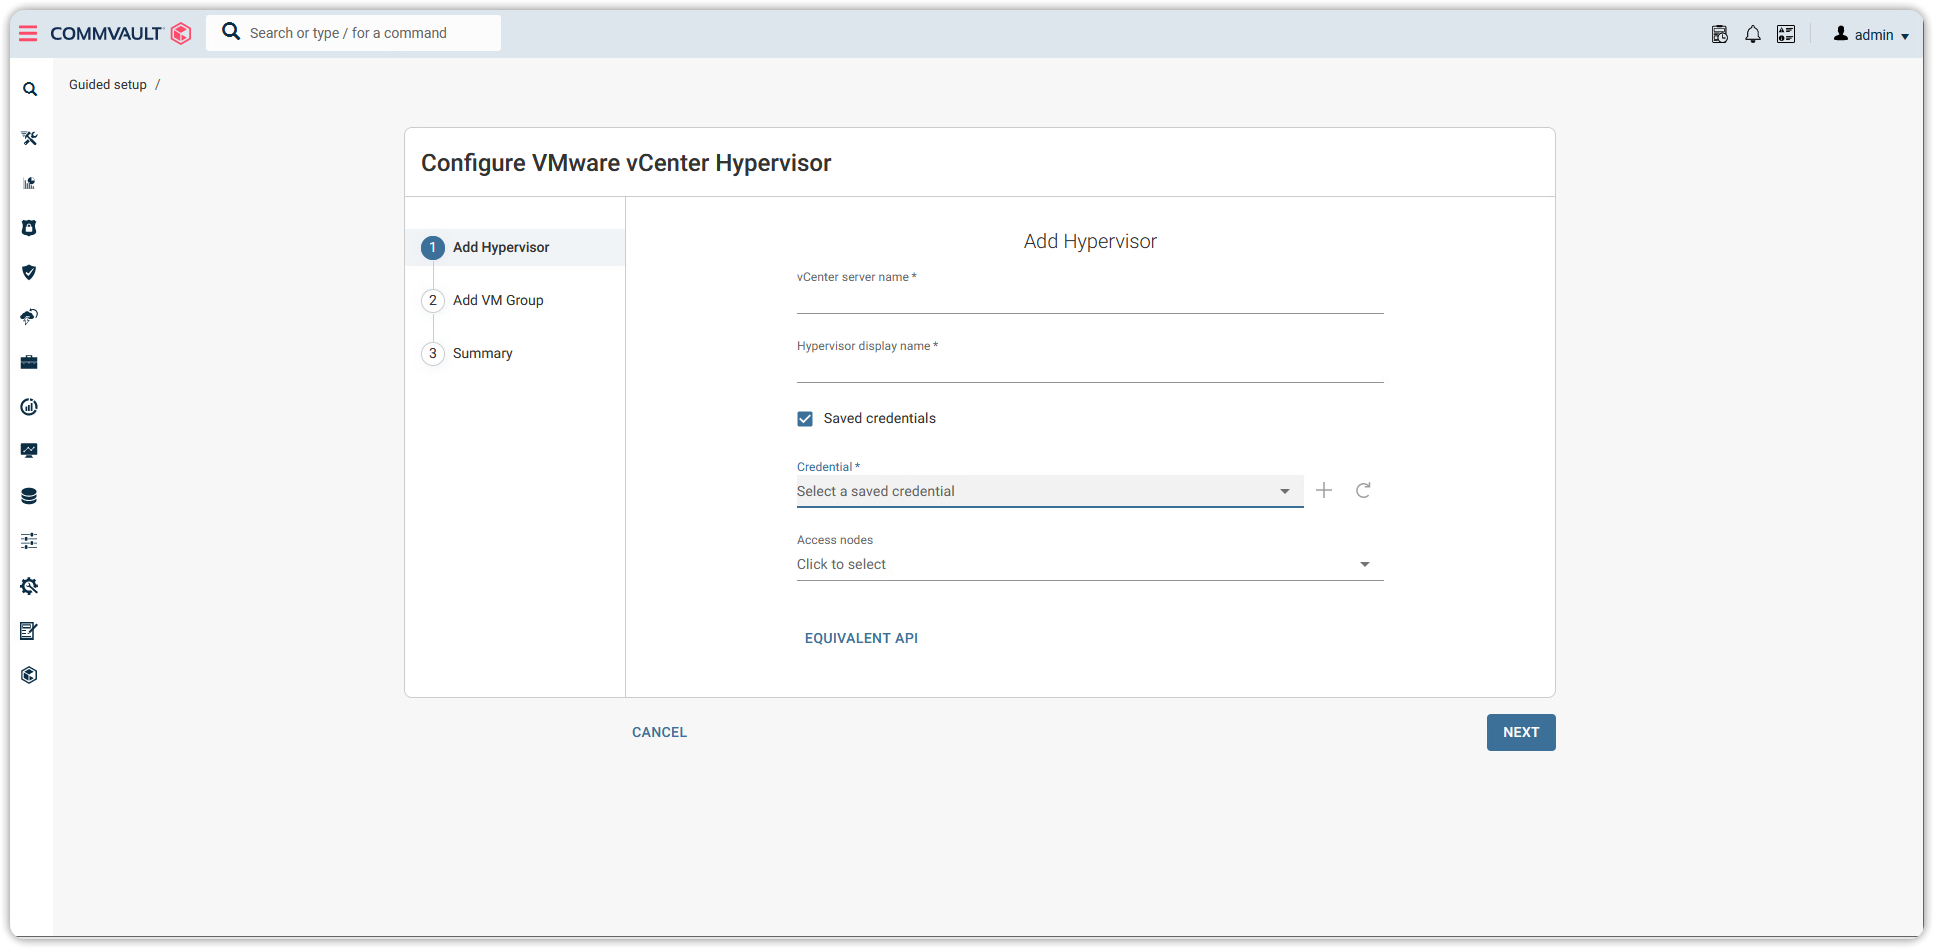
Follow the wizard and add your infrastructure parameters where needed.
Select the server plan created earlier.
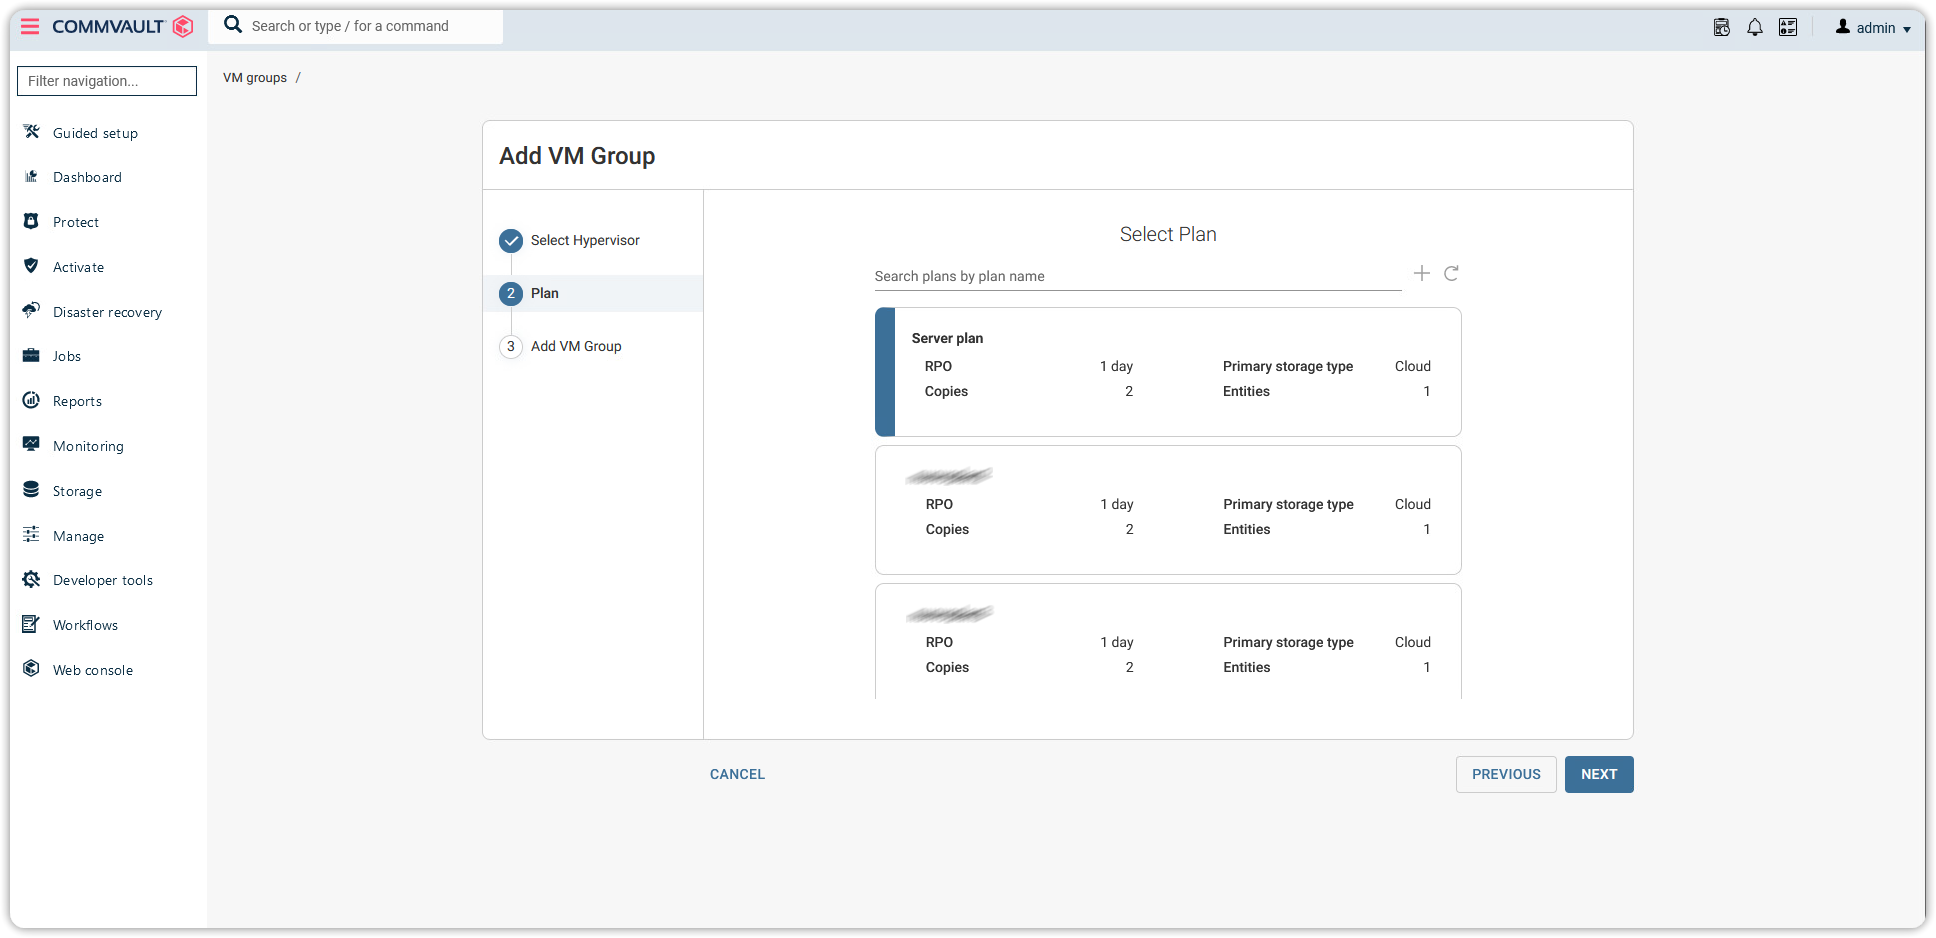
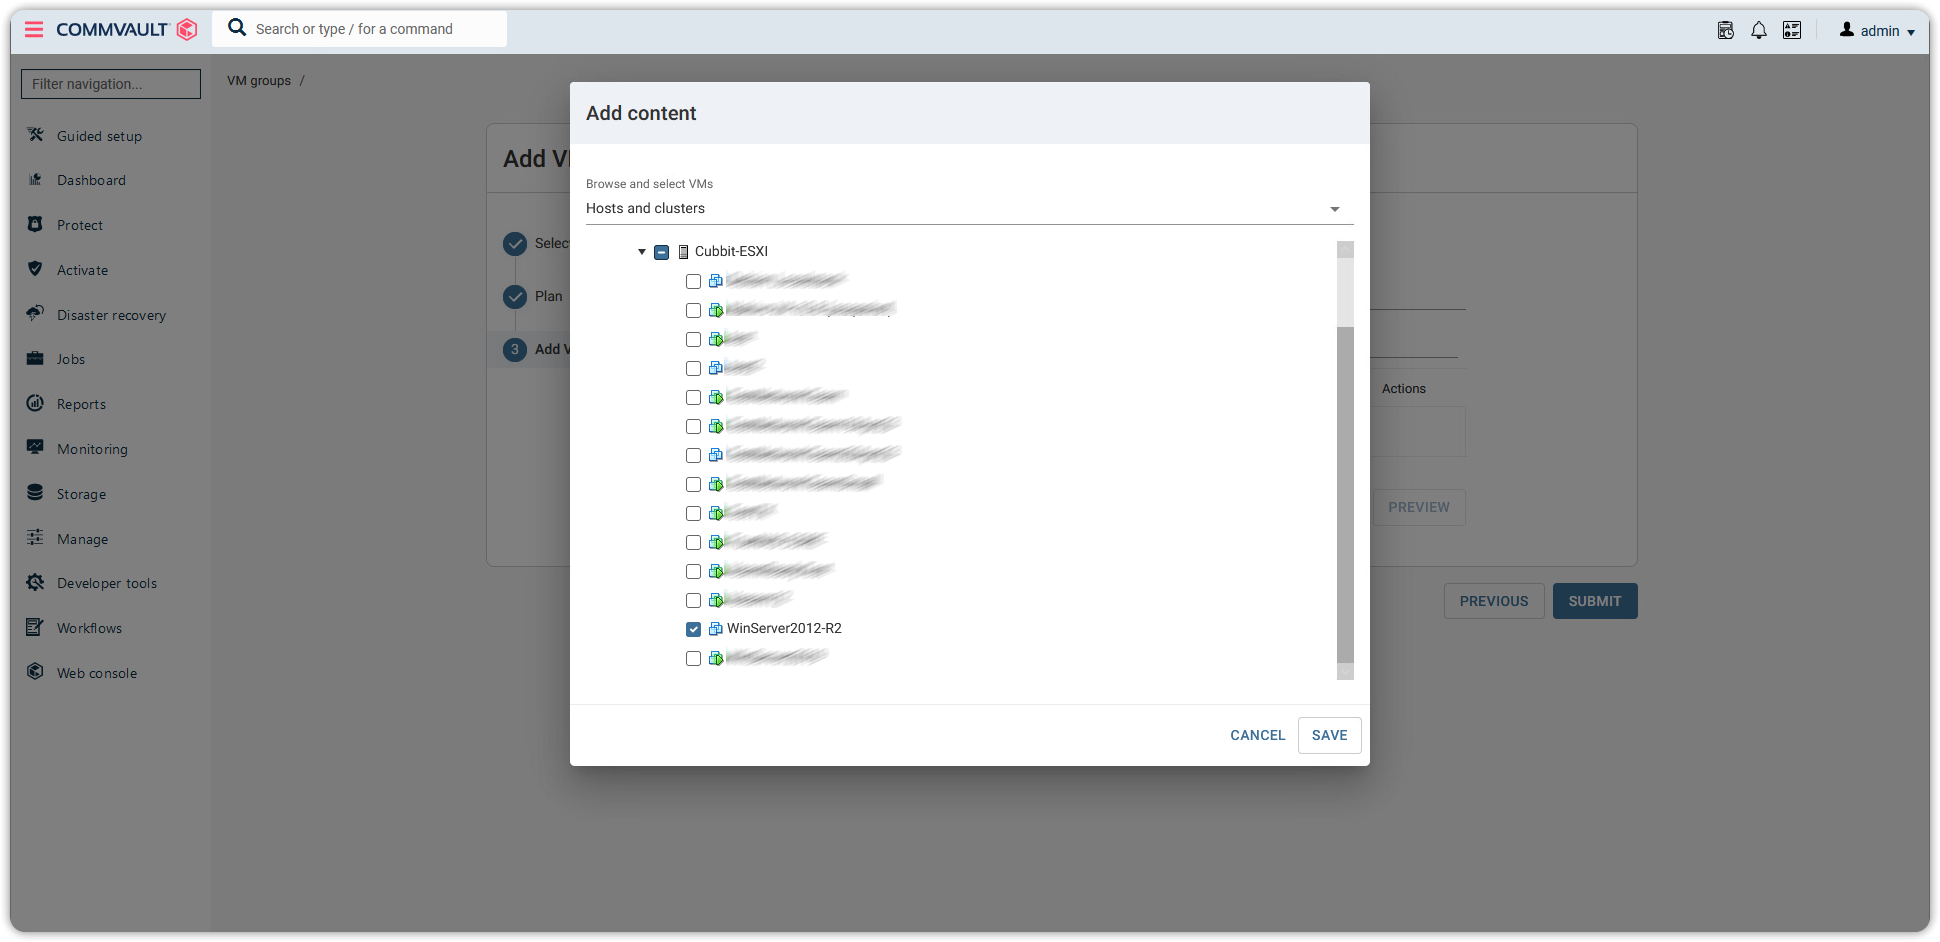
On the VM Group tab, add one or more VMs via the Add Content button in the newly created VM group. Press Save, re-flag all the selected VMs and finish the procedure.
How to
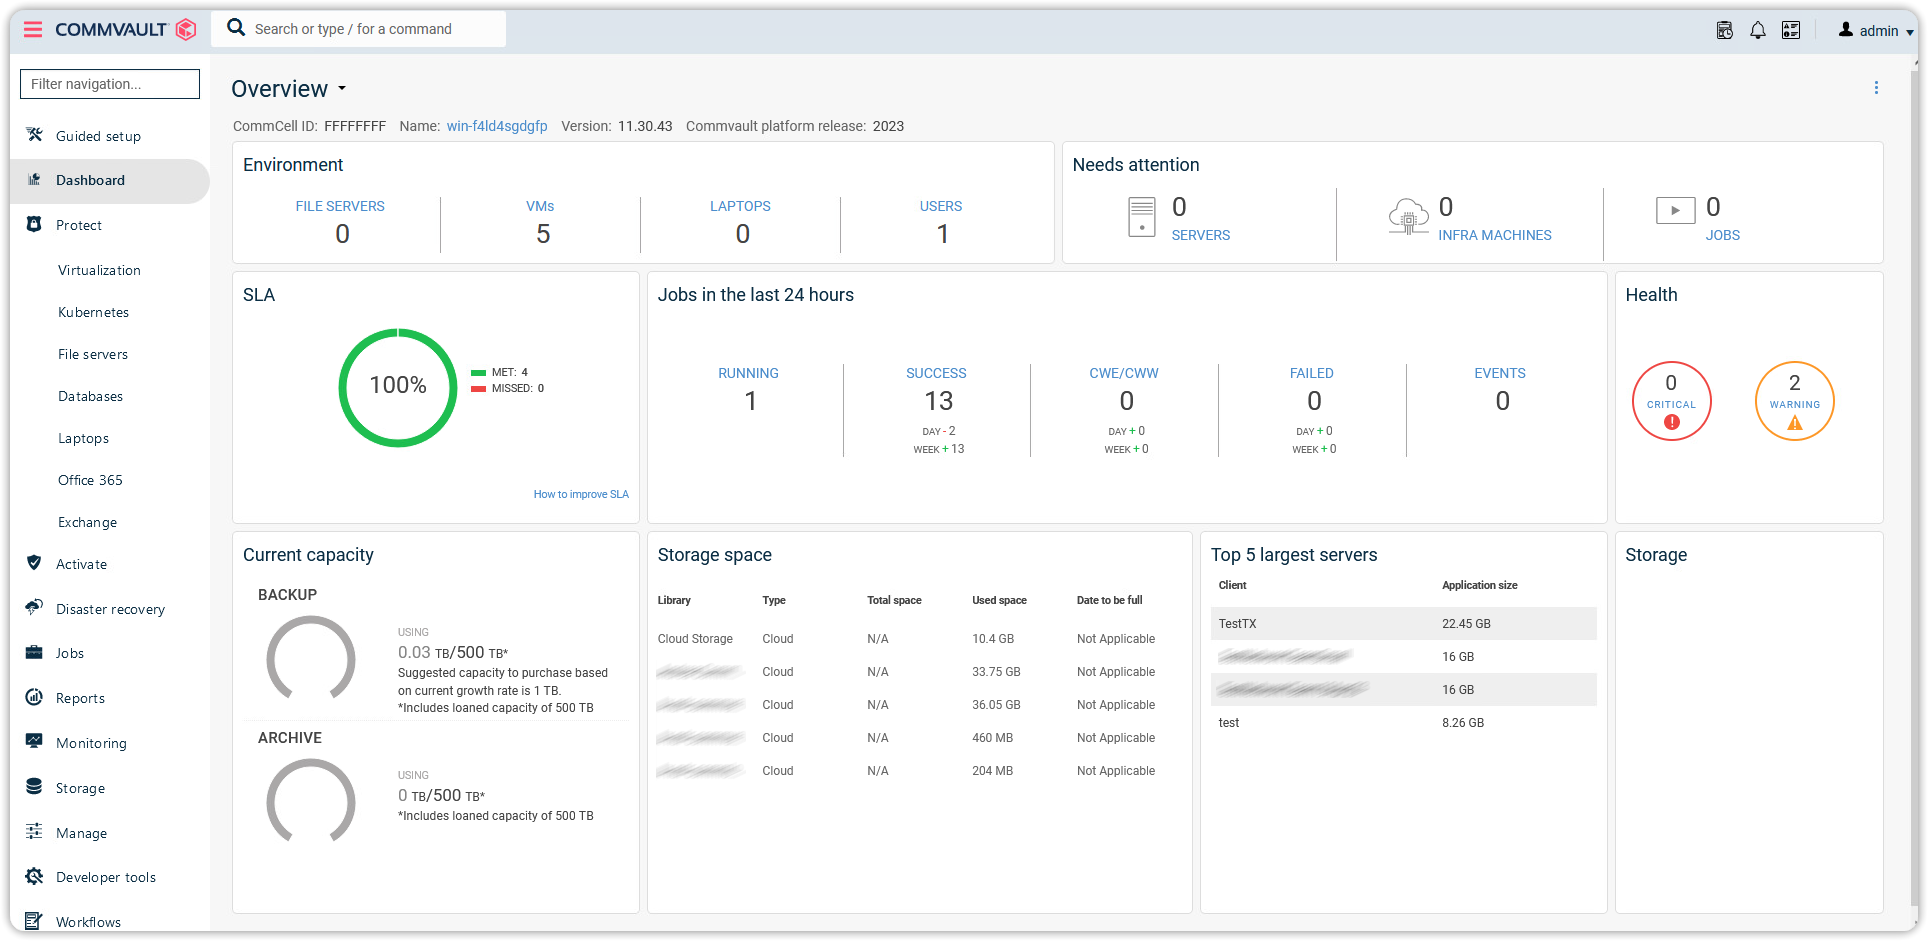
From the Main Dashboard on the side menu, select Protect and then Virtualization.
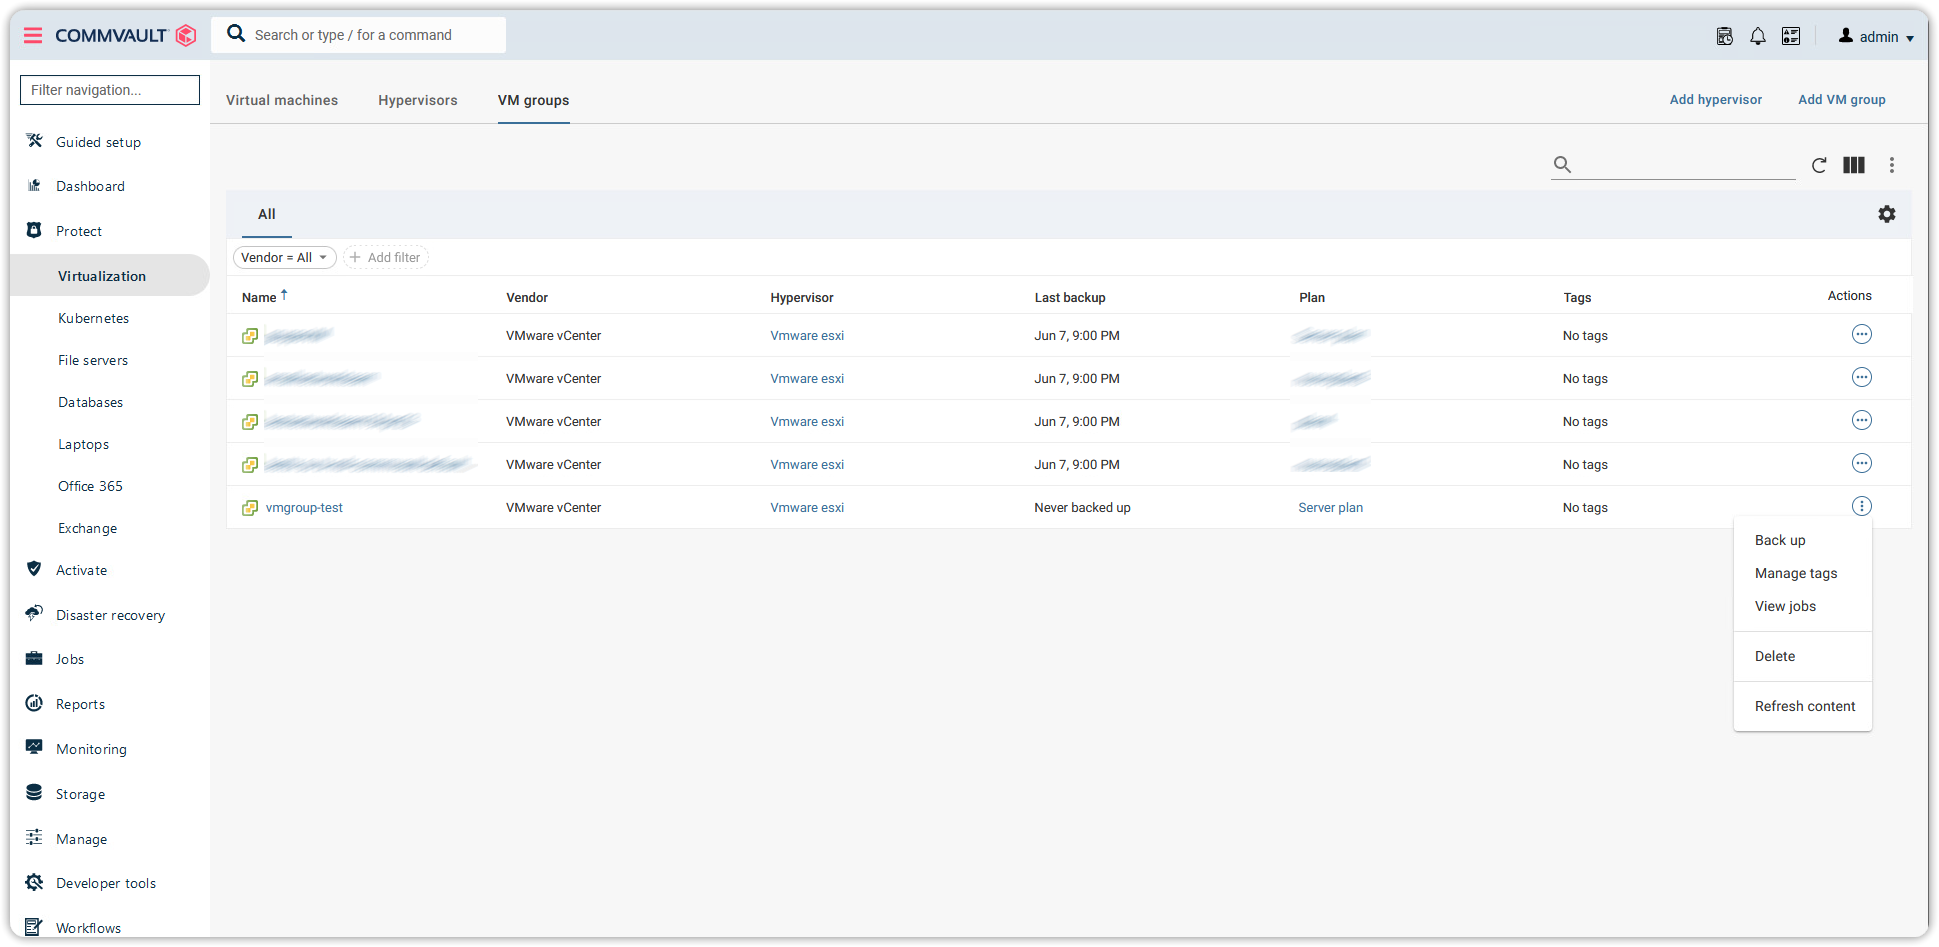
Select the VM groups tab on top, press the button for the selected VM group, and select Back up.
Select the type of backup you want to perform for the chosen group of VMs and press Submit.
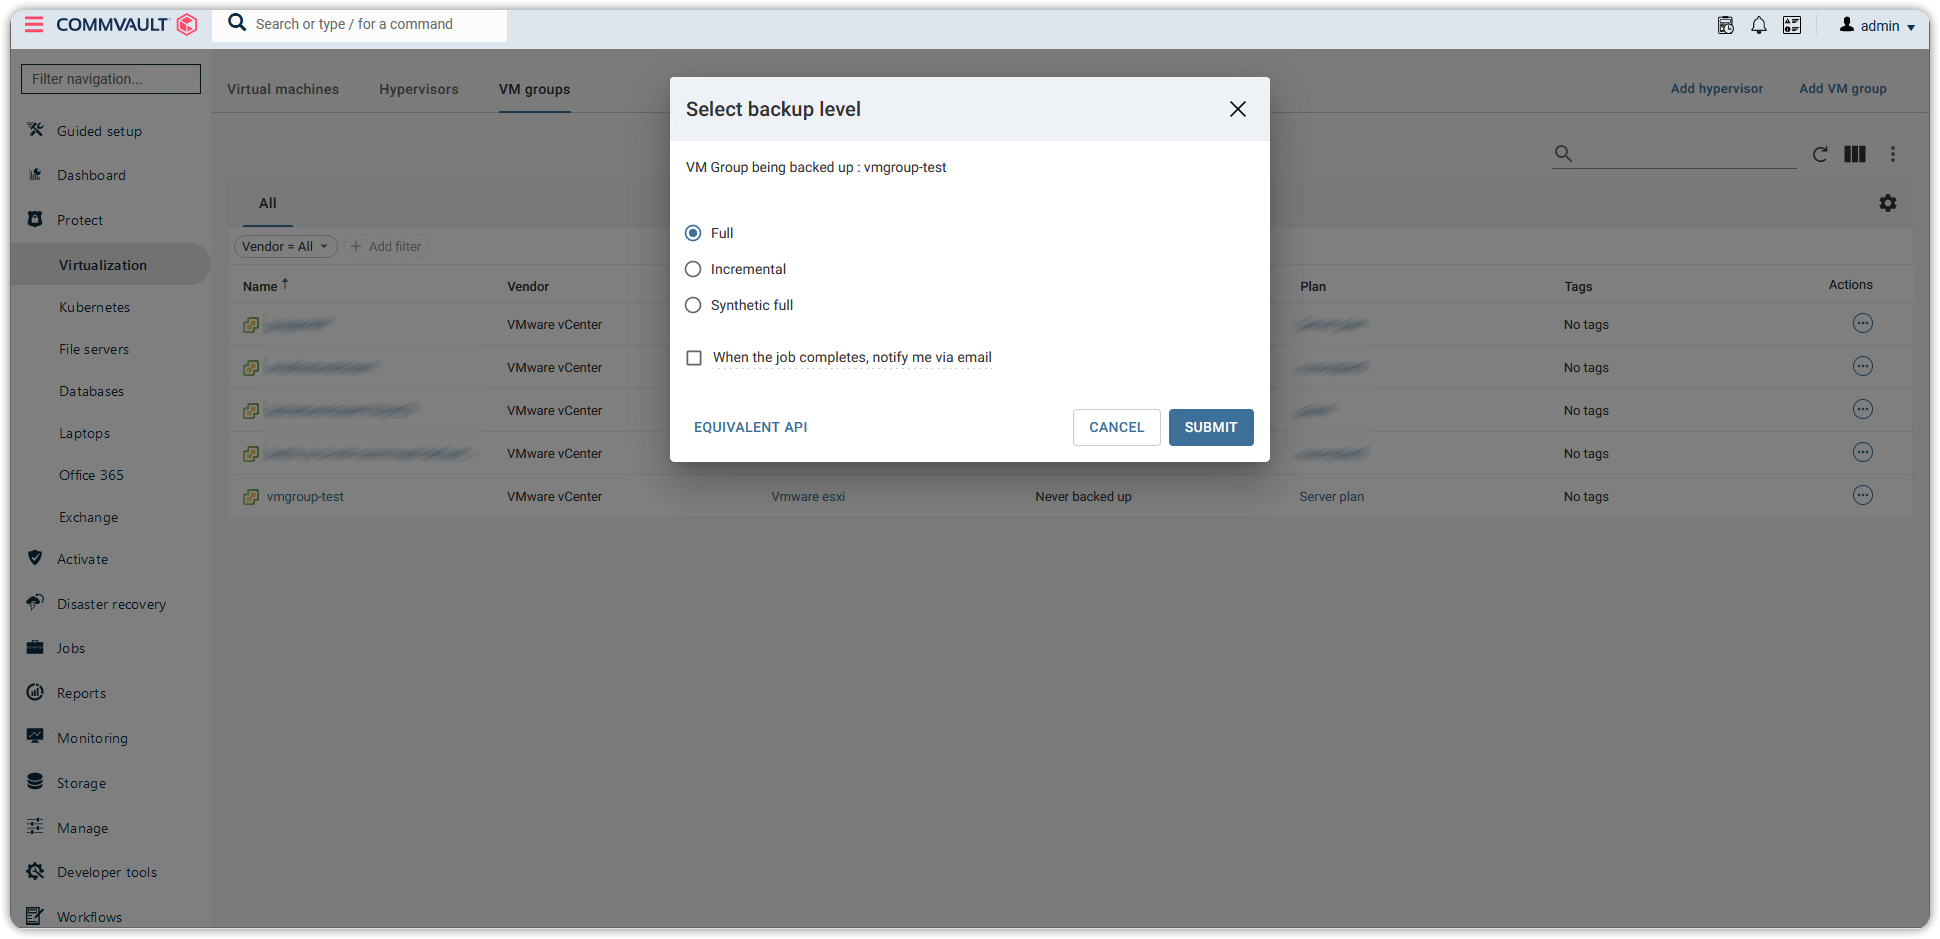
Congratulations! The backup via Commvault of your VMs has been configured and initiated correctly to the Cubbit DS3 geo-distributed cloud.
For more information on the use of Commvault products, you can refer to the official documentation.