Nasuni
Intro
Nasuni is a hybrid cloud storage system that can connect to Cubbit DS3 to provide a file share with protocols such as SMB and NFS for easy file access across all environments while protecting files with Continuous File Versioning. The Nasuni Edge appliance also makes extensive use of caching giving users and applications LAN-speed access to files.
Prerequisites
To set up Nasuni with Cubbit, you first need to get your access and secret keys from the Cubbit Web Console or https://console.[your-tenant].cubbit.eu. You can follow the instructions provided to create a new Cubbit account and generate these keys.
To be able to configure Nasuni with Cubbit DS3 it's required to have the license for the Amazon S3 connector otherwise you won't be able to add the credentials for S3-compatible storage.
Installation
Nasuni can be deployed as a single Edge Appliance or together with the Management Console to monitor and configure multiple appliances from a single dashboard.
You can start by downloading the Nasuni Edge Appliance and installing it on each of your virtual environments like VMware ESXi. If you have more than one appliances you also need to install the Nasuni Management Console and follow the instructions that appear after the first log-in.
Configuration of Nasuni Filer
If you have multiple appliances you can jump to the next section to do the configuration directly from the Management Console.
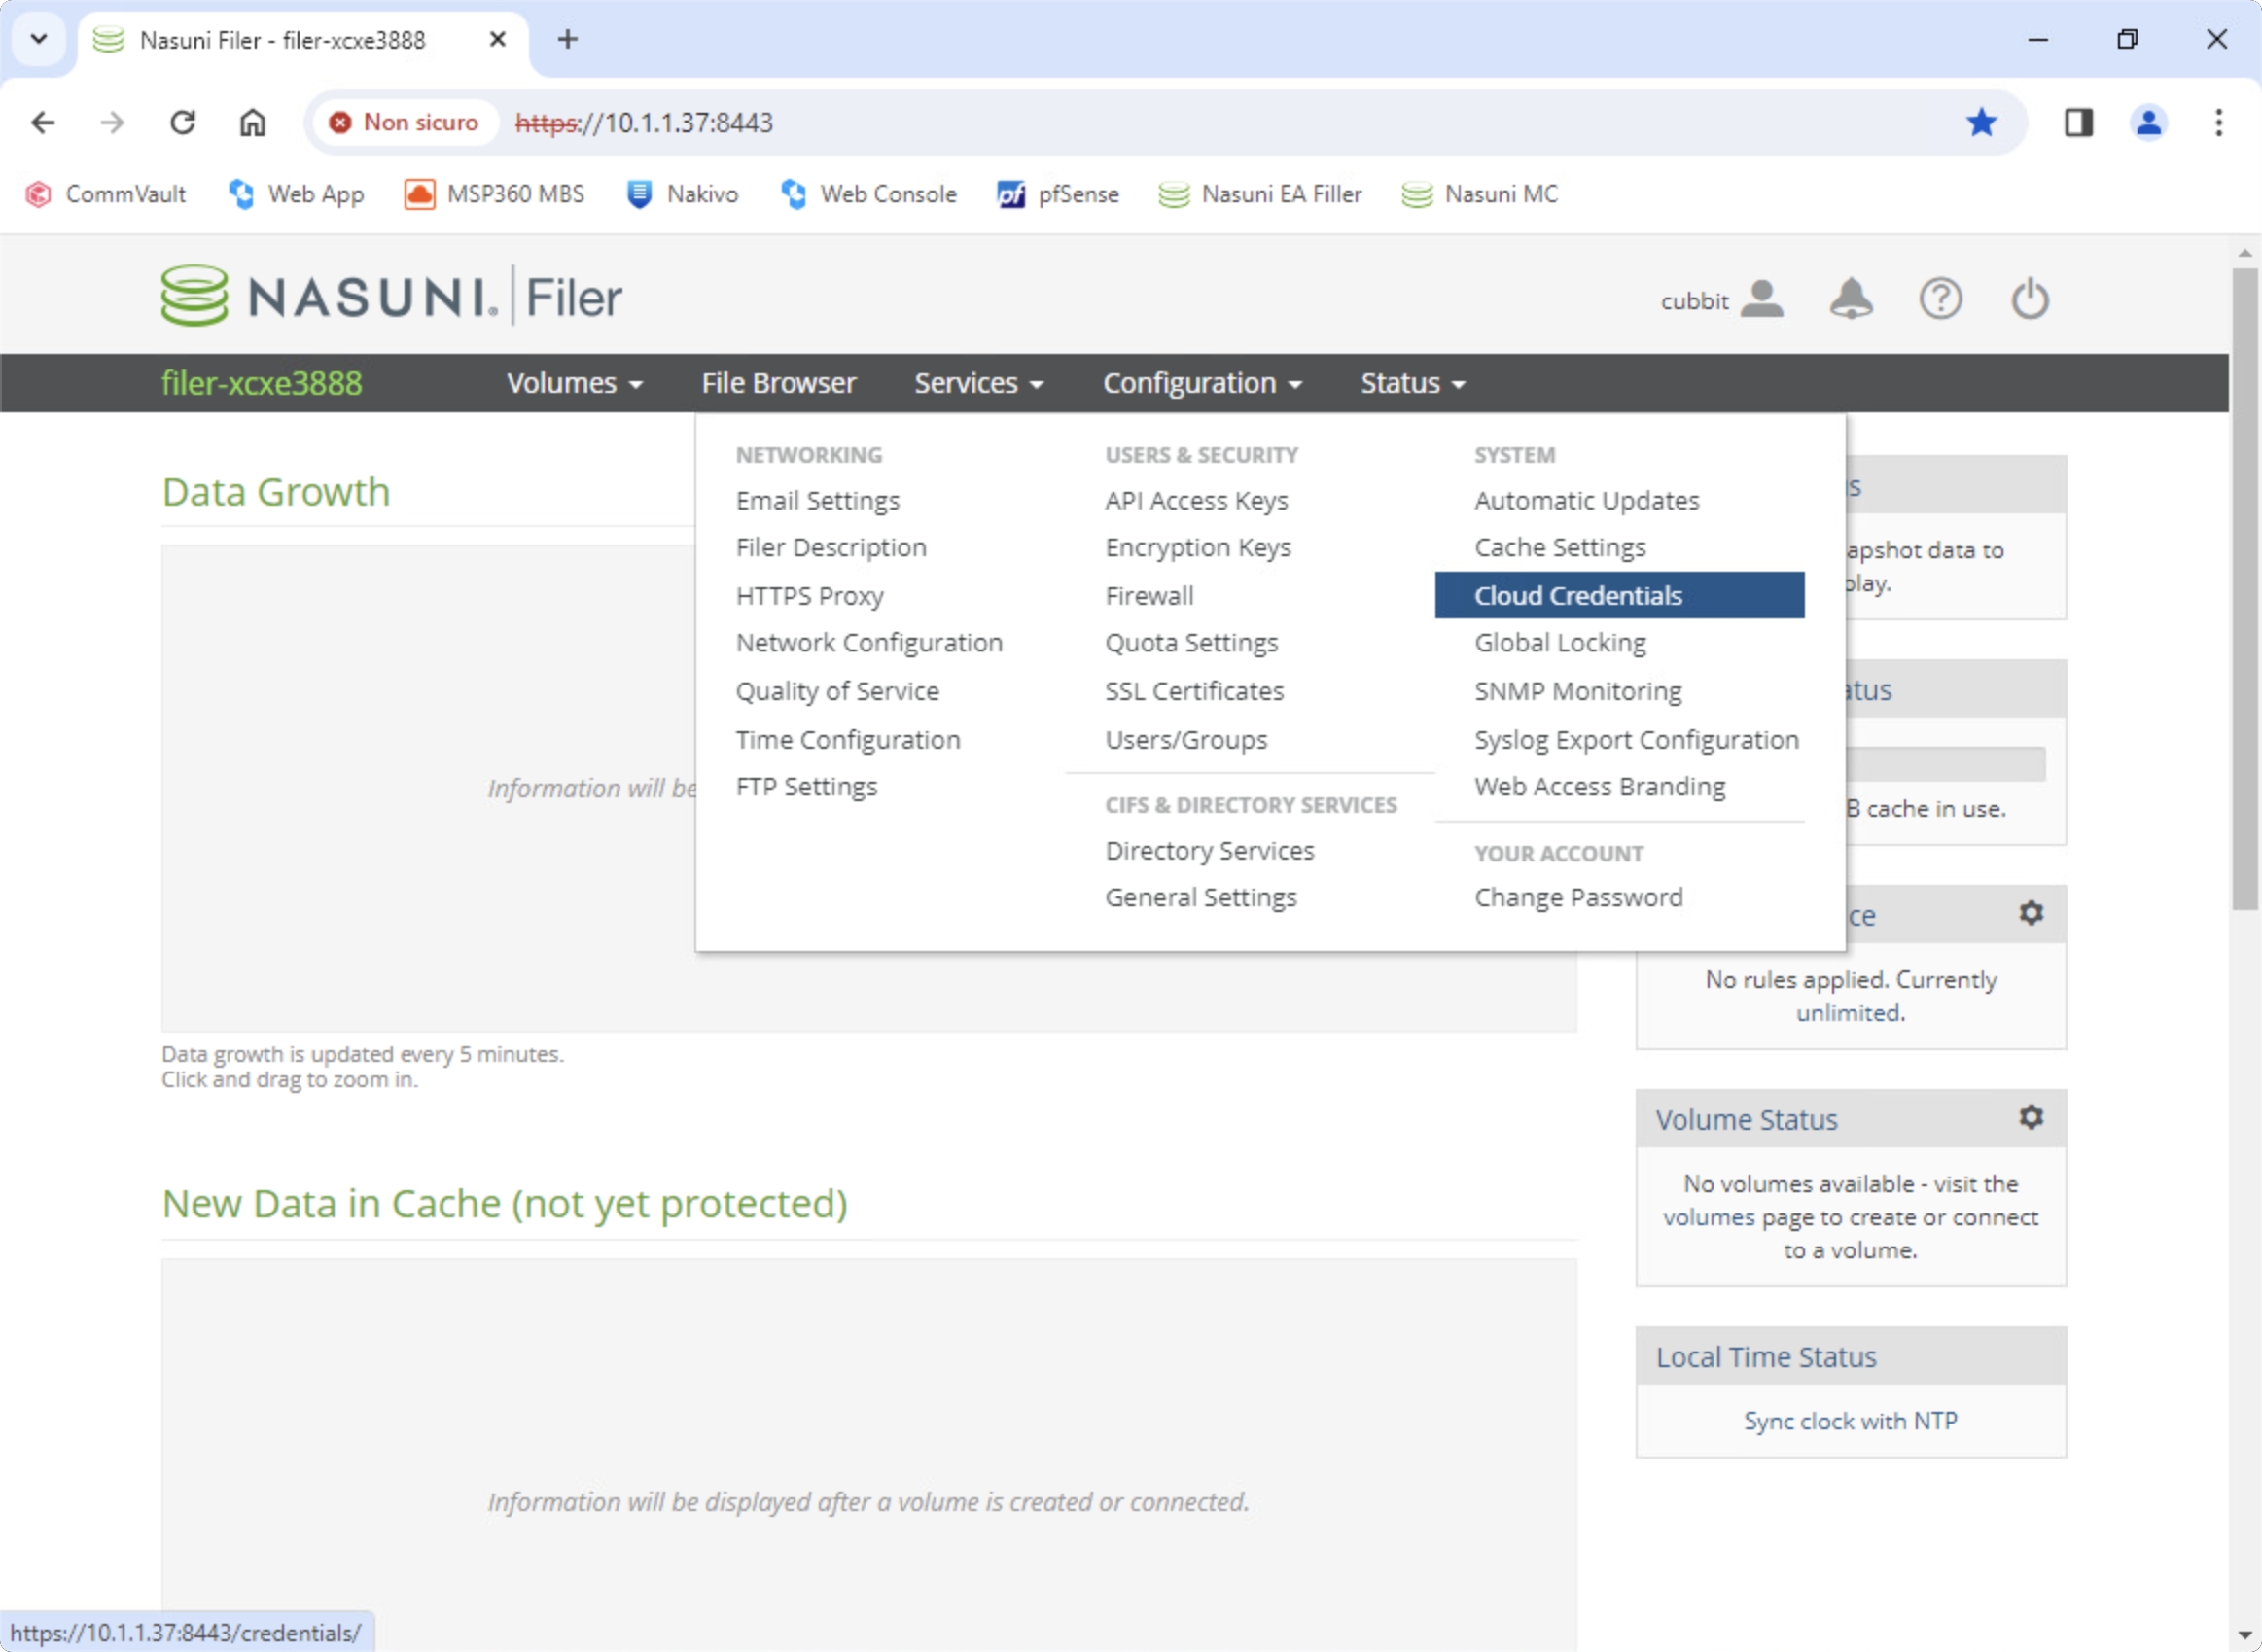
First of all, use a web browser to enter the IP address of the Edge virtual appliance (also known as Filer) on port 8443 and log in. Then from the top menu go to Configuration, choose Cloud Credentials and click the button Add Amazon S3 Credentials to add your Cubbit DS3 account.
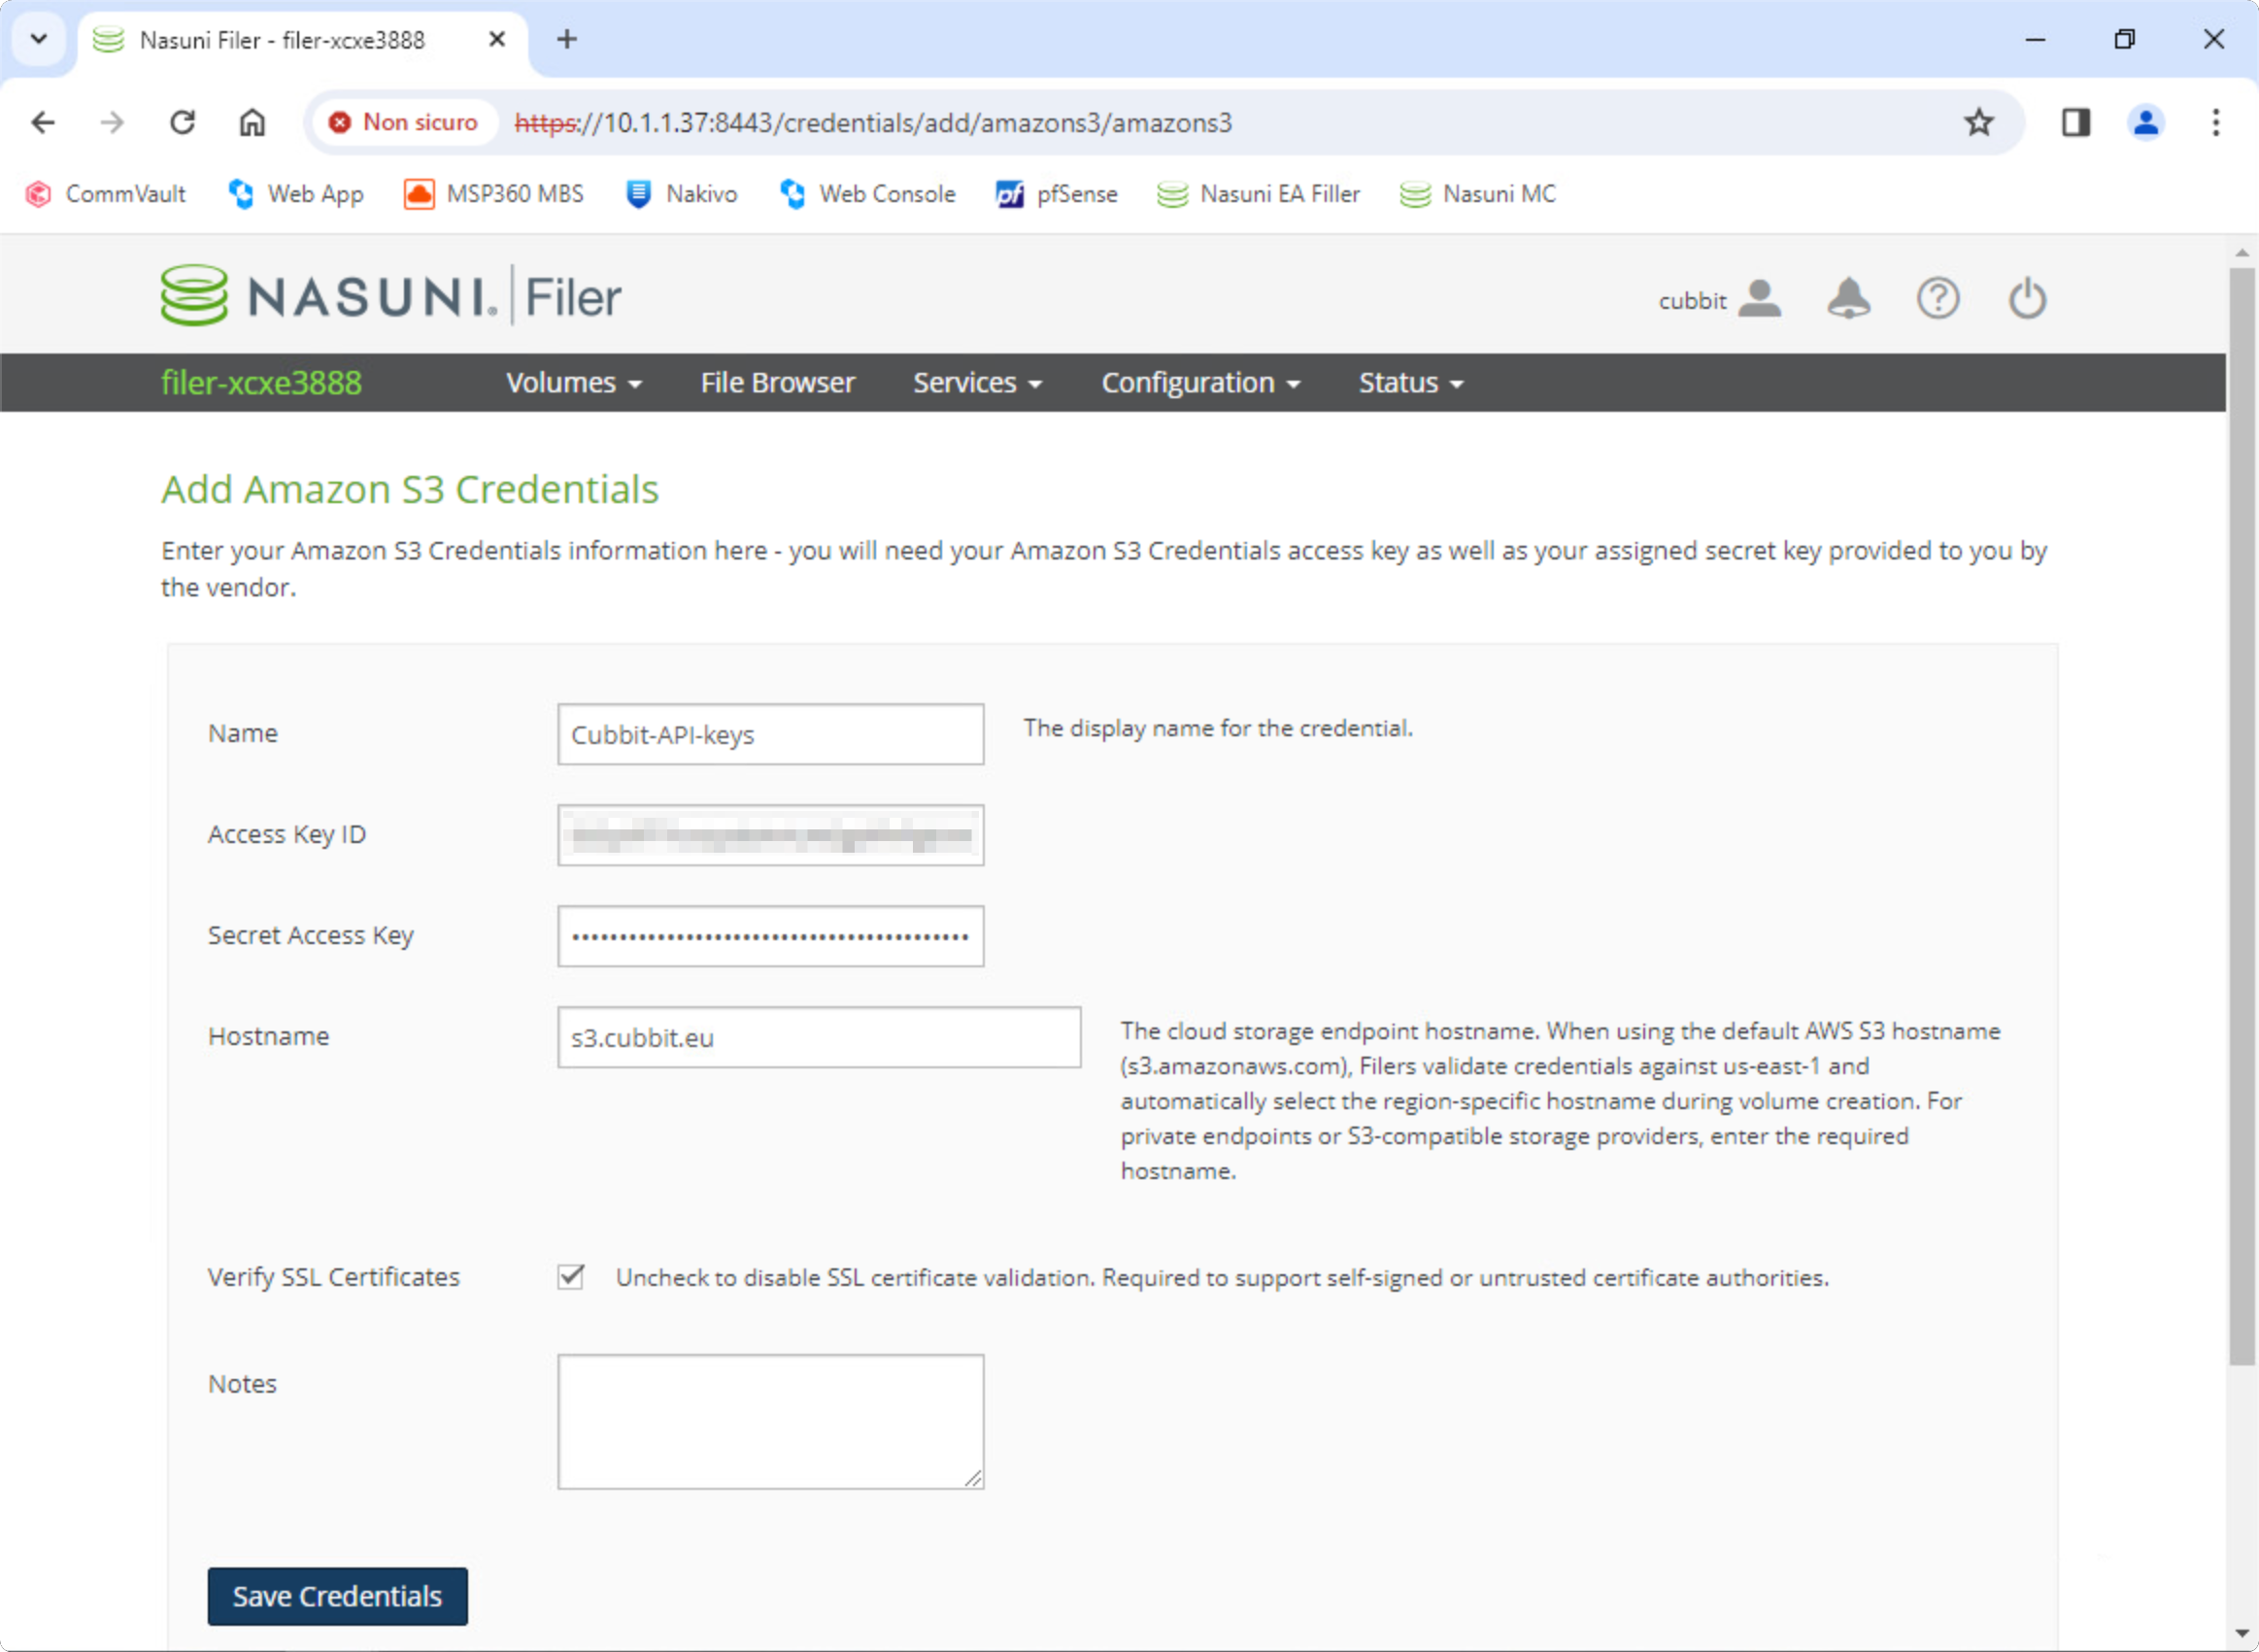
As shown in the screenshot below choose a name for the credentials, paste the Access and Secret API keys generated earlier from the Cubbit Web Console and insert s3.cubbit.eu or if you have a custom tenant s3.[your-tenant].cubbit.eu in the Hostname field, then click the Save Credentials button.
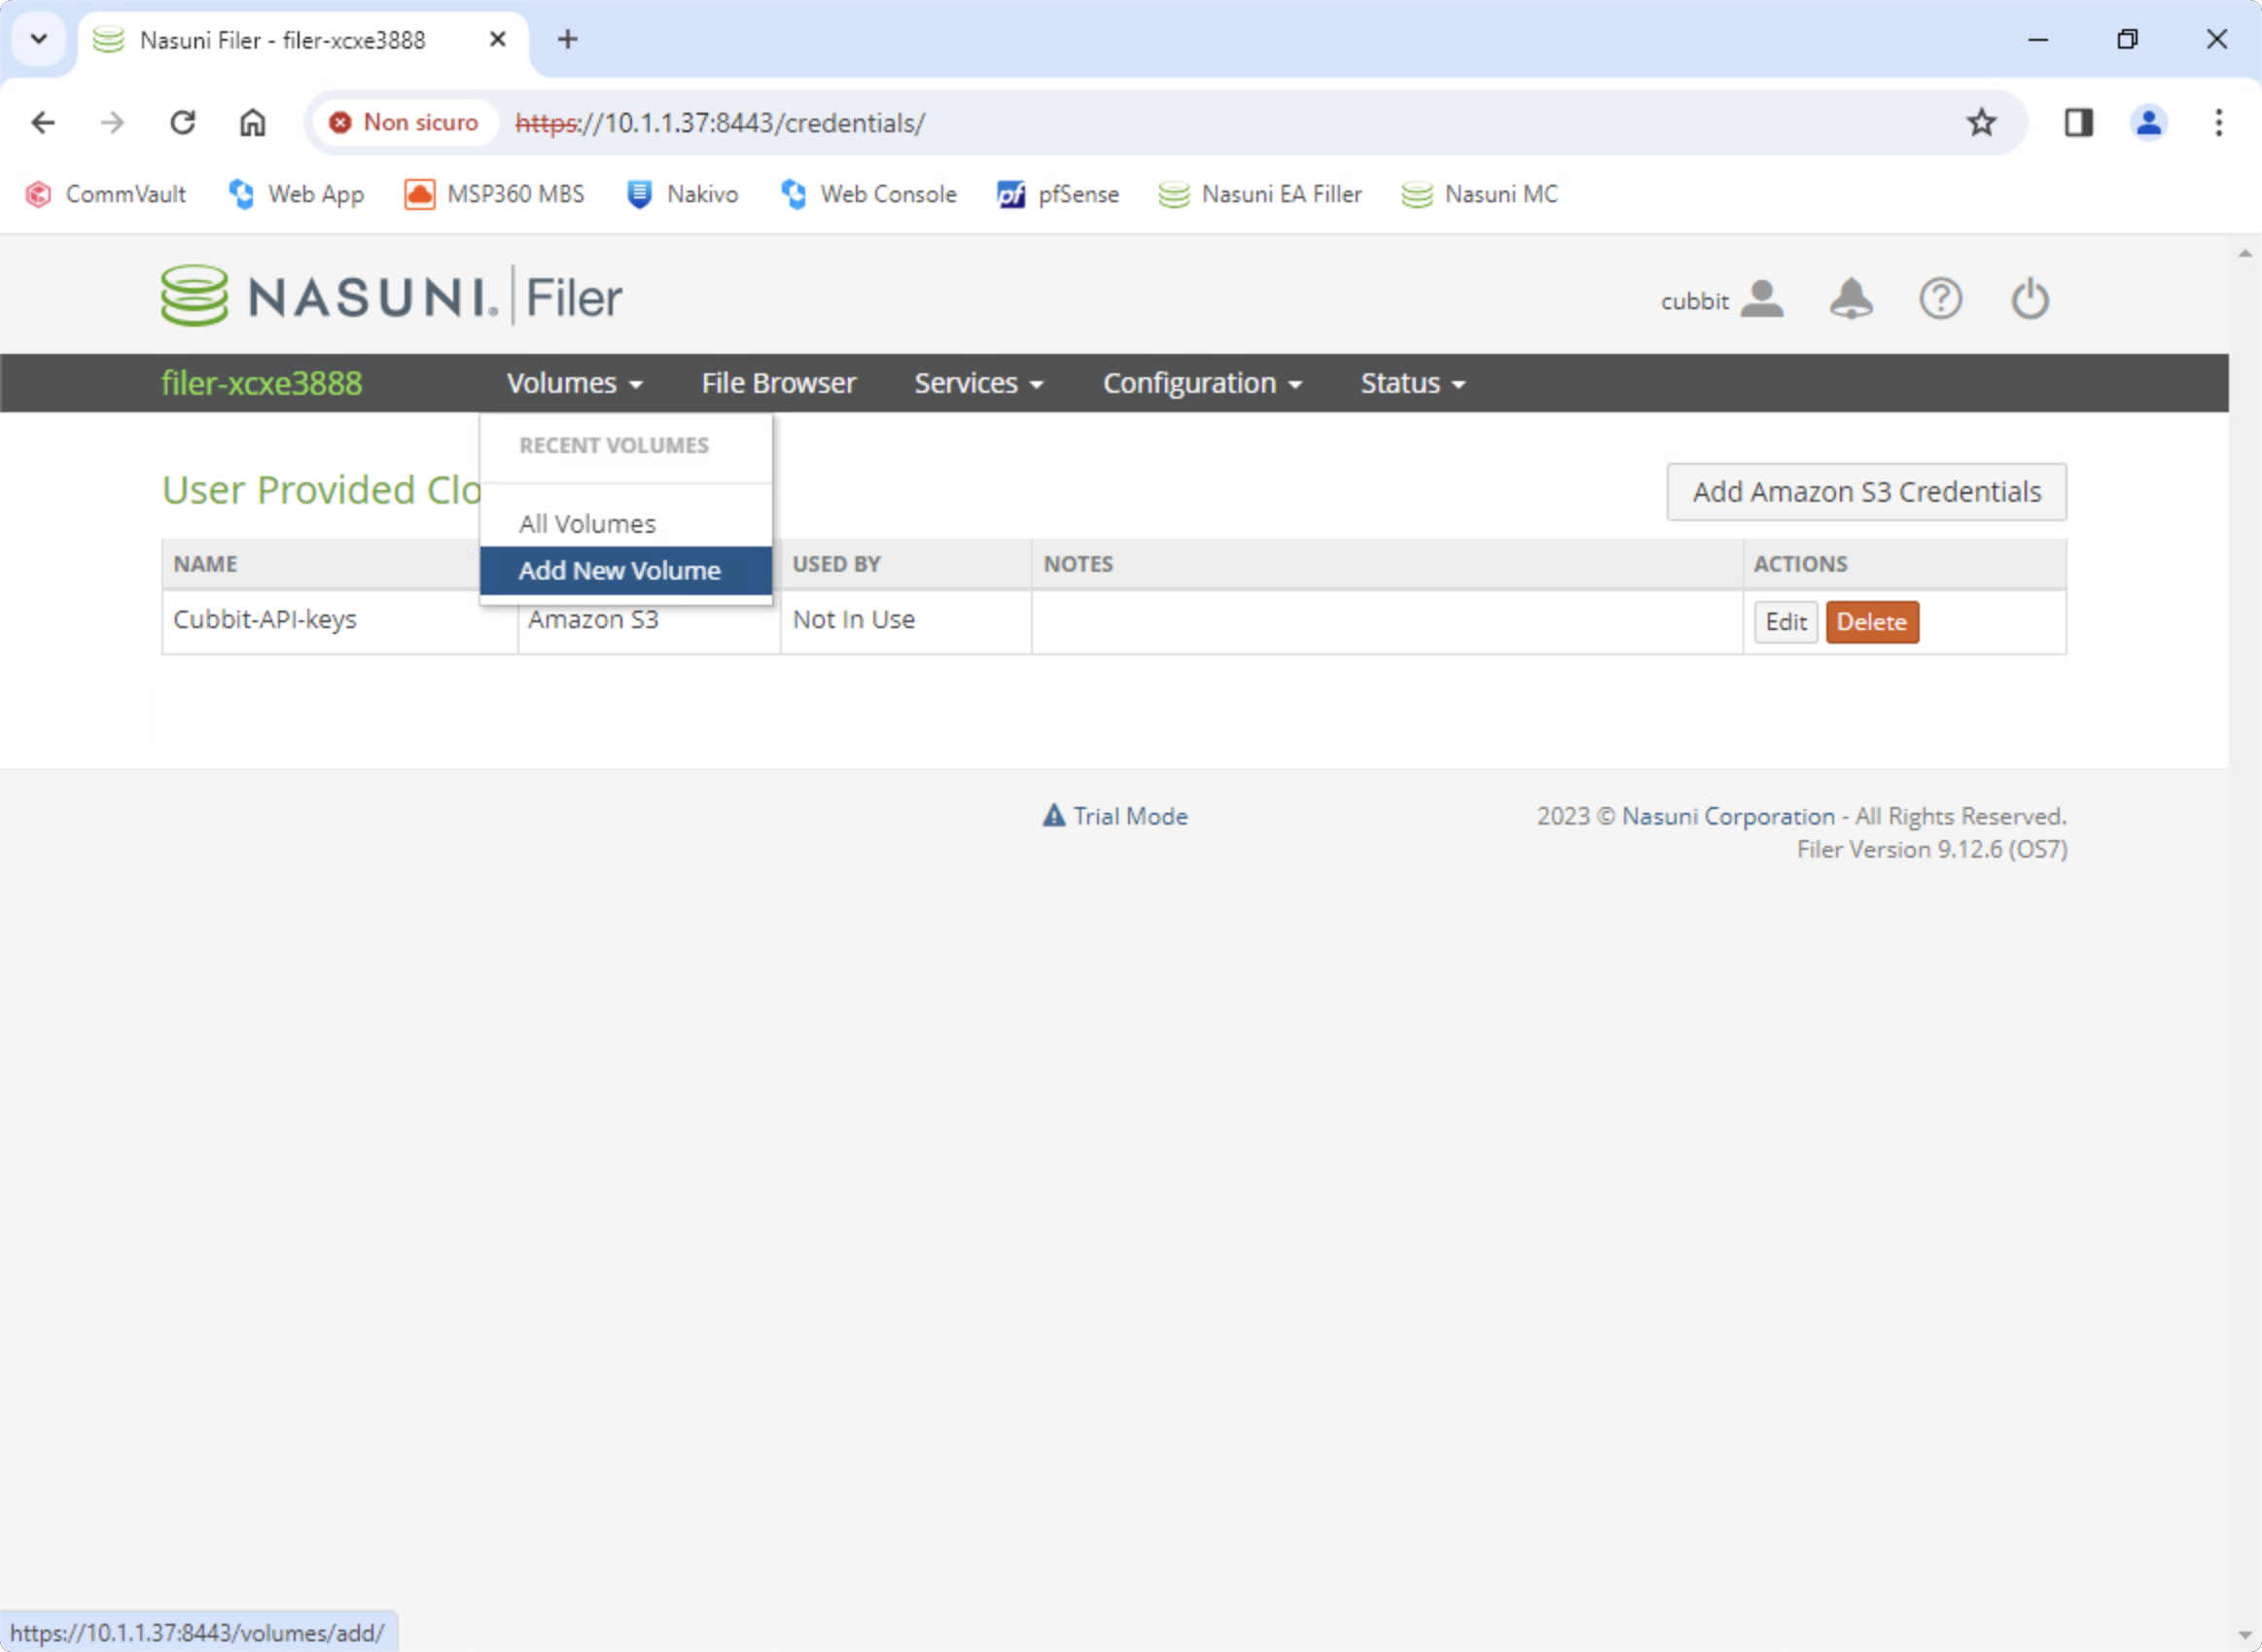
After saving the credentials, from the top menu go to Volumes and click Add New Volume to create the shared folder that will be synchronized with Cubbit DS3.
In the volume configuration page set the Cloud Provider to Amazon S3, select the Credentials created earlier and in the Region field choose Other (S3 Compatible) from the dropdown menu.
You also have the option to choose the type of share to create, for example, CIFS for Samba or NFS and specify a Quota to limit the storage consumption.
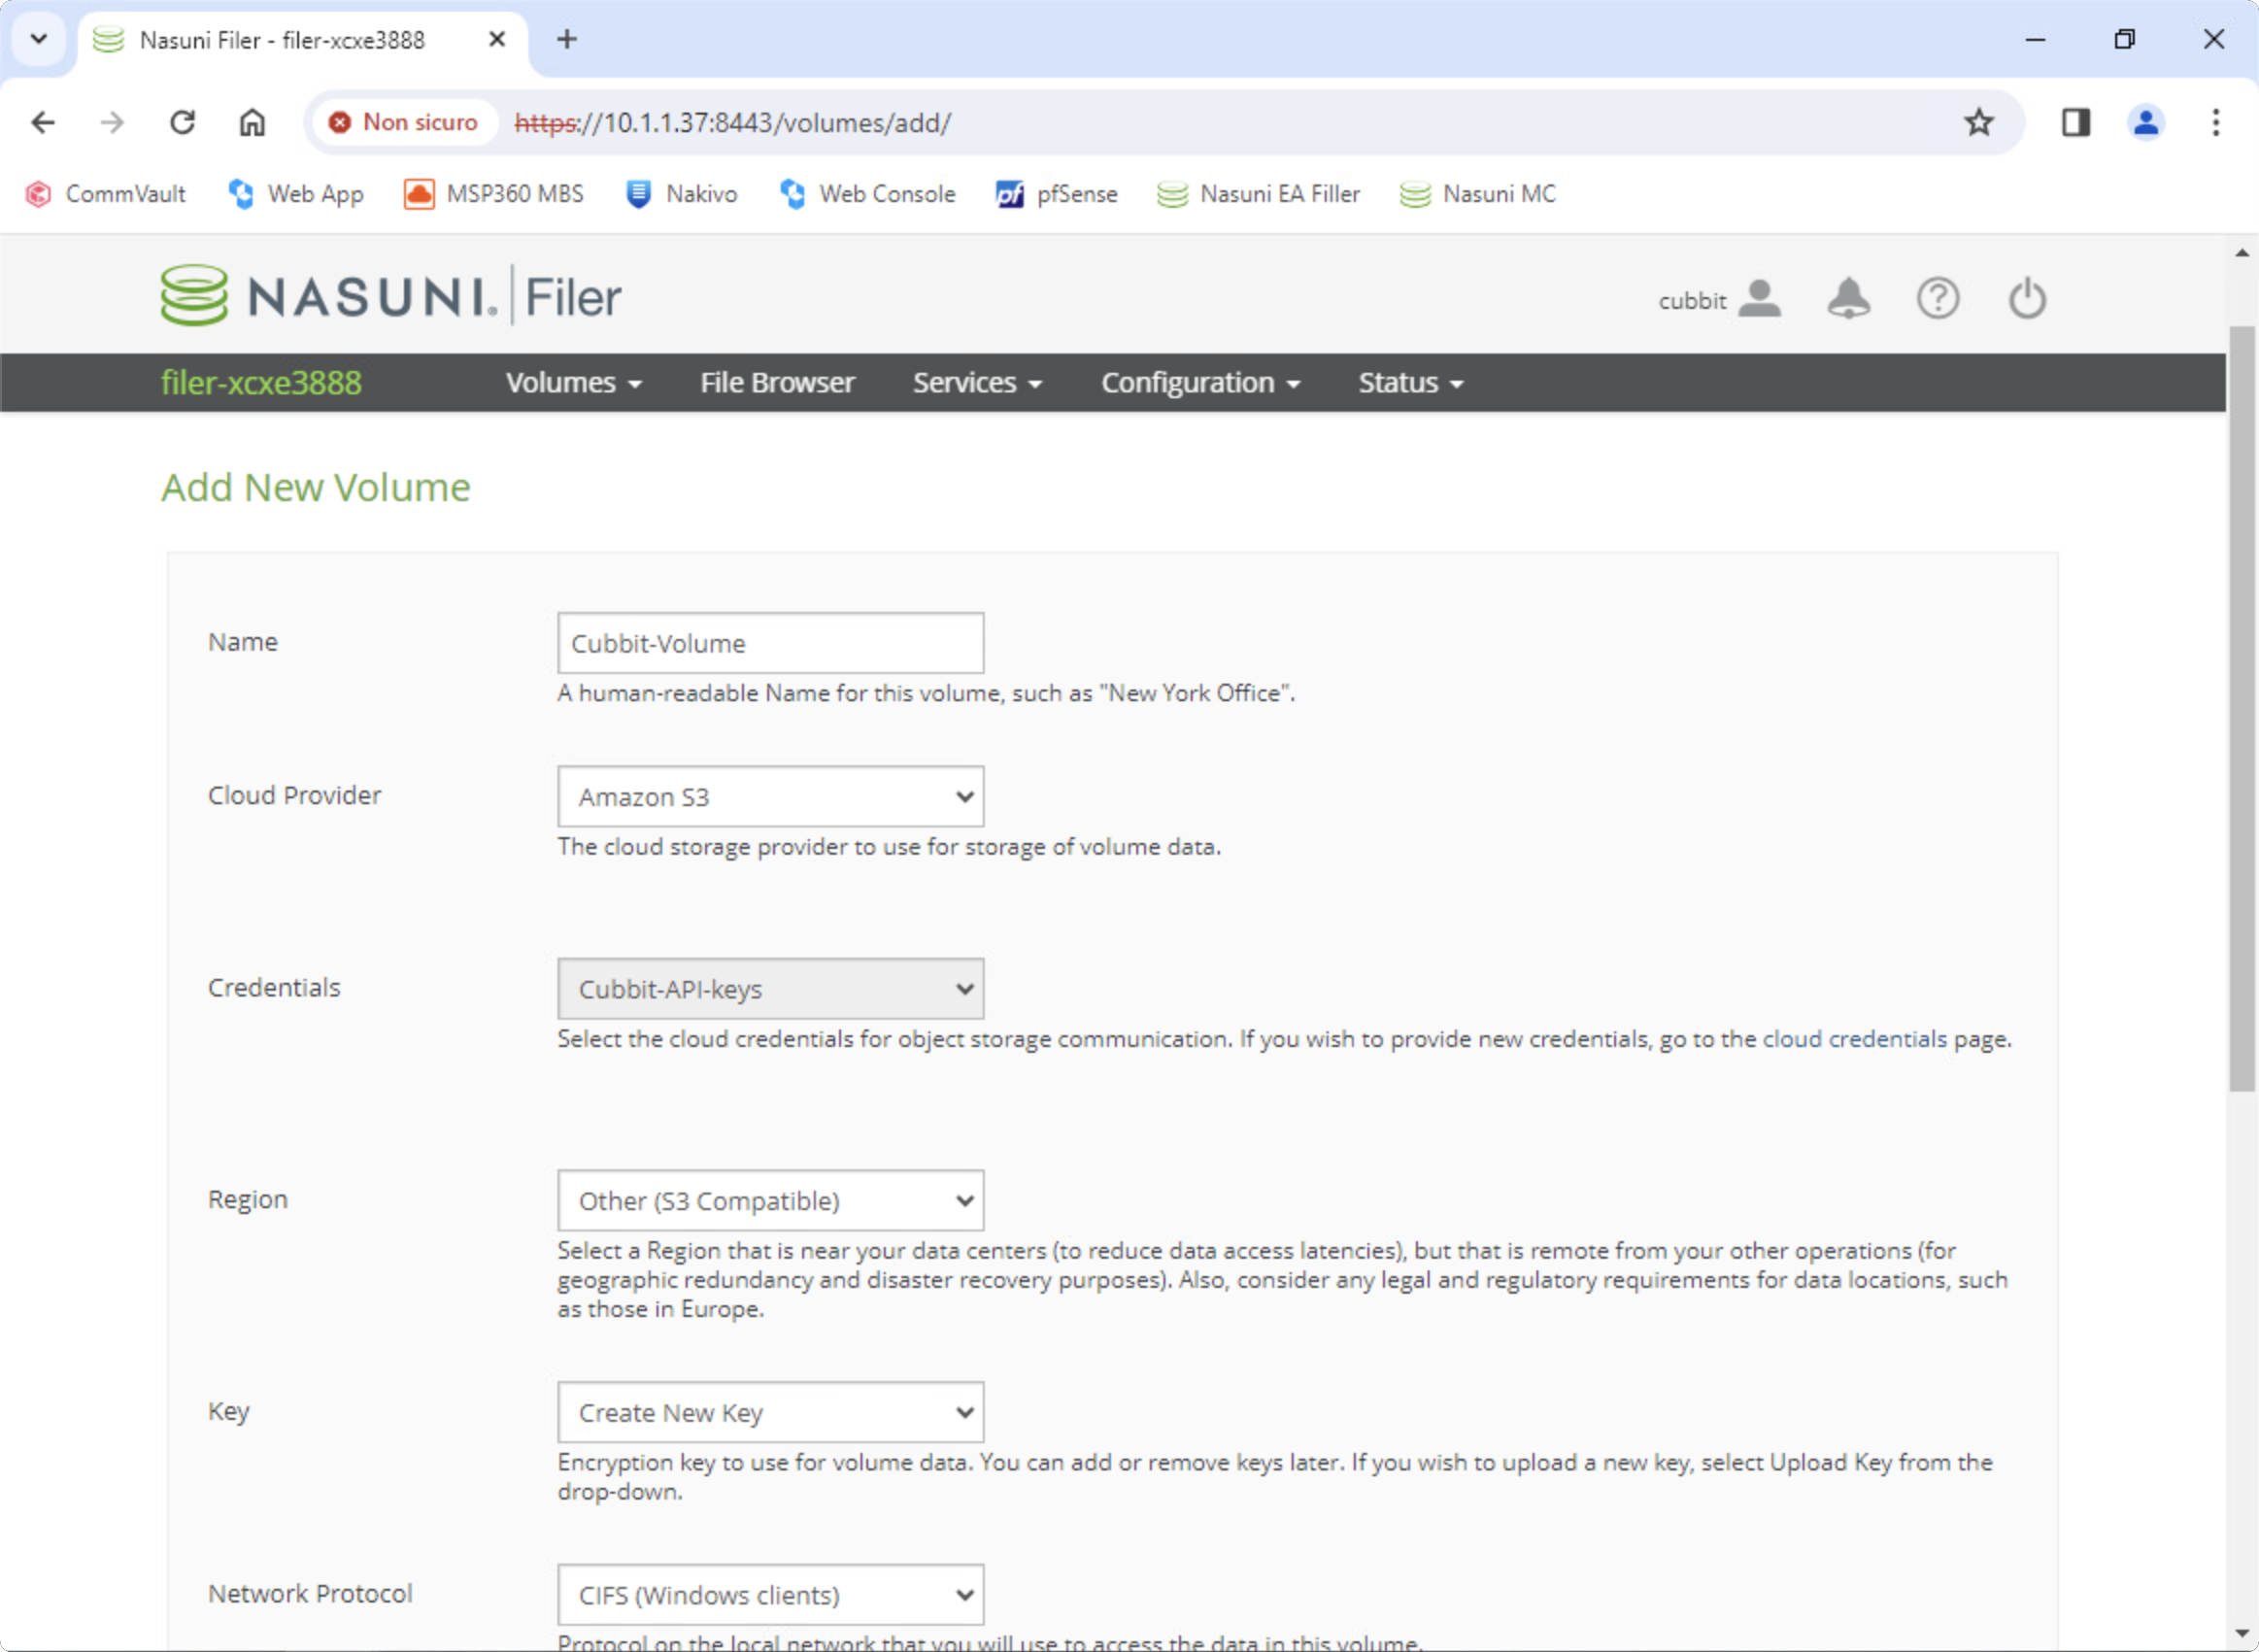
Finally, click on Save to complete the configuration.
Configuration of Nasuni Management Console
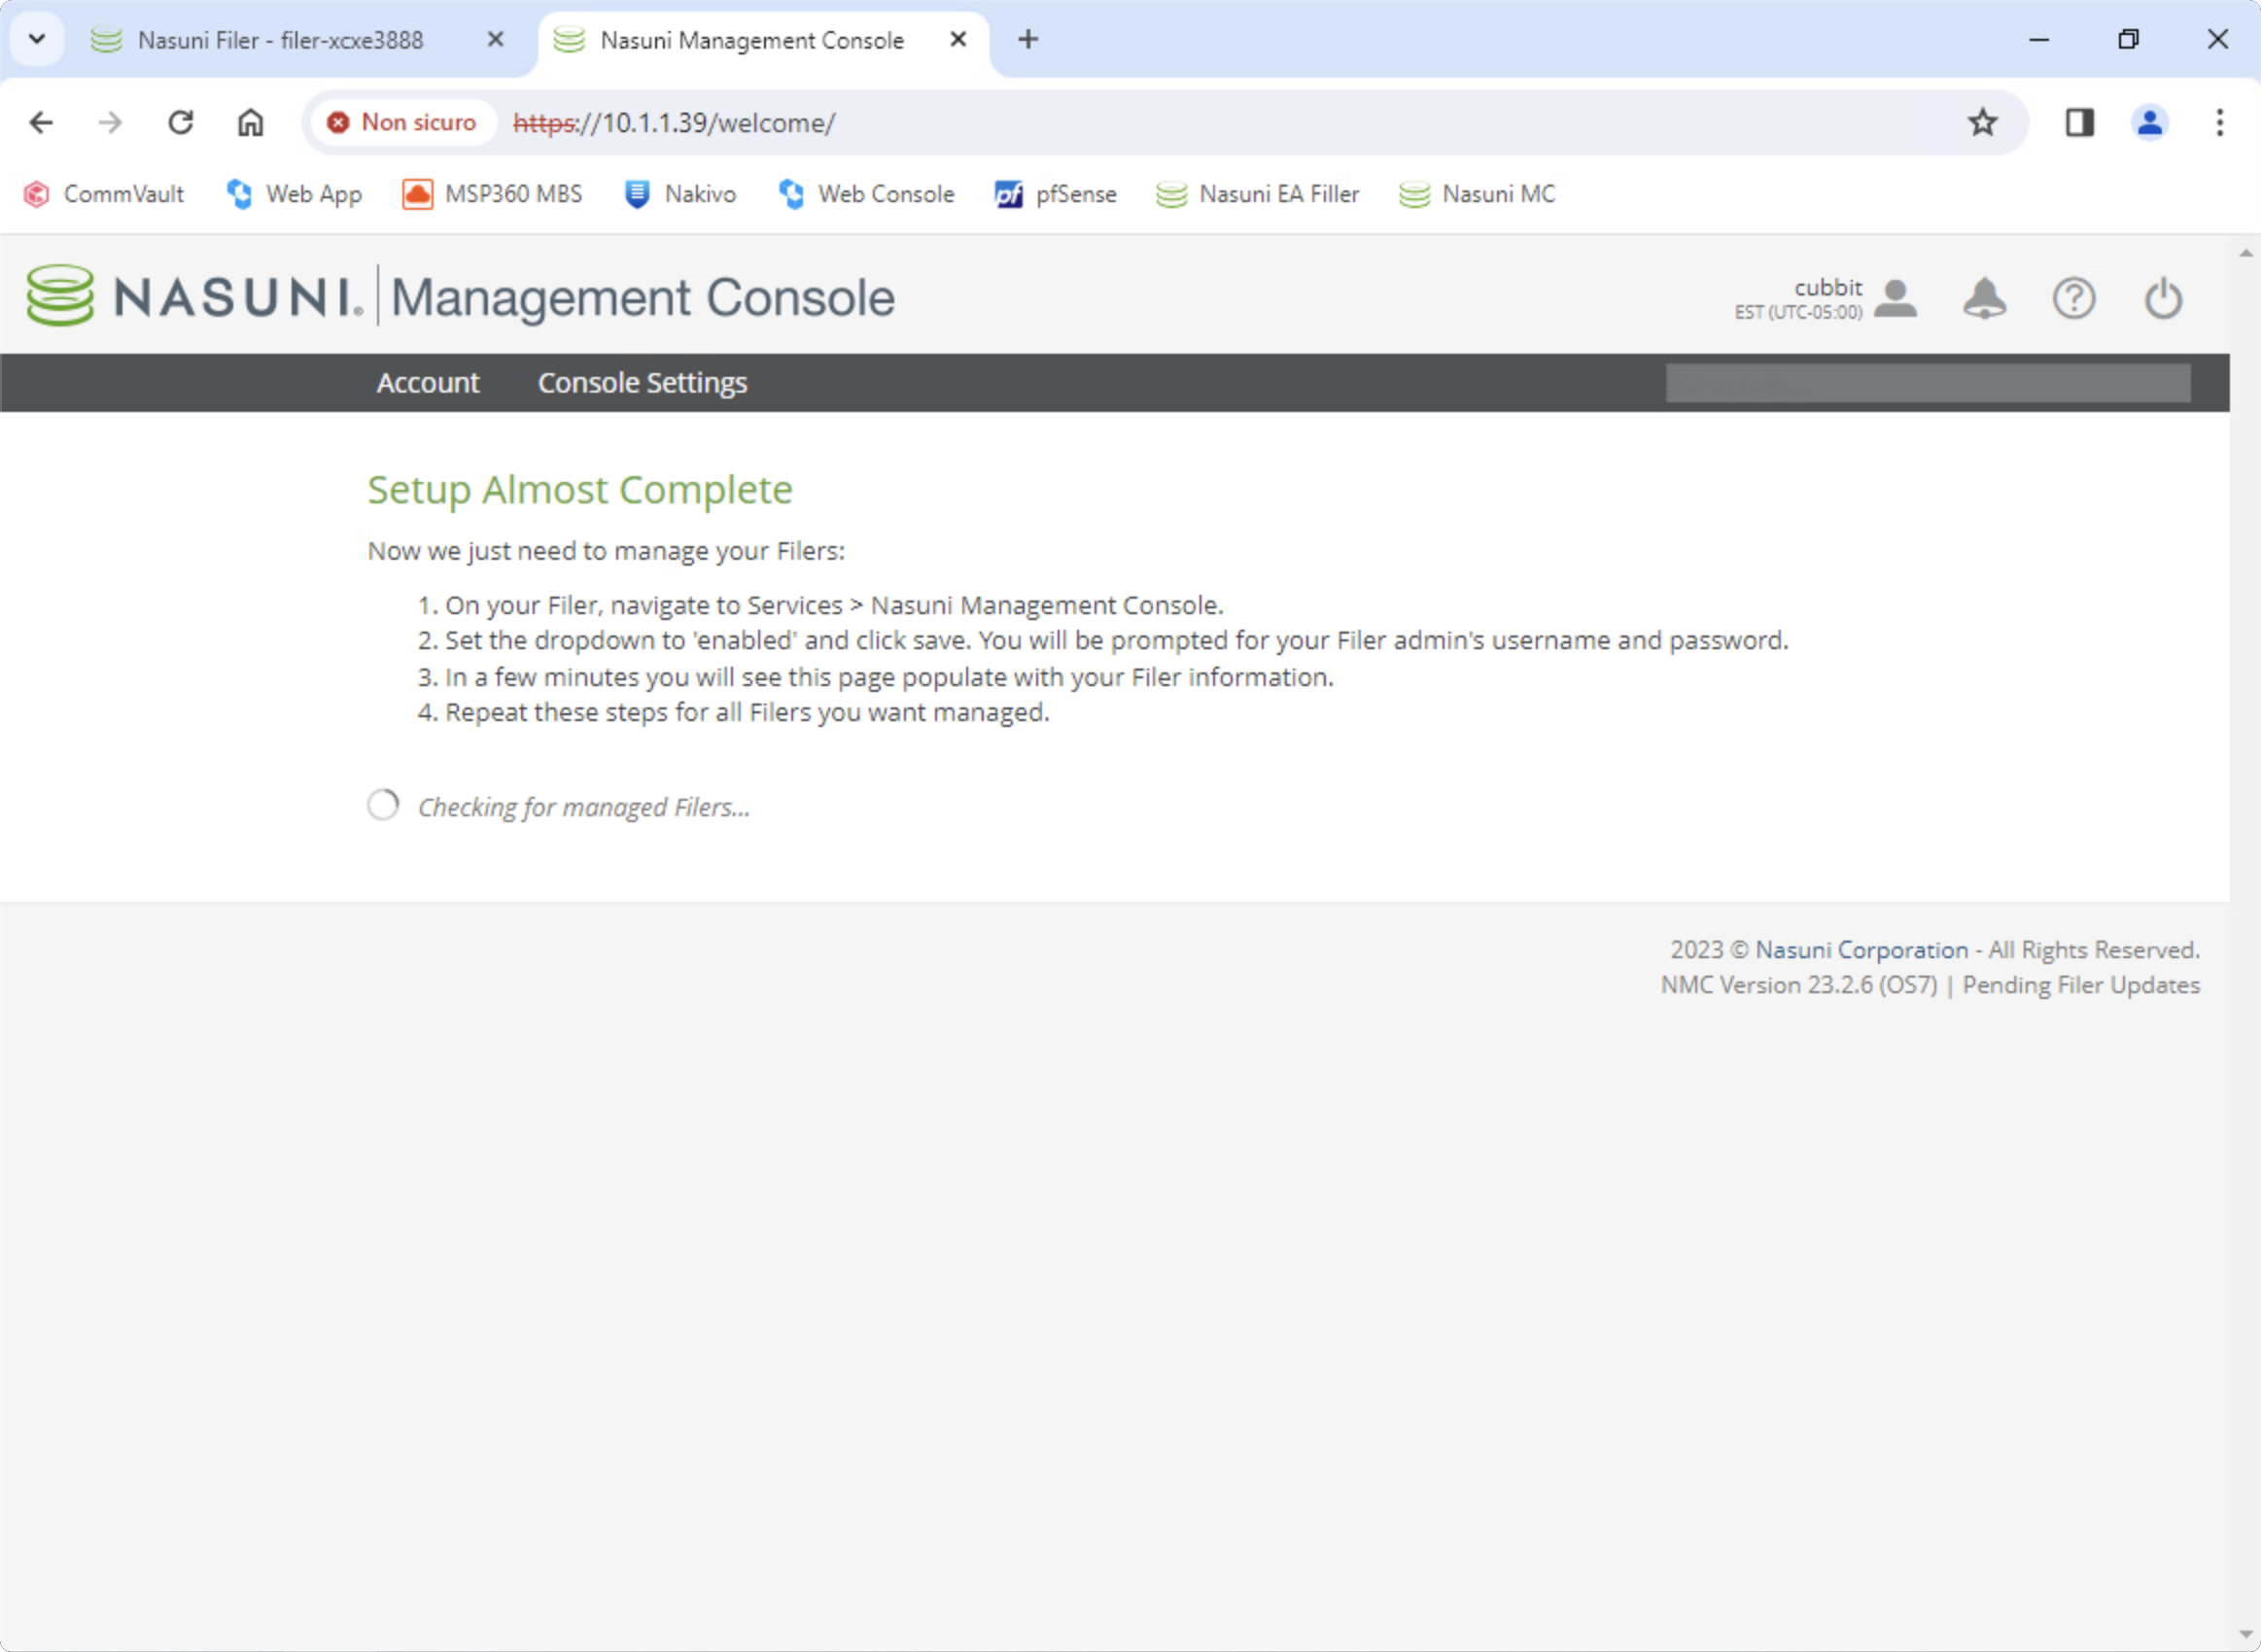
First of all, use a web browser to enter the IP address of the MC virtual appliance and log in, if this is the first time you open the Management Console follow the instructions on the screen to connect all your Edge Appliances also known as Filers.
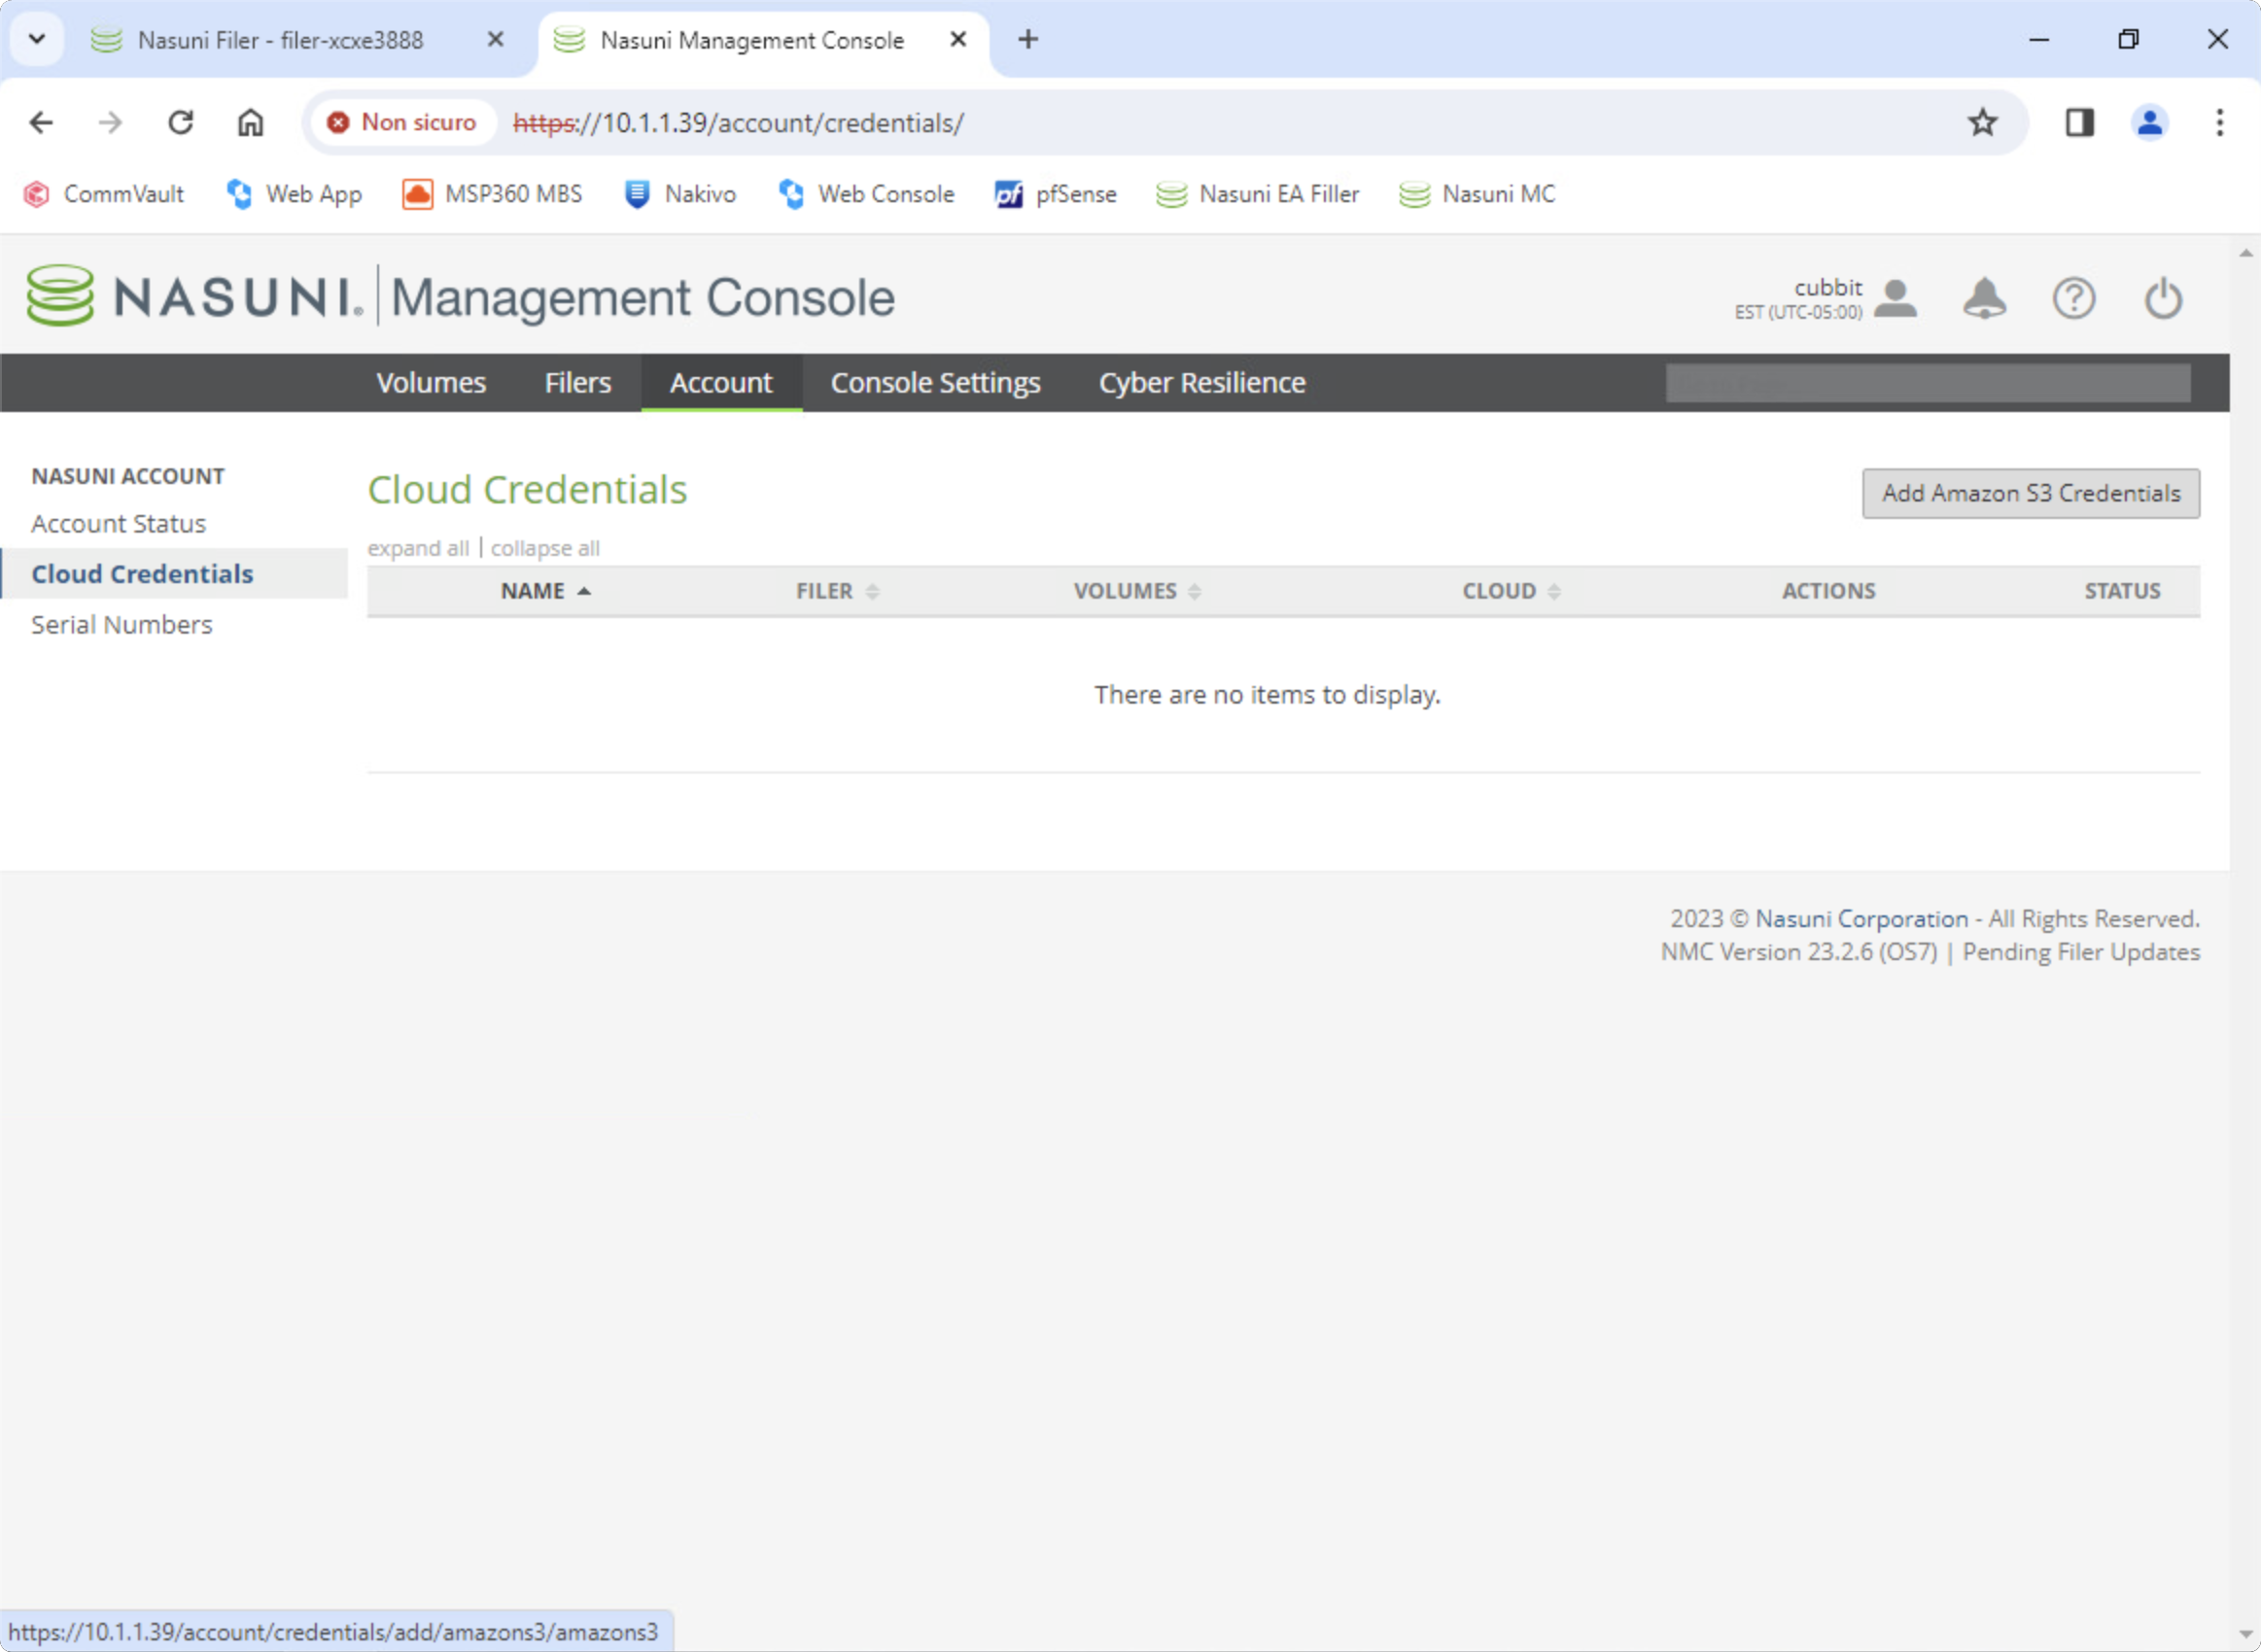
After the Filers have been linked to the Management Console, from the top menu click on Account, select Cloud Credentials from the sidebar and click the button Add Amazon S3 Credentials to add your Cubbit DS3 account.
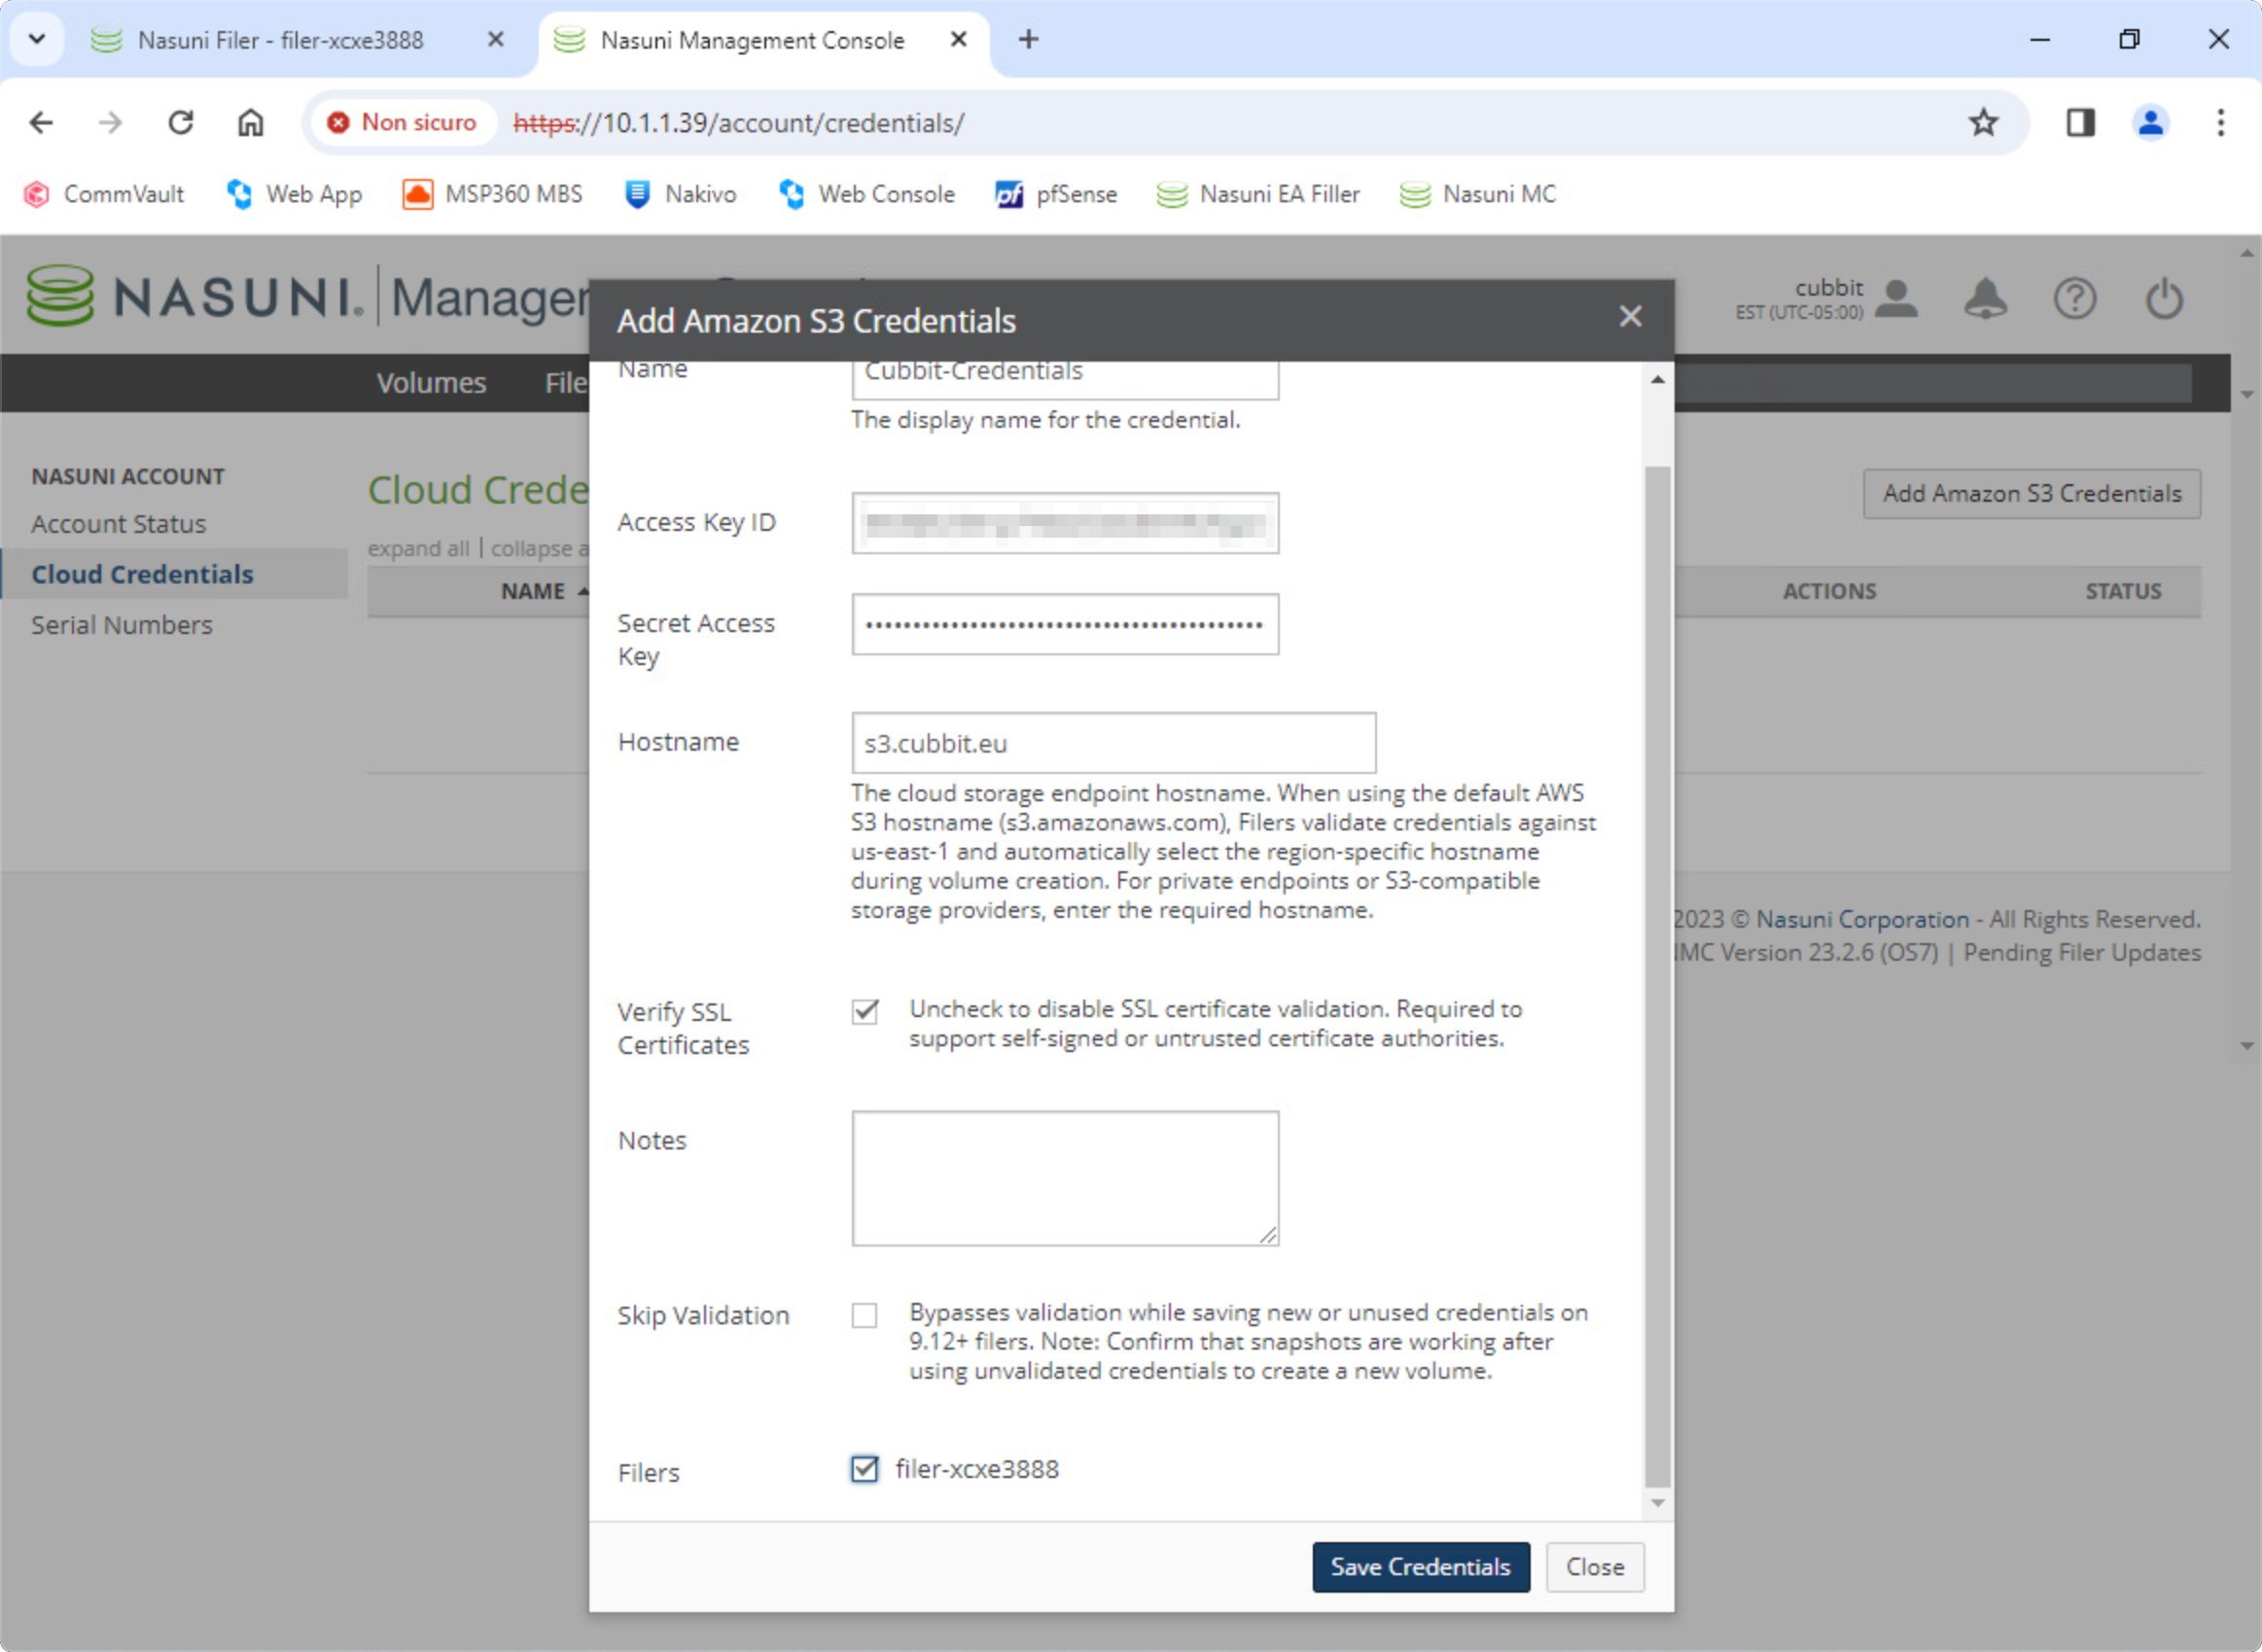
As shown in the screenshot below choose a name for the credentials, paste the Access and Secret API keys generated earlier from the Cubbit Web Console and insert s3.cubbit.eu or if you have a custom tenant s3.[your-tenant].cubbit.eu in the Hostname field, then select the target Filers and click the Save Credentials button.
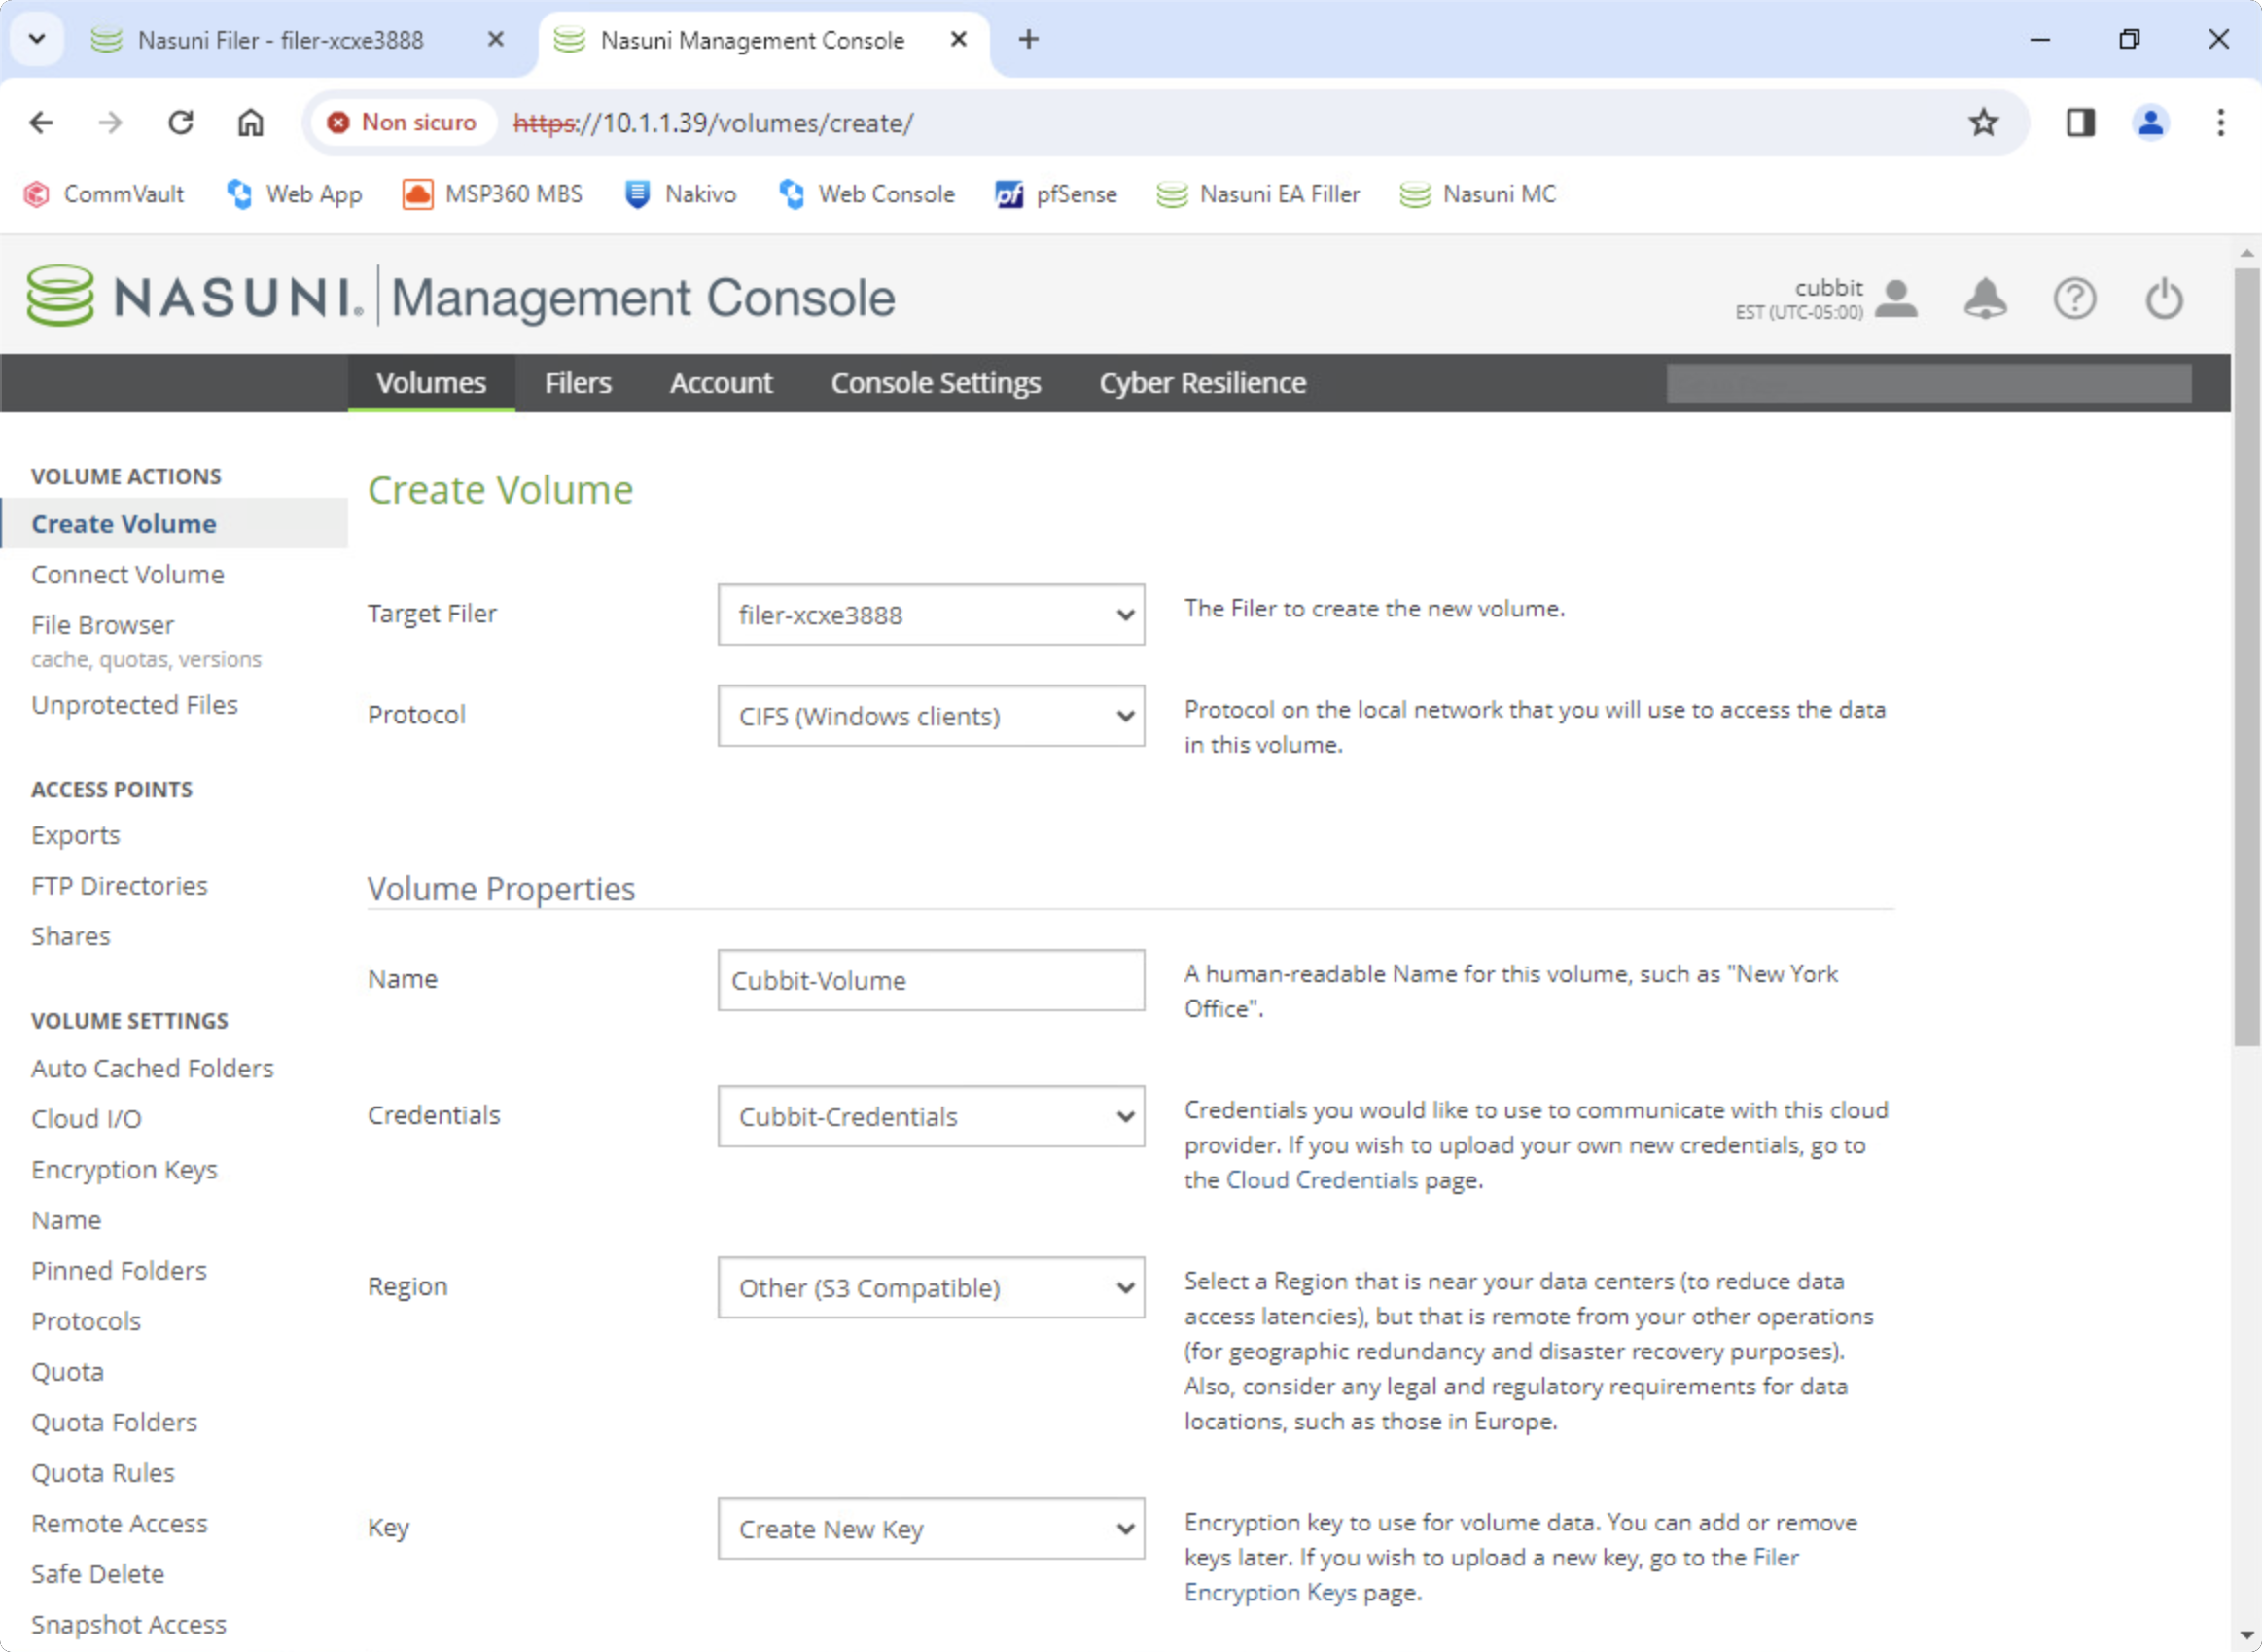
After saving the credentials, from the top menu go to Volumes and click Create Volume on the left sidebar to create the shared folder that will be synchronized with Cubbit DS3.
In the volume configuration page select the Credentials just created and in the Region field choose Other (S3 Compatible).
You also need to choose the Target Filer, the type of share to create, for example, CIFS for Samba or NFS and, if you want, specify a Quota to limit the storage consumption.
Finally, click Create Volume to complete the configuration.
How to
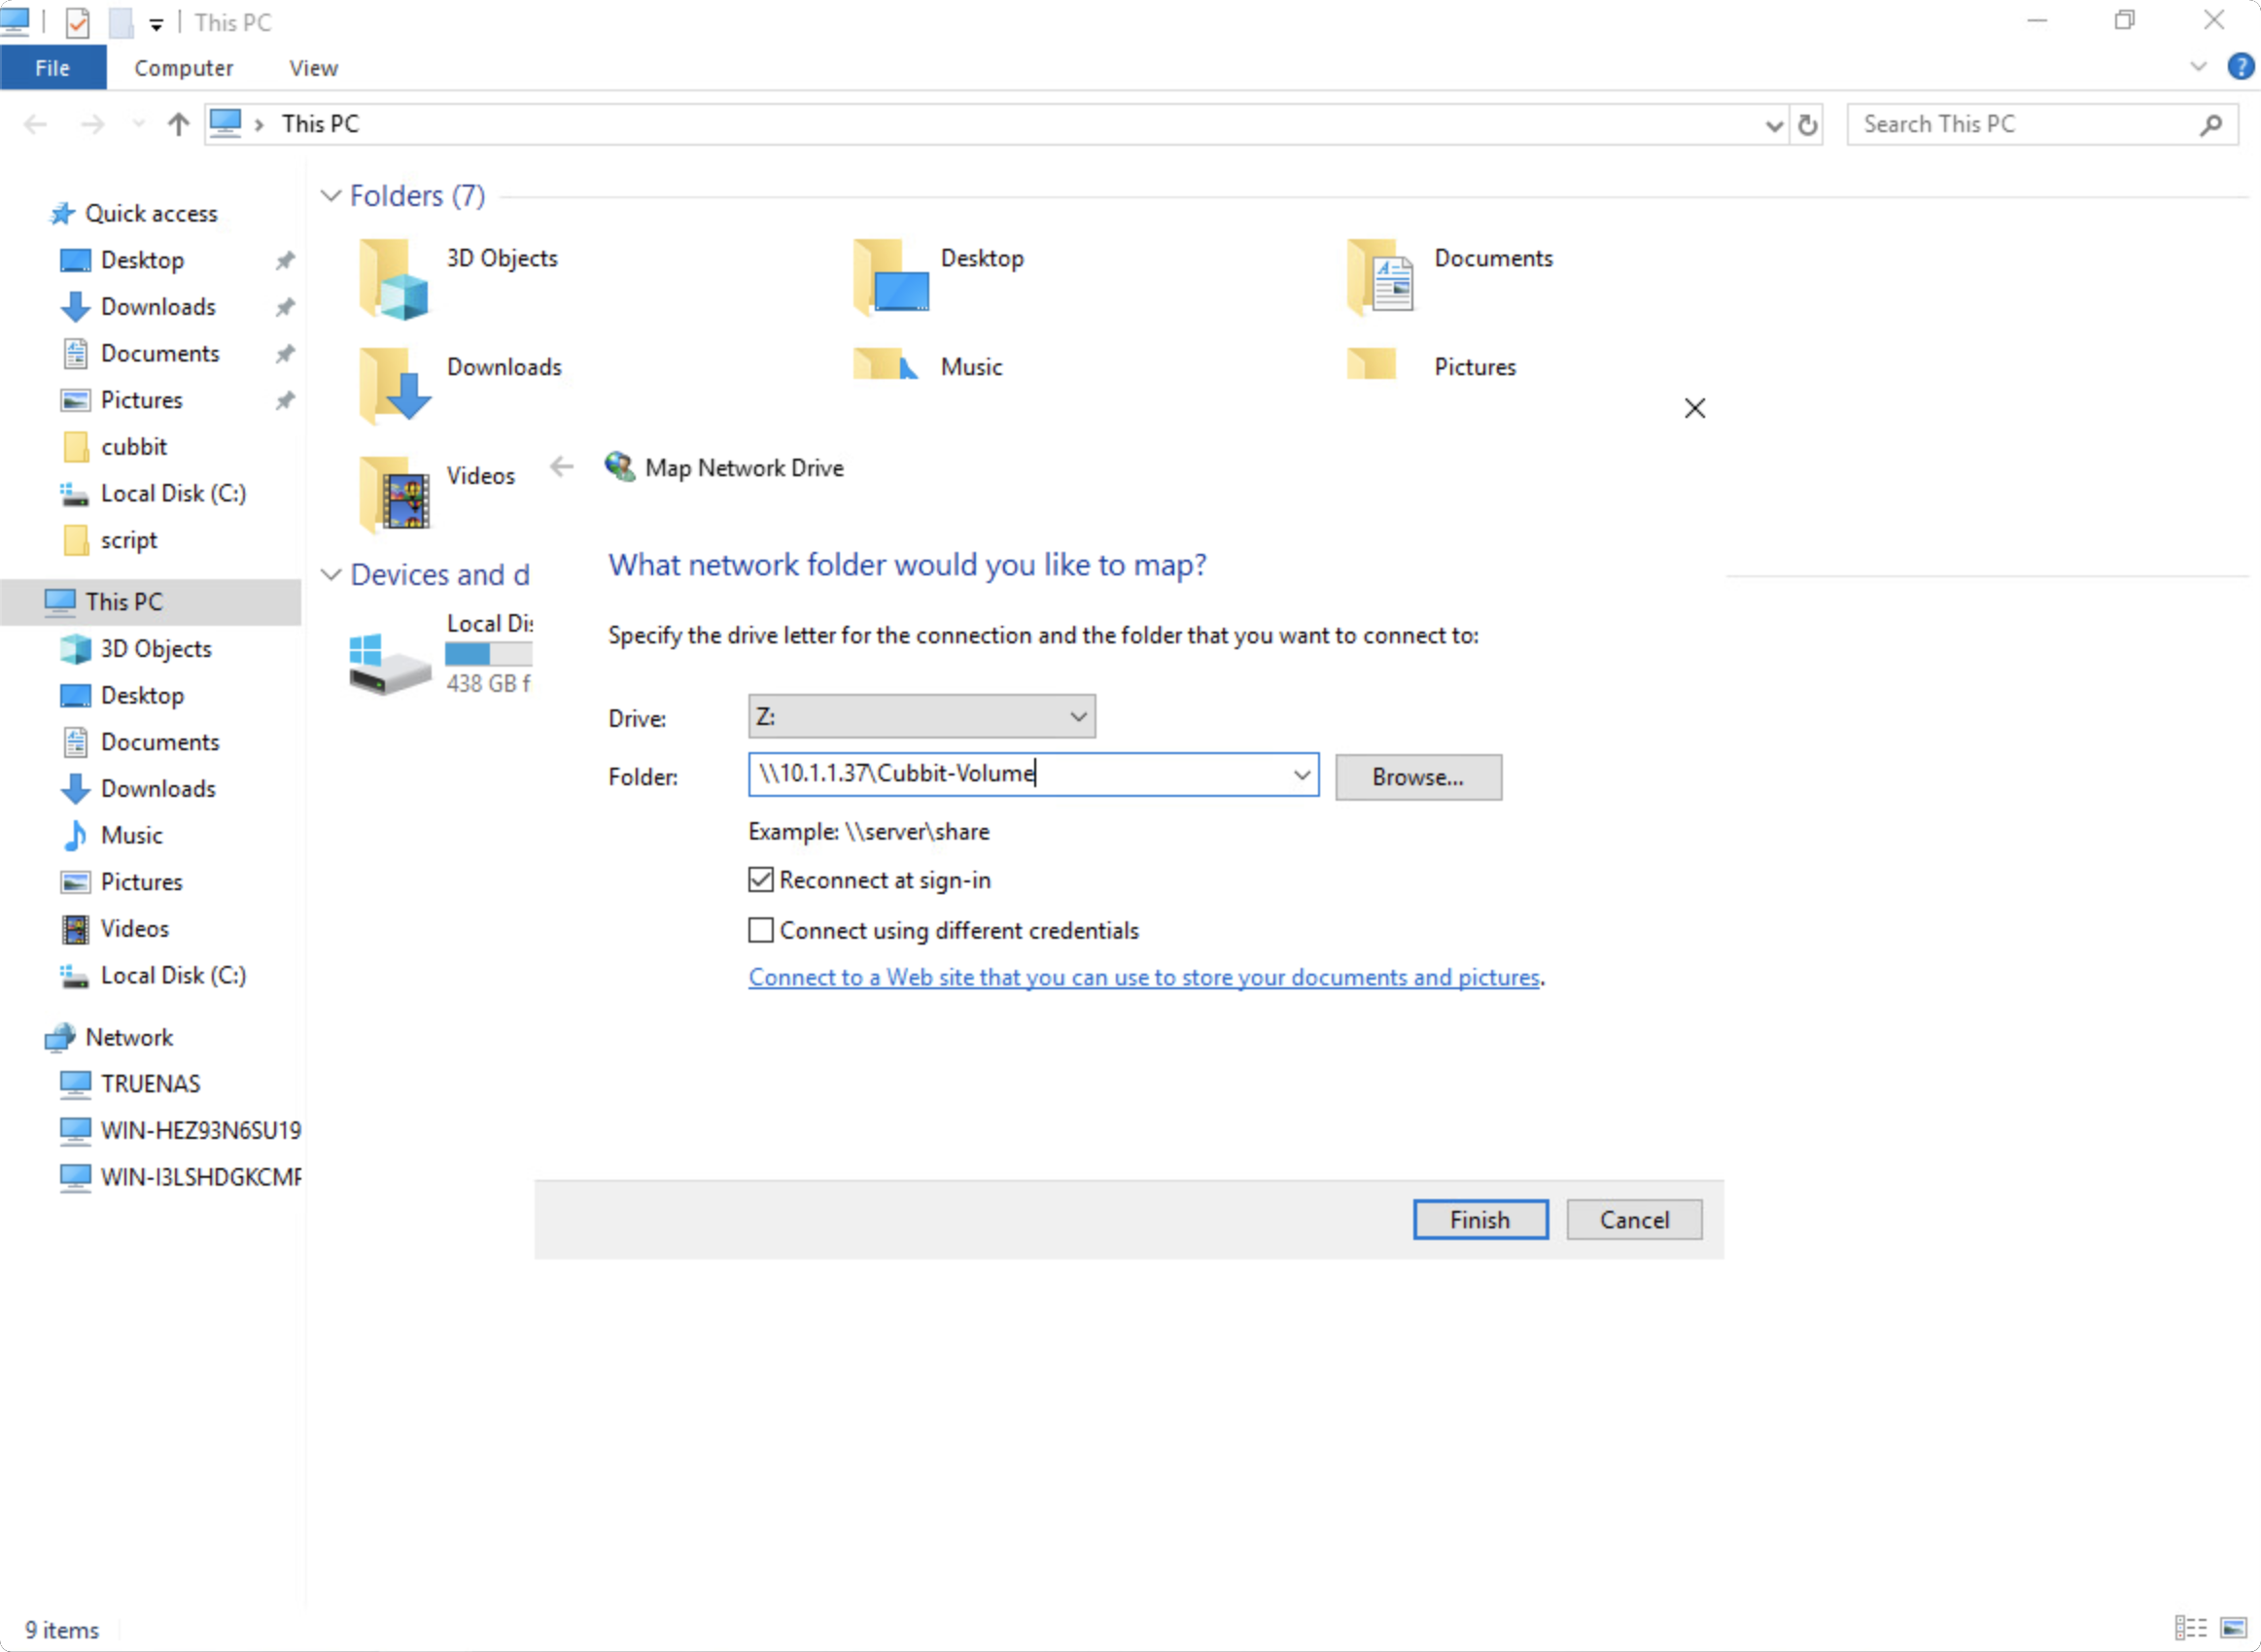
Once the volume has been created it can be mapped as a network drive by specifying the IP address of the target Filer and the name given to the Volume.
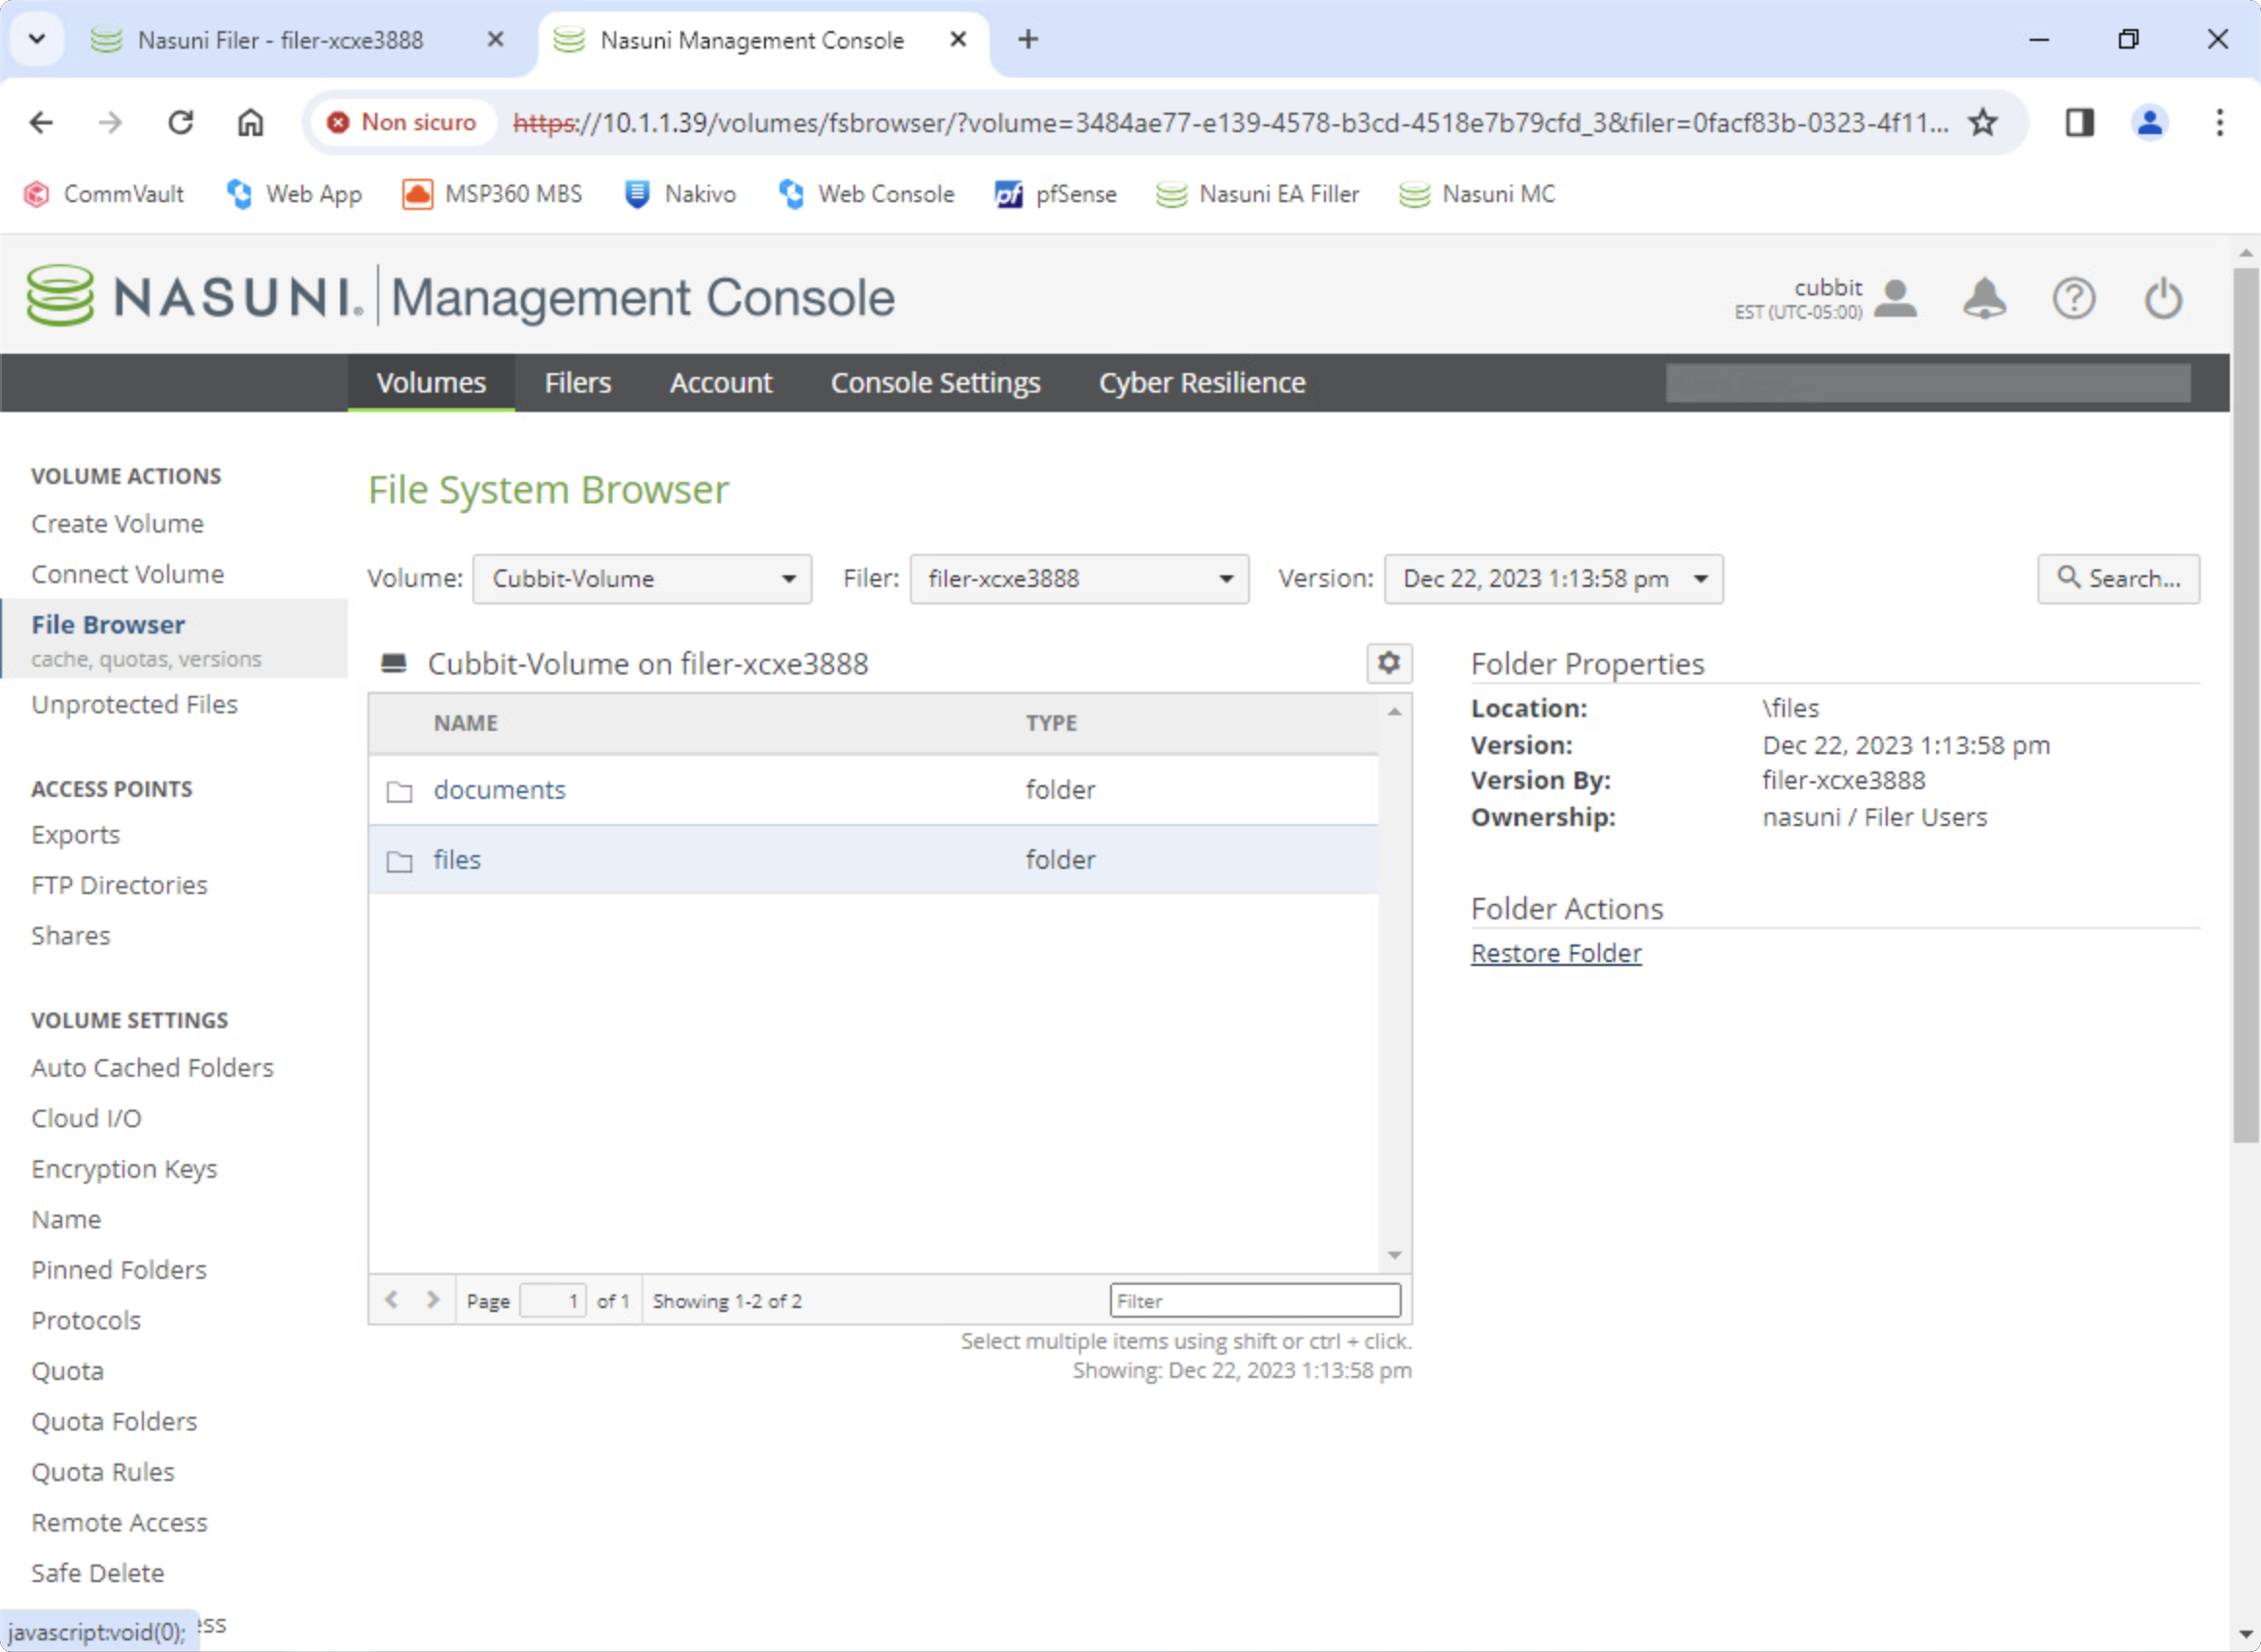
It's then possible to restore a file or folder from a previous Snapshot by going to the File Browser section of the Filer or Management Console as shown below.
For more information on using Nasuni, please visit the official Resource Center page.