Create a Tenant
This guide describes how to create a new Tenant in your Cubbit deployment.
Prerequisites
Before creating a tenant, ensure you have:
- An active Cubbit organization with admin privileges
- At least one verified domain in your organization (or the ability to create one during the flow)
- At least one manual gateway configured in your organization
Accessing Tenant Creation
From the Composer dashboard, navigate to the Tenants section (/tenants). If you don't have any tenants yet, you'll see an empty state with a prompt to create your first tenant.
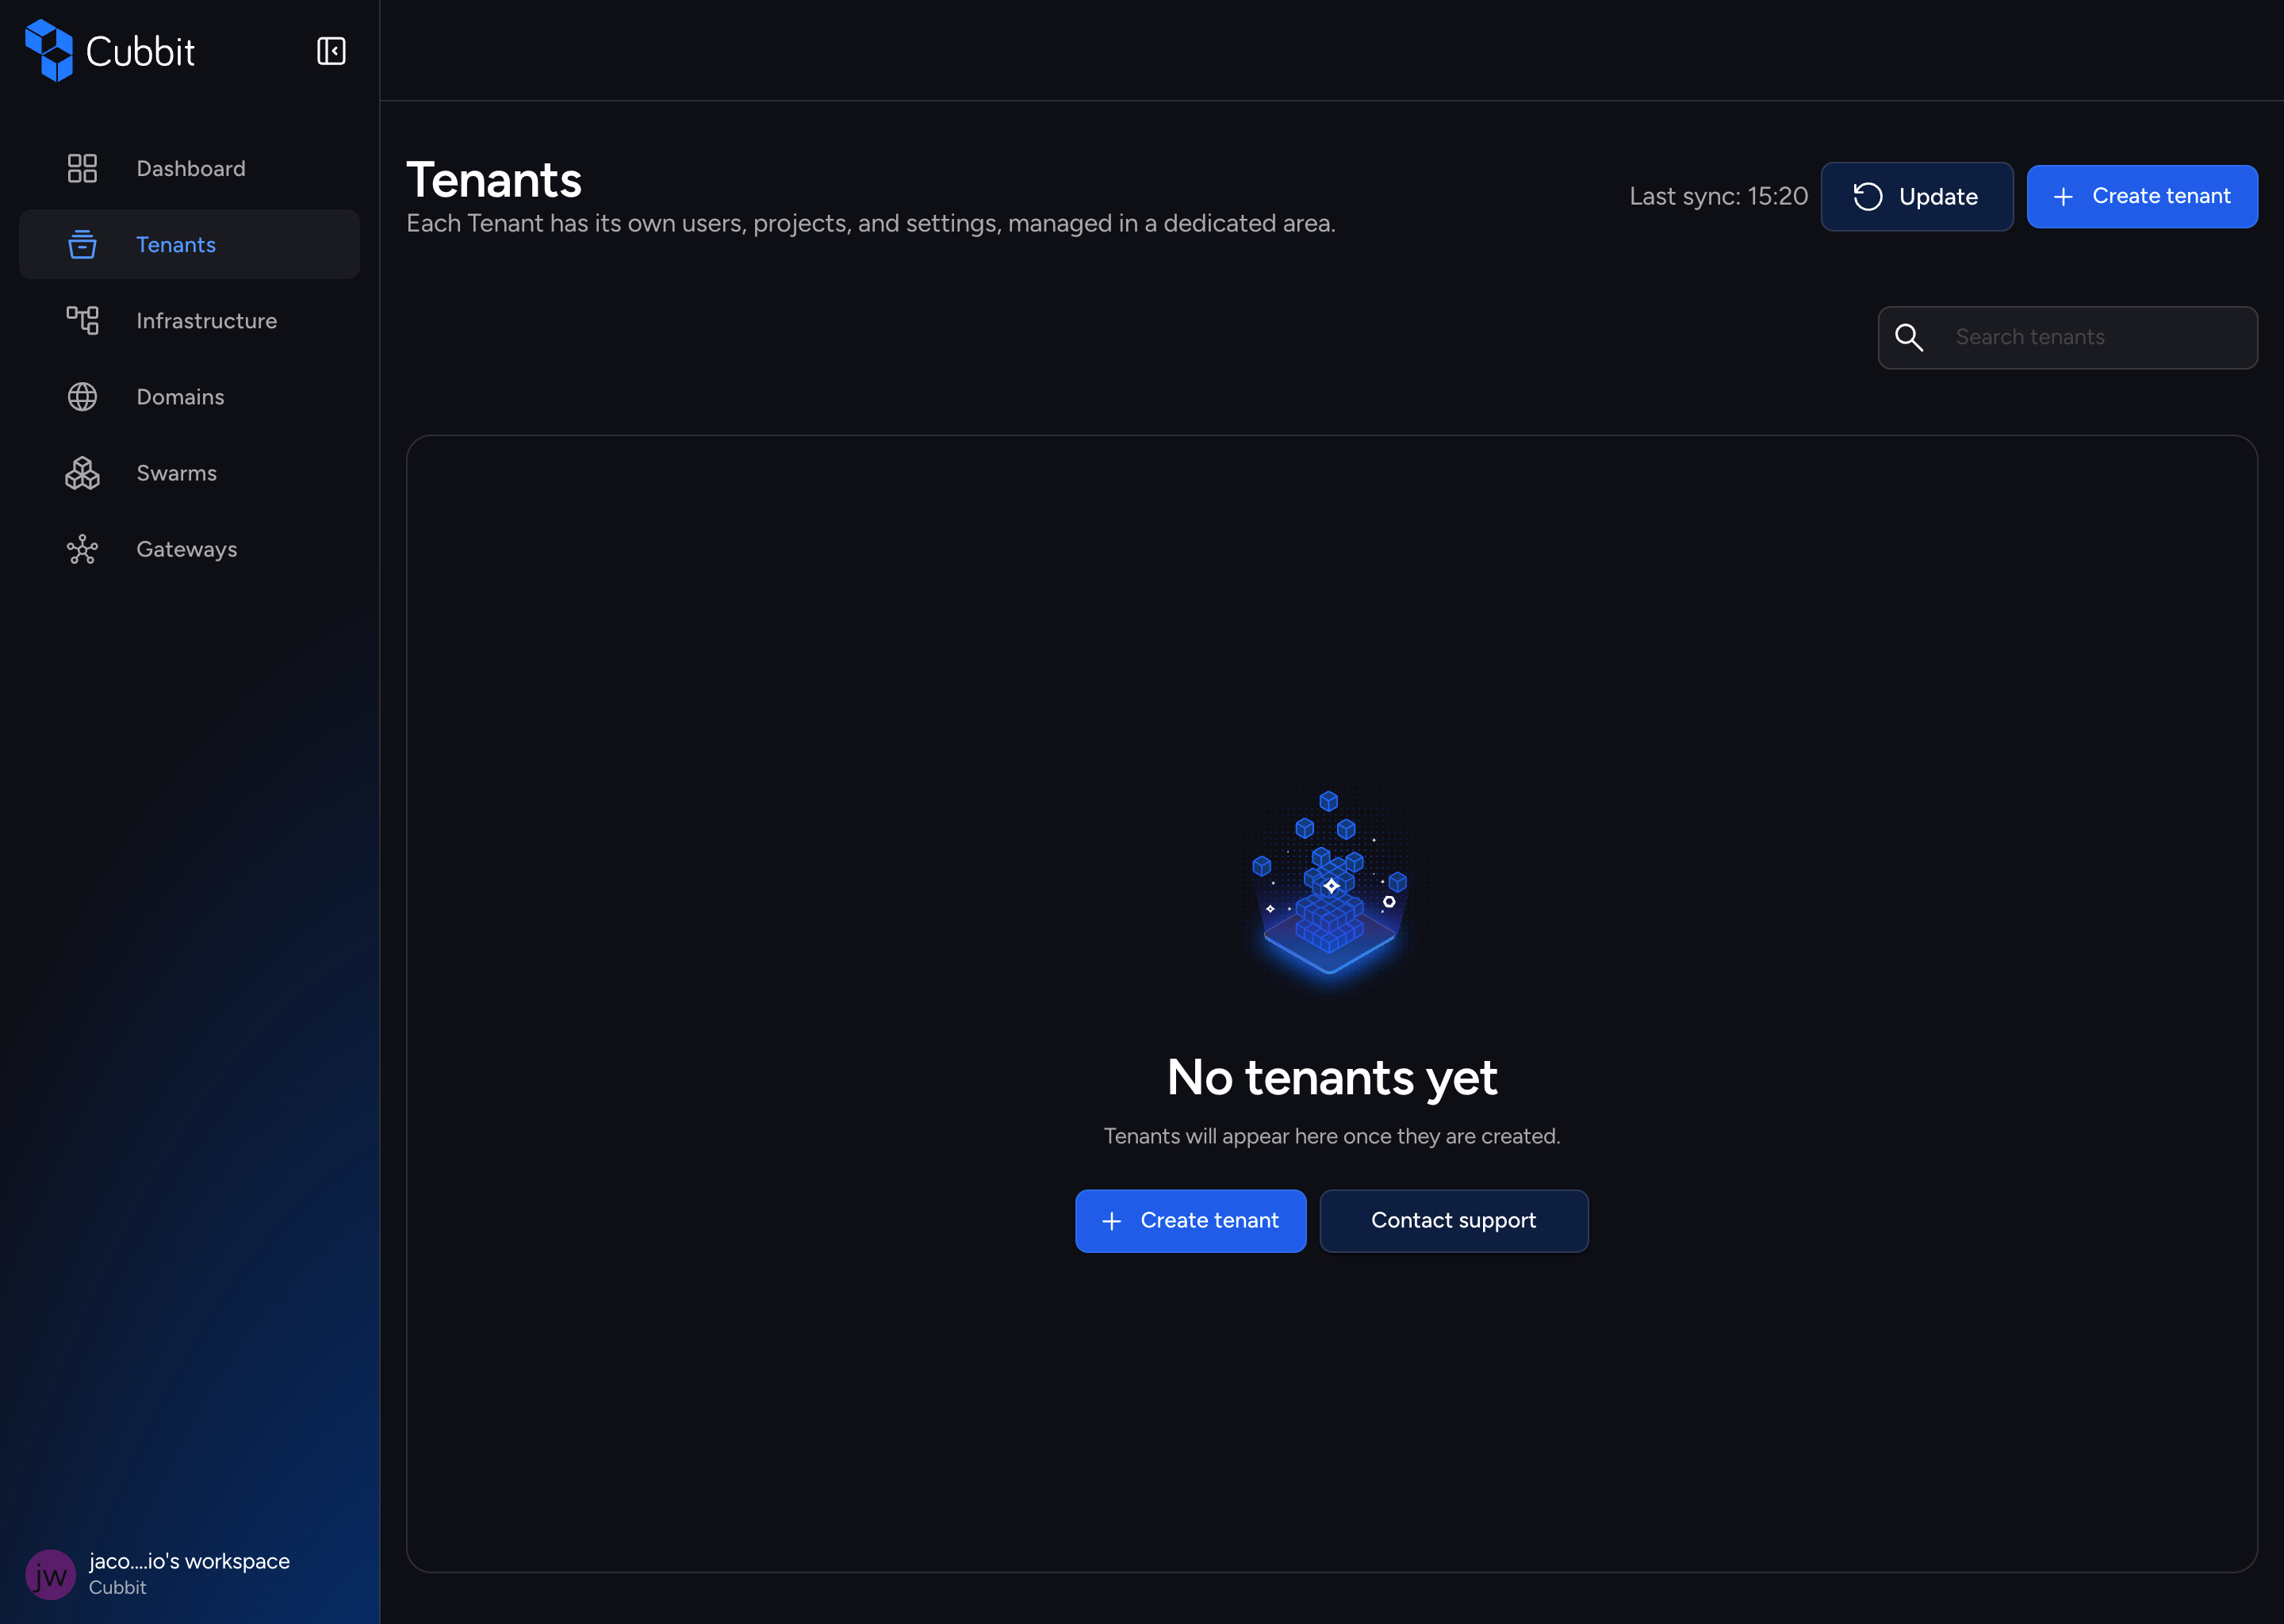
Click the Create tenant button to begin the tenant creation wizard. If you already have existing tenants, the button is located in the toolbar at the top of the tenants list.
The wizard opens as an overlay with 3 steps, guided by a Steps Progress Indicator at the top.
Step 1 - Tenant Setup
The first step of the tenant creation wizard requires you to provide basic information about your tenant:
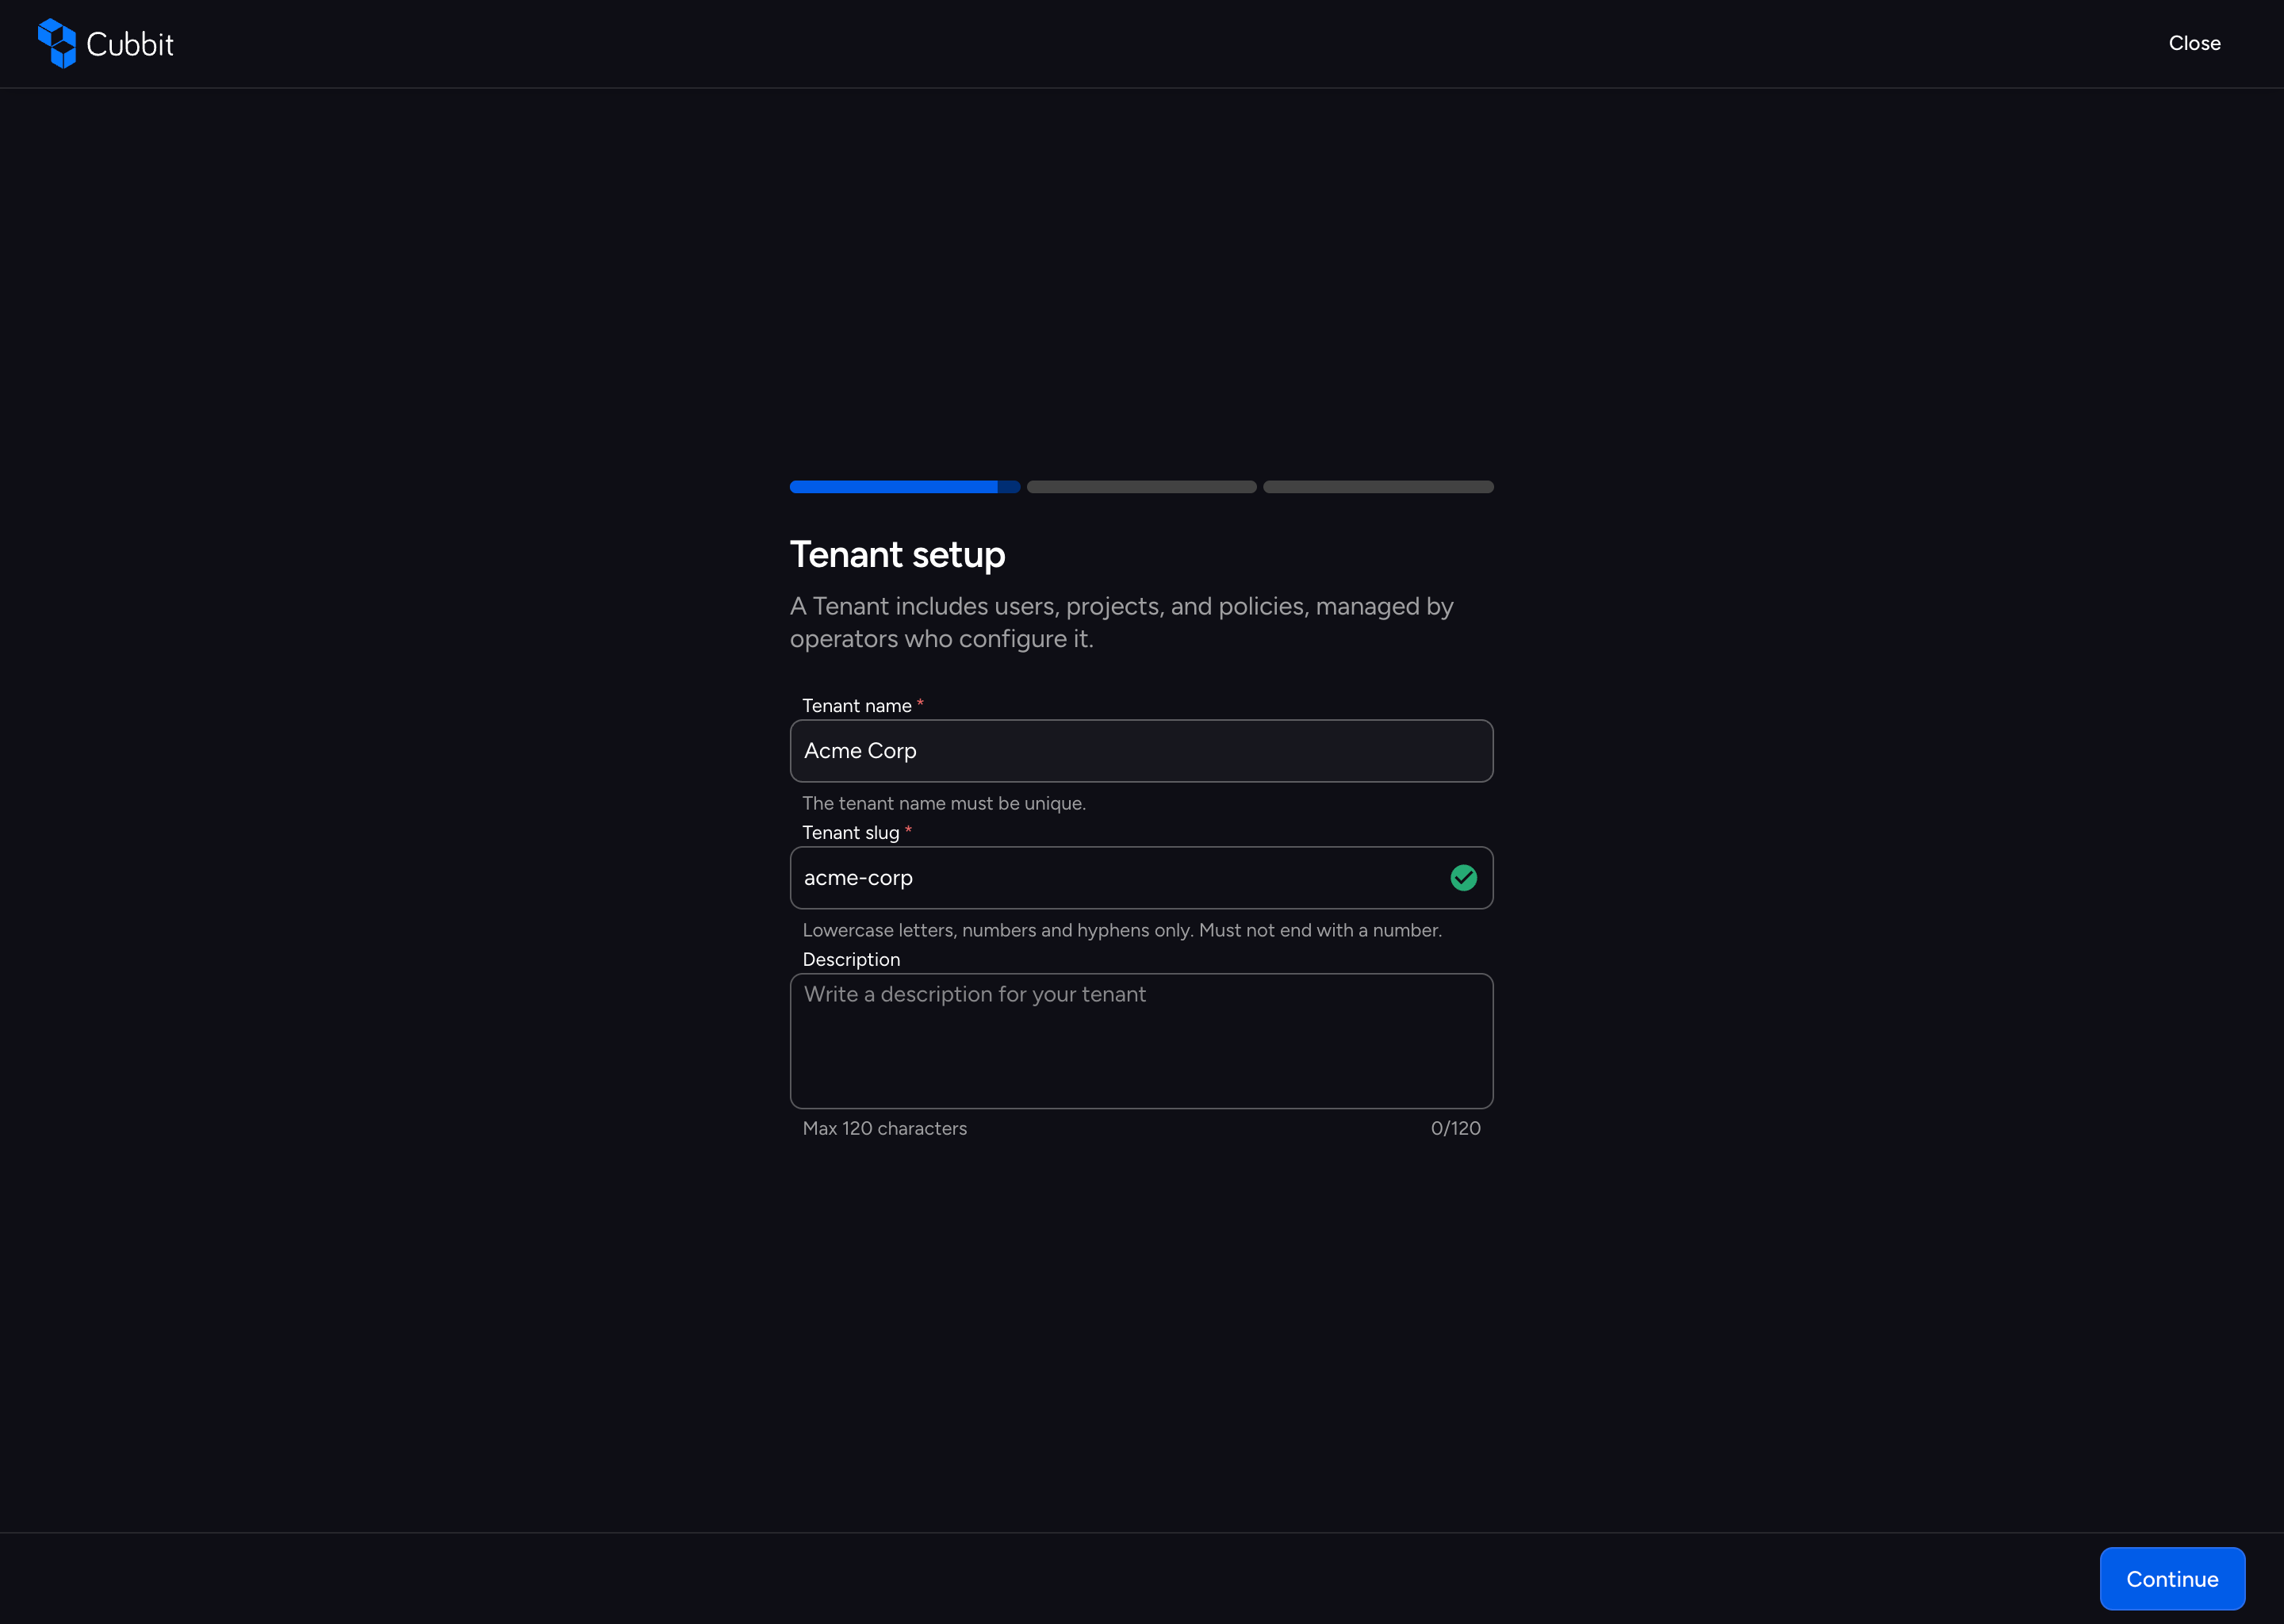
Fields
- Tenant name (required, 3—256 characters): The name for your tenant (e.g., "Acme Corp"). It is used in the UI and displayed to Tenant Customers.
- Tenant slug (required, 3+ characters): A URL-friendly identifier auto-generated from the tenant name. Must contain only lowercase letters, numbers, and hyphens. Must not end with a number (pattern:
^[a-z0-9]([a-z0-9-]*[a-z])?$). The slug shows a live availability check icon (checkmark if available, cross if taken) once you type at least 3 characters. You can edit the slug independently from the name. The tenant slug must be unique across your organization. - Description (optional, max 120 characters): A brief description of the tenant's purpose. A character counter displays the current length out of 120.
Valid slug examples: acme-corp, my-tenant-1a, production
Invalid slug examples: Acme-Corp (uppercase), my_tenant (underscore), tenant- (ends with hyphen), tenant1 (ends with number)
Click Continue to proceed to the next step.
Step 2 - Select Domains
In this step, you add the domains that this tenant will be accessible from.
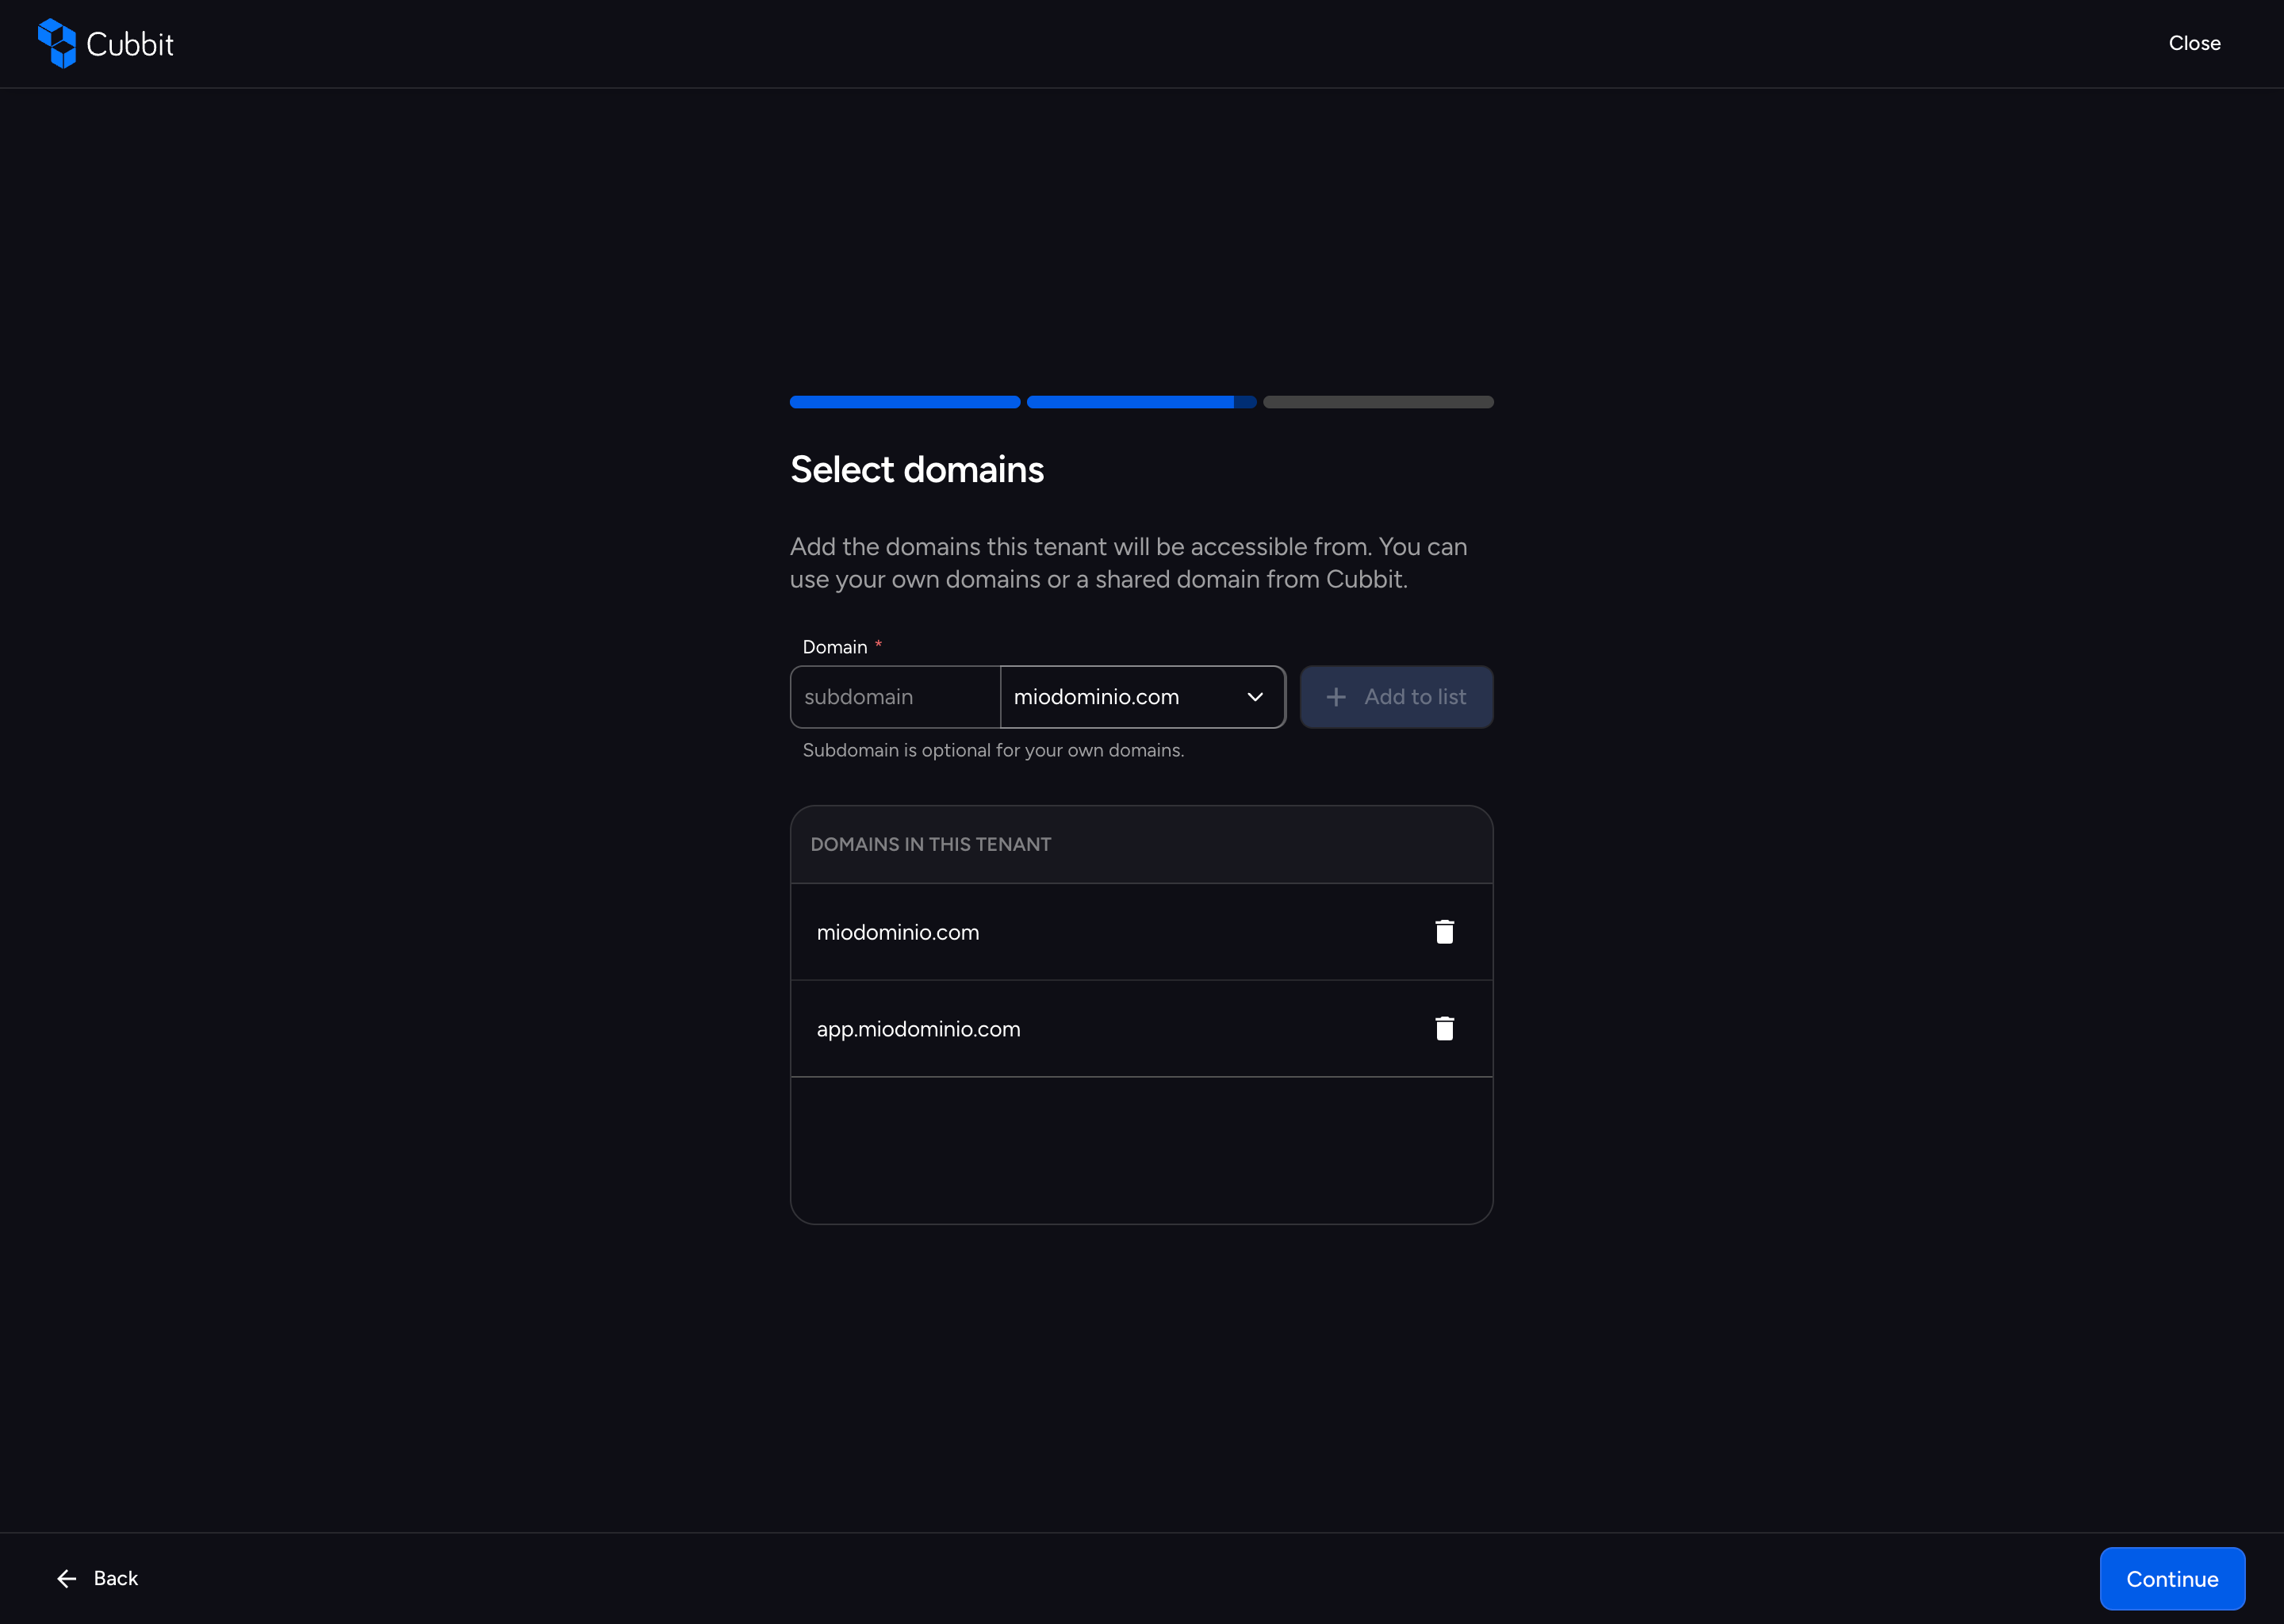
Adding Existing Domains
- Optionally enter a subdomain prefix in the text field (e.g.,
app). Subdomains are only available for your own (non-shared) domains. - From the domain picker dropdown, select a verified domain. The dropdown lists all available verified domains in your organization.
- Click Add to list to add the domain with the optional subdomain prefix.
The selected domains appear in the Domains in this tenant table, where you can remove them with the Remove button.
Adding New Domains
If you need a domain that isn't already verified in your organization:
- Click Add new domain at the bottom of the domain picker dropdown.
- A Create Domain Drawer opens where you can register a new custom domain.
- Enter the domain name (e.g.,
app.mycompany.com). - The system generates a DNS challenge — a TXT record value that you need to add to your domain's DNS configuration:
- Add the challenge value as a TXT record on your custom domain.
- Name the record
_cubbit-challenge. - Wait a couple of minutes for DNS propagation.
- Once verified, the domain appears in the available domains list and can be added to the tenant.
Note: At least one domain must be added before proceeding.
Click Continue to proceed to the next step.
Step 3 - Select Gateways
In this step, you choose which gateways will serve the domains you selected.
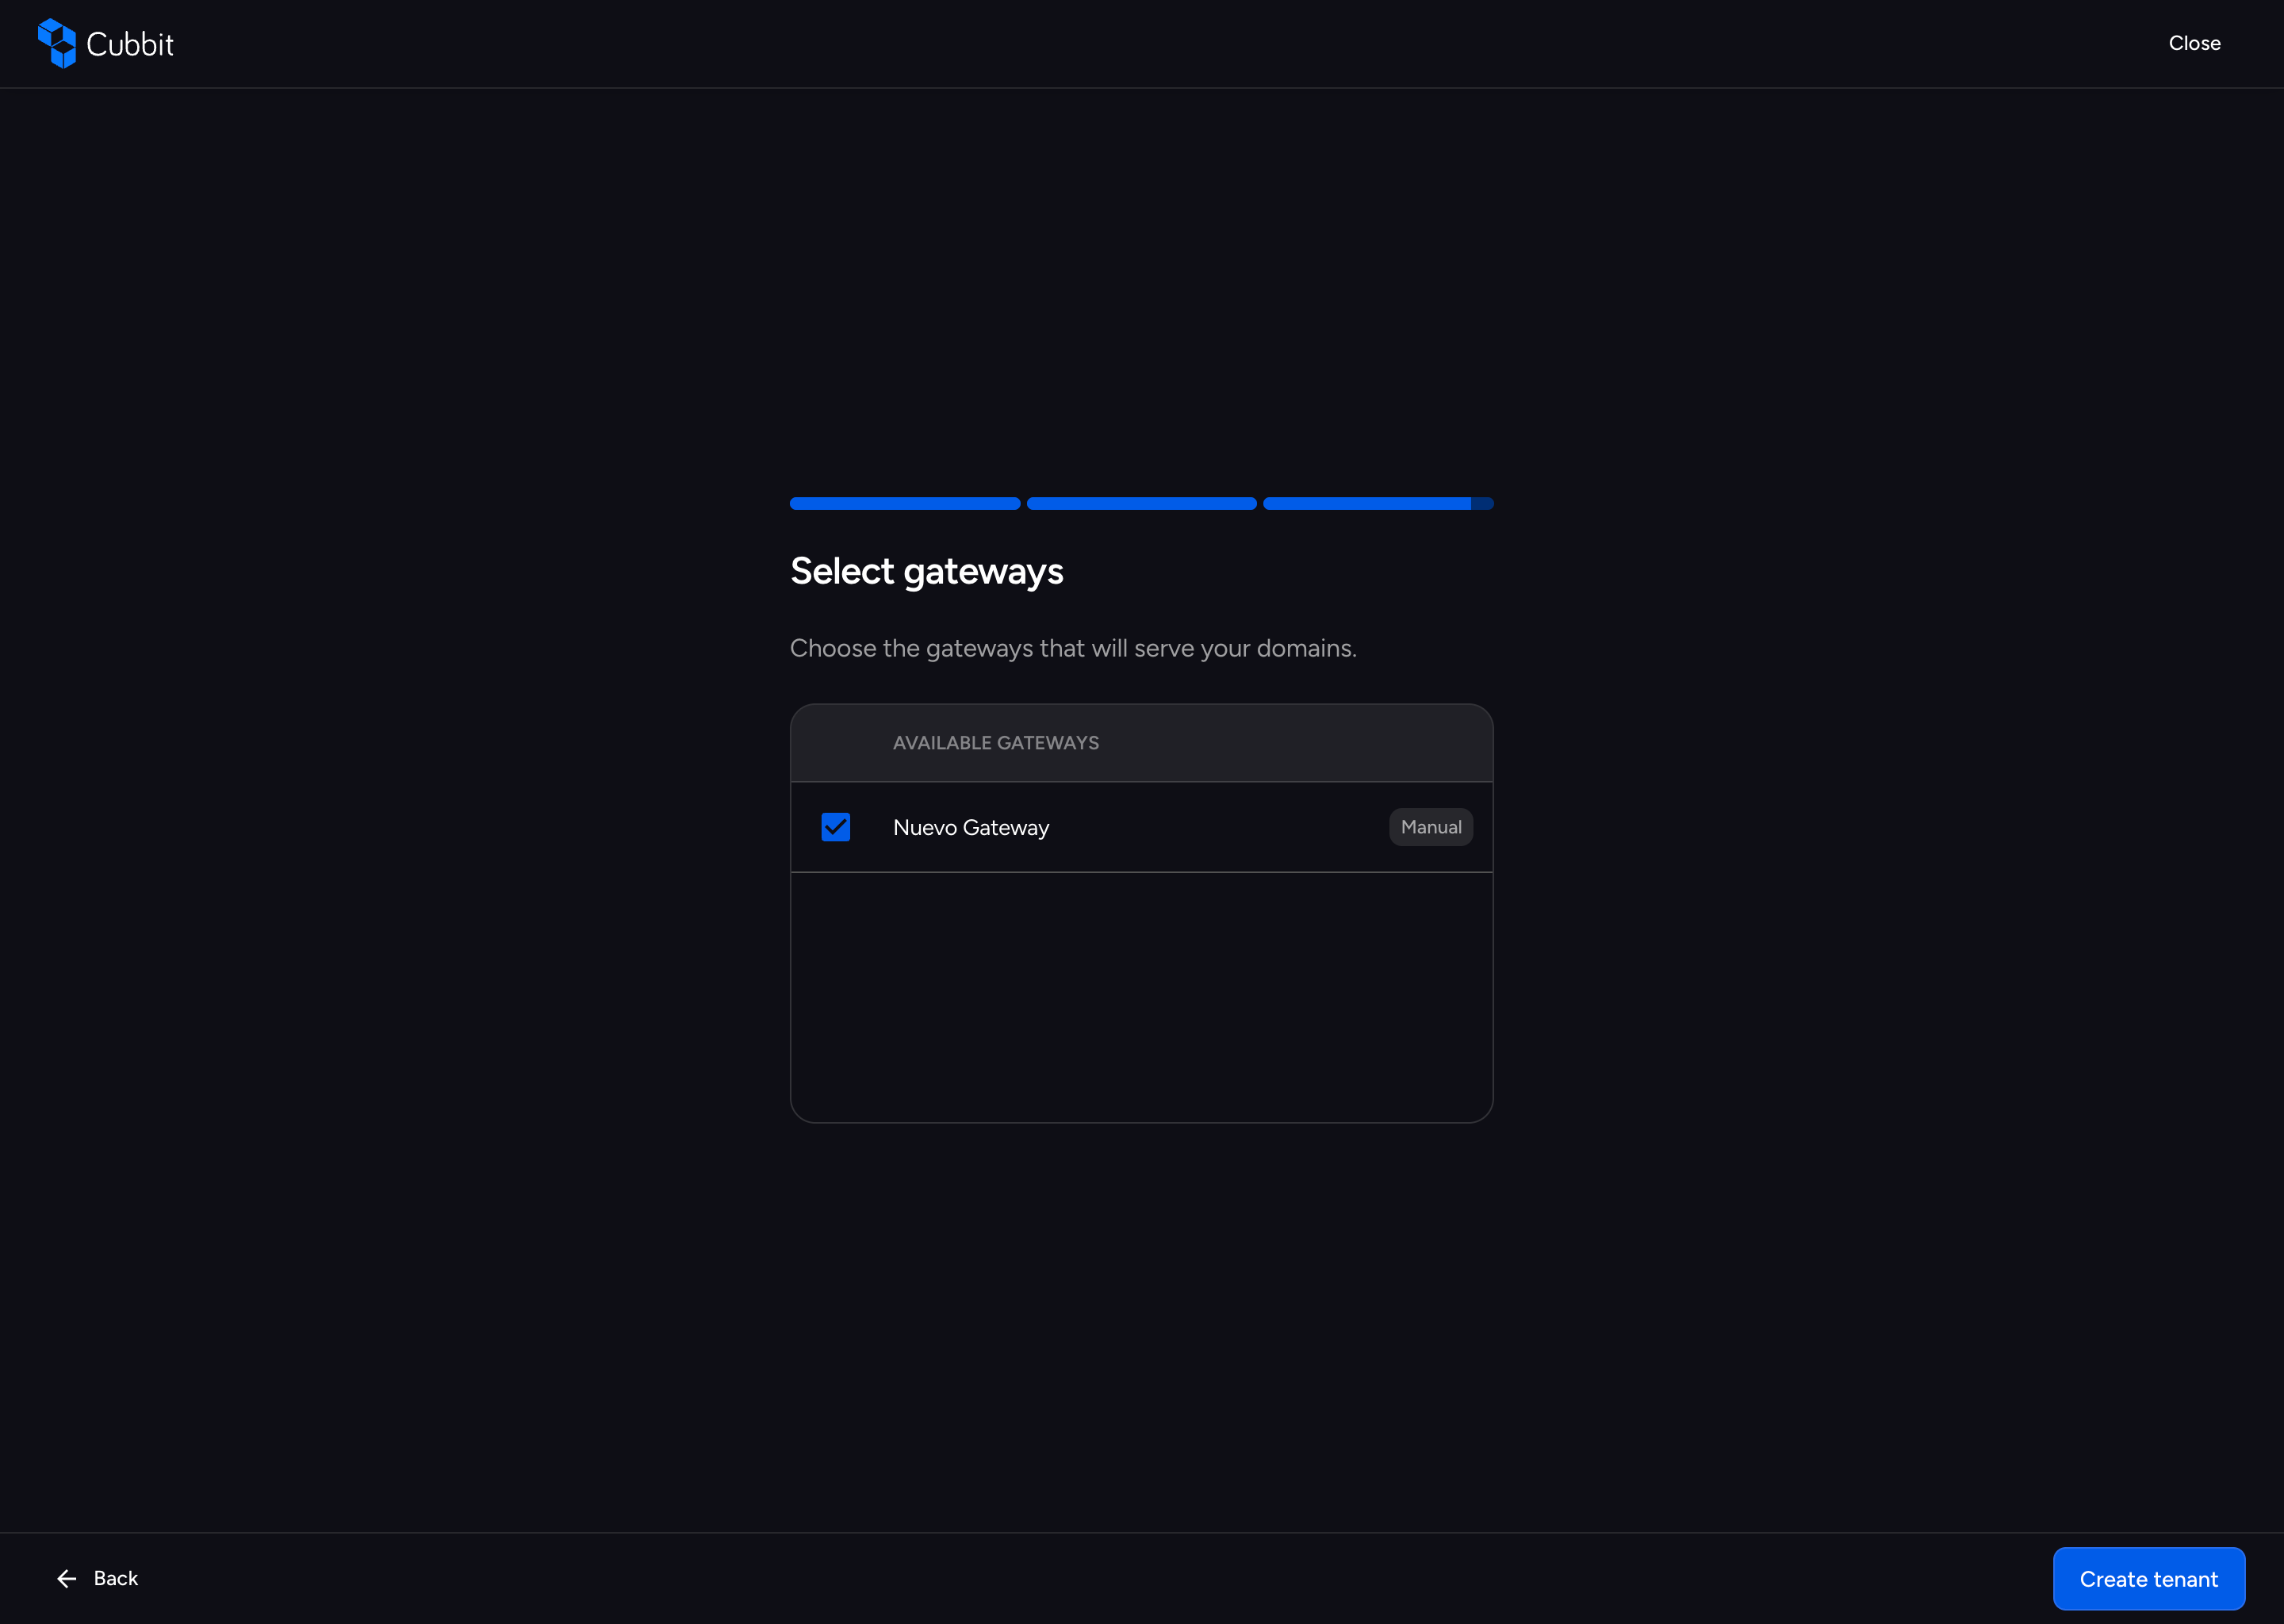
The interface displays a table of available gateways. Each row shows:
- Gateway name — The name of the gateway
- Type chip — Shows the gateway type (Manual)
Select the gateways by checking the corresponding checkboxes in the table.
Click Create tenant to begin the provisioning process.
Tenant Creation Progress
After submitting the form, the tenant creation runs asynchronously. A progress screen shows the status:
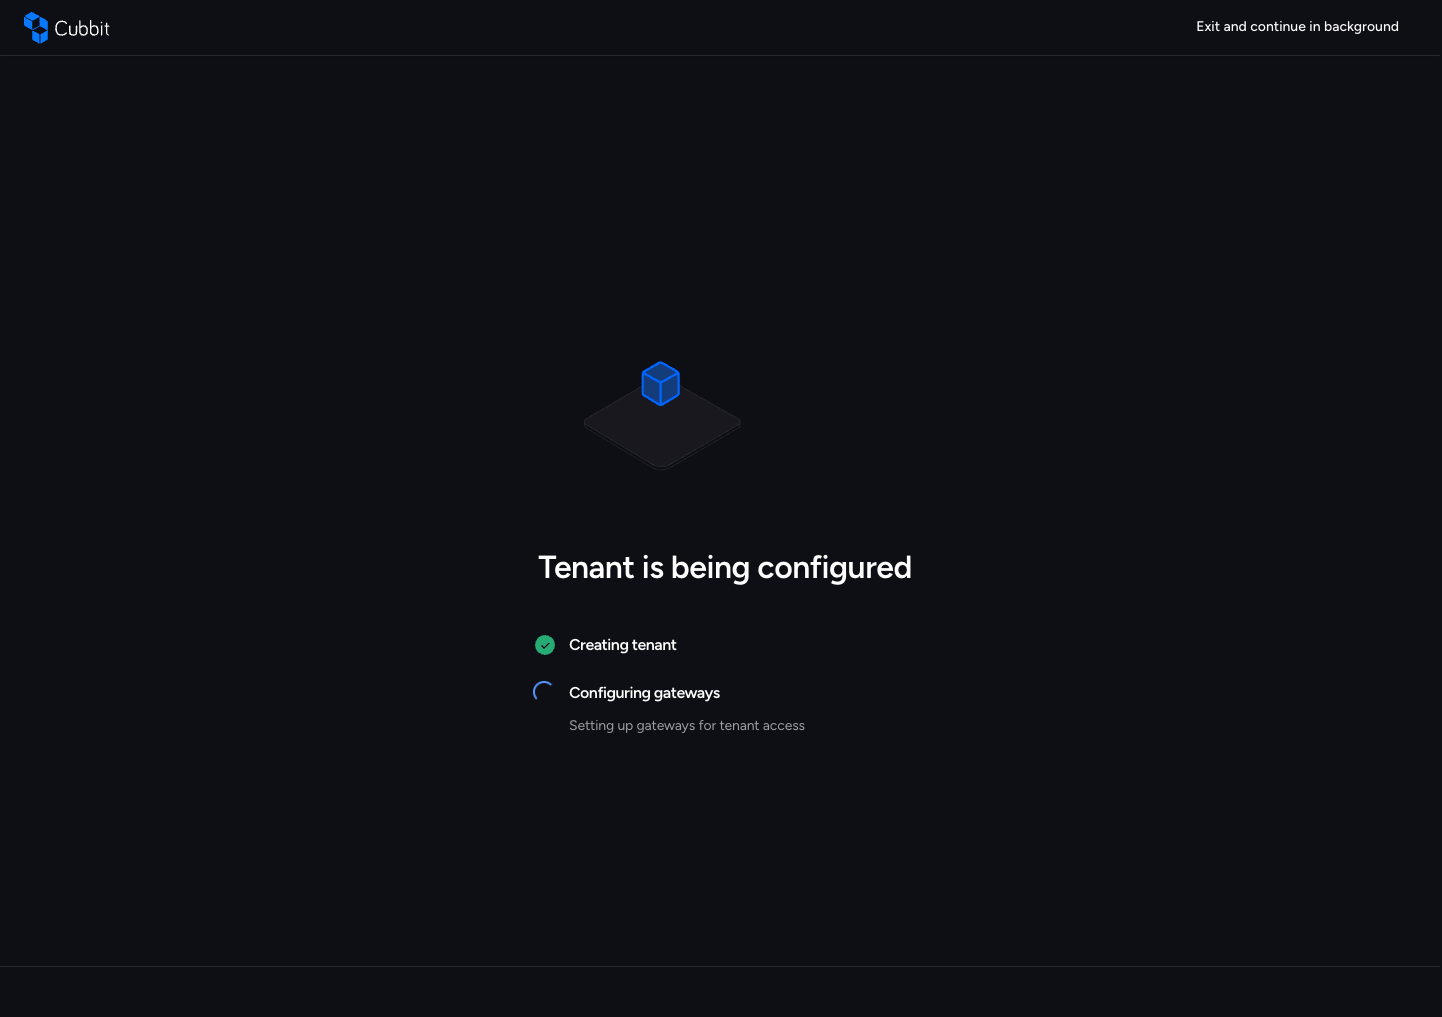
The process consists of 2 sub-steps:
- Creating tenant — Creating the tenant with the provided configuration
- Configuring gateways — Setting up gateways for tenant access
The status is polled every ~5 seconds. While waiting, you can:
- Wait on the page for the process to complete.
- Exit and continue in background — Close the overlay and check the tenant status later from the Tenants page.
After creation
Once the tenant creation process finishes, one of two outcomes is shown:
Manual gateway
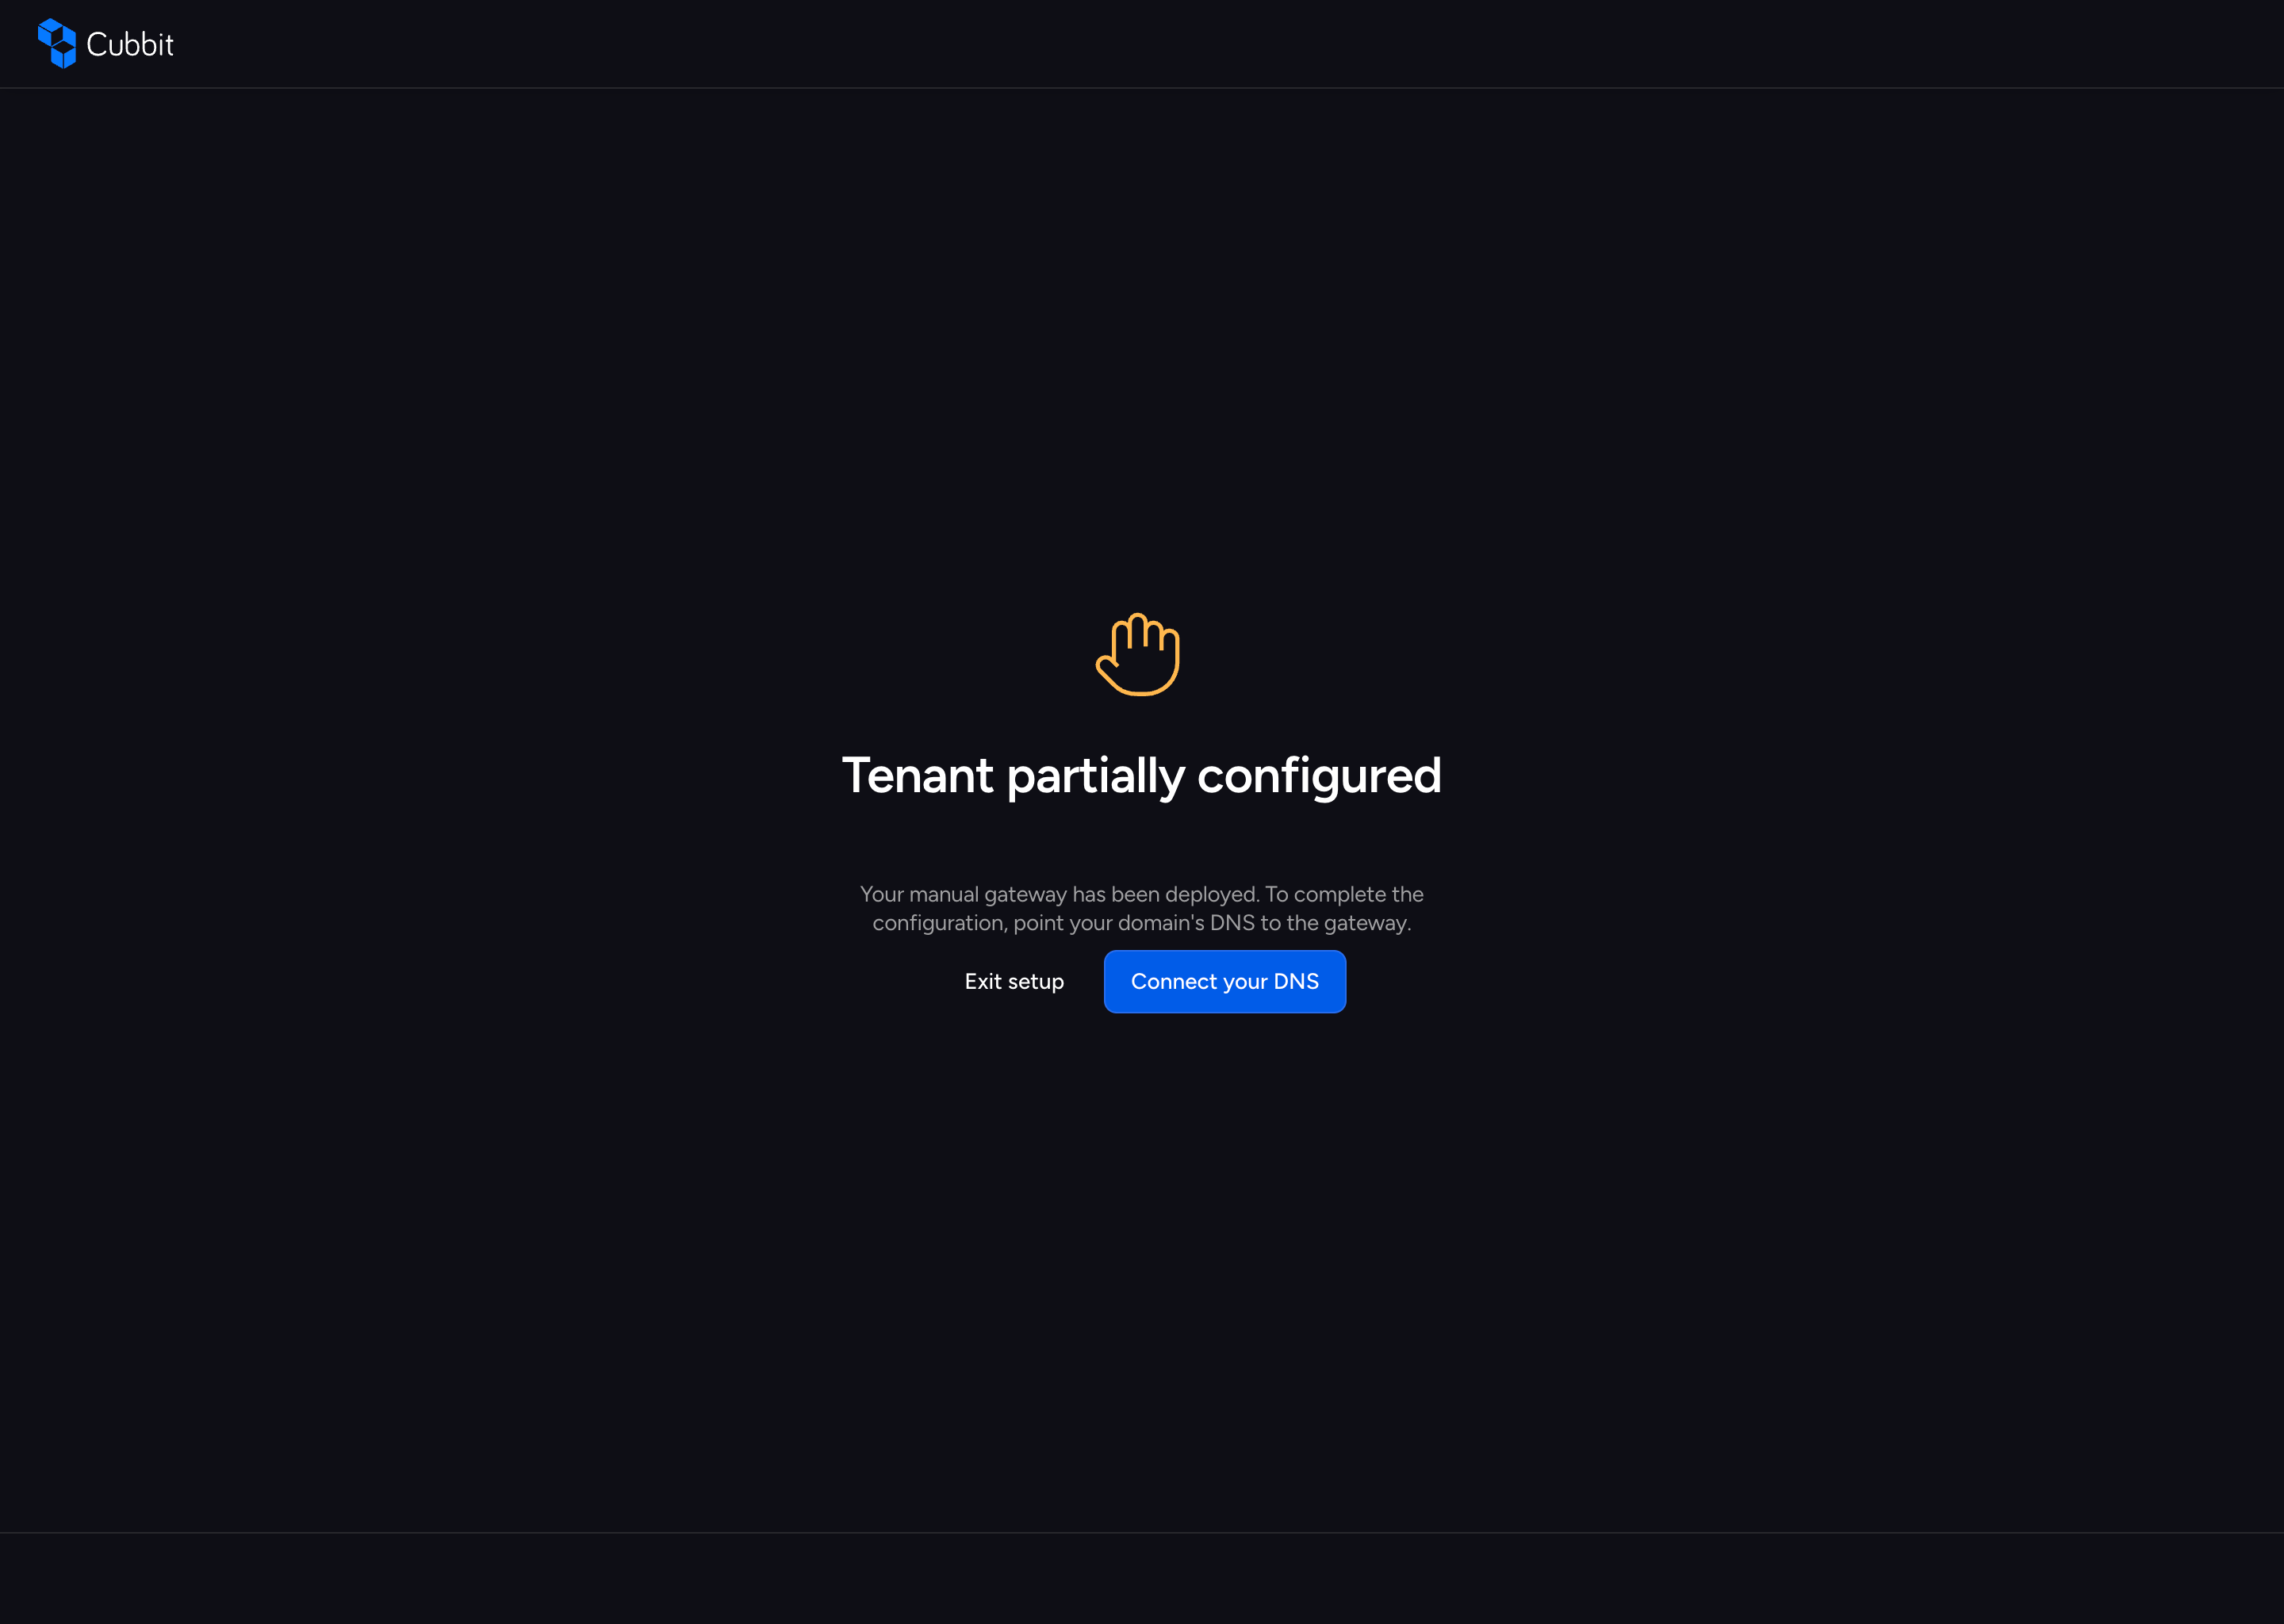
The tenant is partially configured. Click Connect your DNS to complete the configuration by pointing your domain's DNS to the gateway. You can also click Exit setup and complete DNS configuration later. For the full procedure, see Tenant connections.
Error
If the creation fails, an error screen is displayed with two options:
- Retry — Try the creation process again.
- Exit setup — Close the overlay and review the issues.
Troubleshooting
Common Errors
| Error | Cause | Fix |
|---|---|---|
| A Tenant with the same slug already exists | The slug conflict with an existing tenant | Choose a different name or slug |
| There are validation errors in the form | Field validation failed (e.g., slug format, missing required fields) | Review the highlighted fields and correct the input |
| Missing permissions | Your account lacks the required permissions | Contact your organization administrator to grant access |
| No gateways available | No gateways exist in your organization | Create a gateway first from the onboarding checklist |
Slug Format
The slug must match the pattern: ^[a-z0-9]([a-z0-9-]*[a-z])?$
Valid examples: acme-corp, my-tenant, production-east
Invalid examples: My-Tenant (uppercase), my_tenant (underscore), tenant- (trailing hyphen), tenant1 (ends with number)