Create a Swarm
This guide describes how to create a new Swarm in your Cubbit deployment.
If your Swarm was created with the legacy Ansible and Docker deployment, do not create a new Swarm. Follow Migrate a legacy Swarm instead.
Prerequisites
Before creating a swarm, ensure you have:
- An active Cubbit organization with admin privileges
- At least 1 node available in your infrastructure
- A virtual or physical location configured for the swarm
Accessing Swarm Creation
From the Composer dashboard, navigate to the Swarms section. If you don't have any swarms yet, you'll see an empty state with a prompt to create your first swarm.
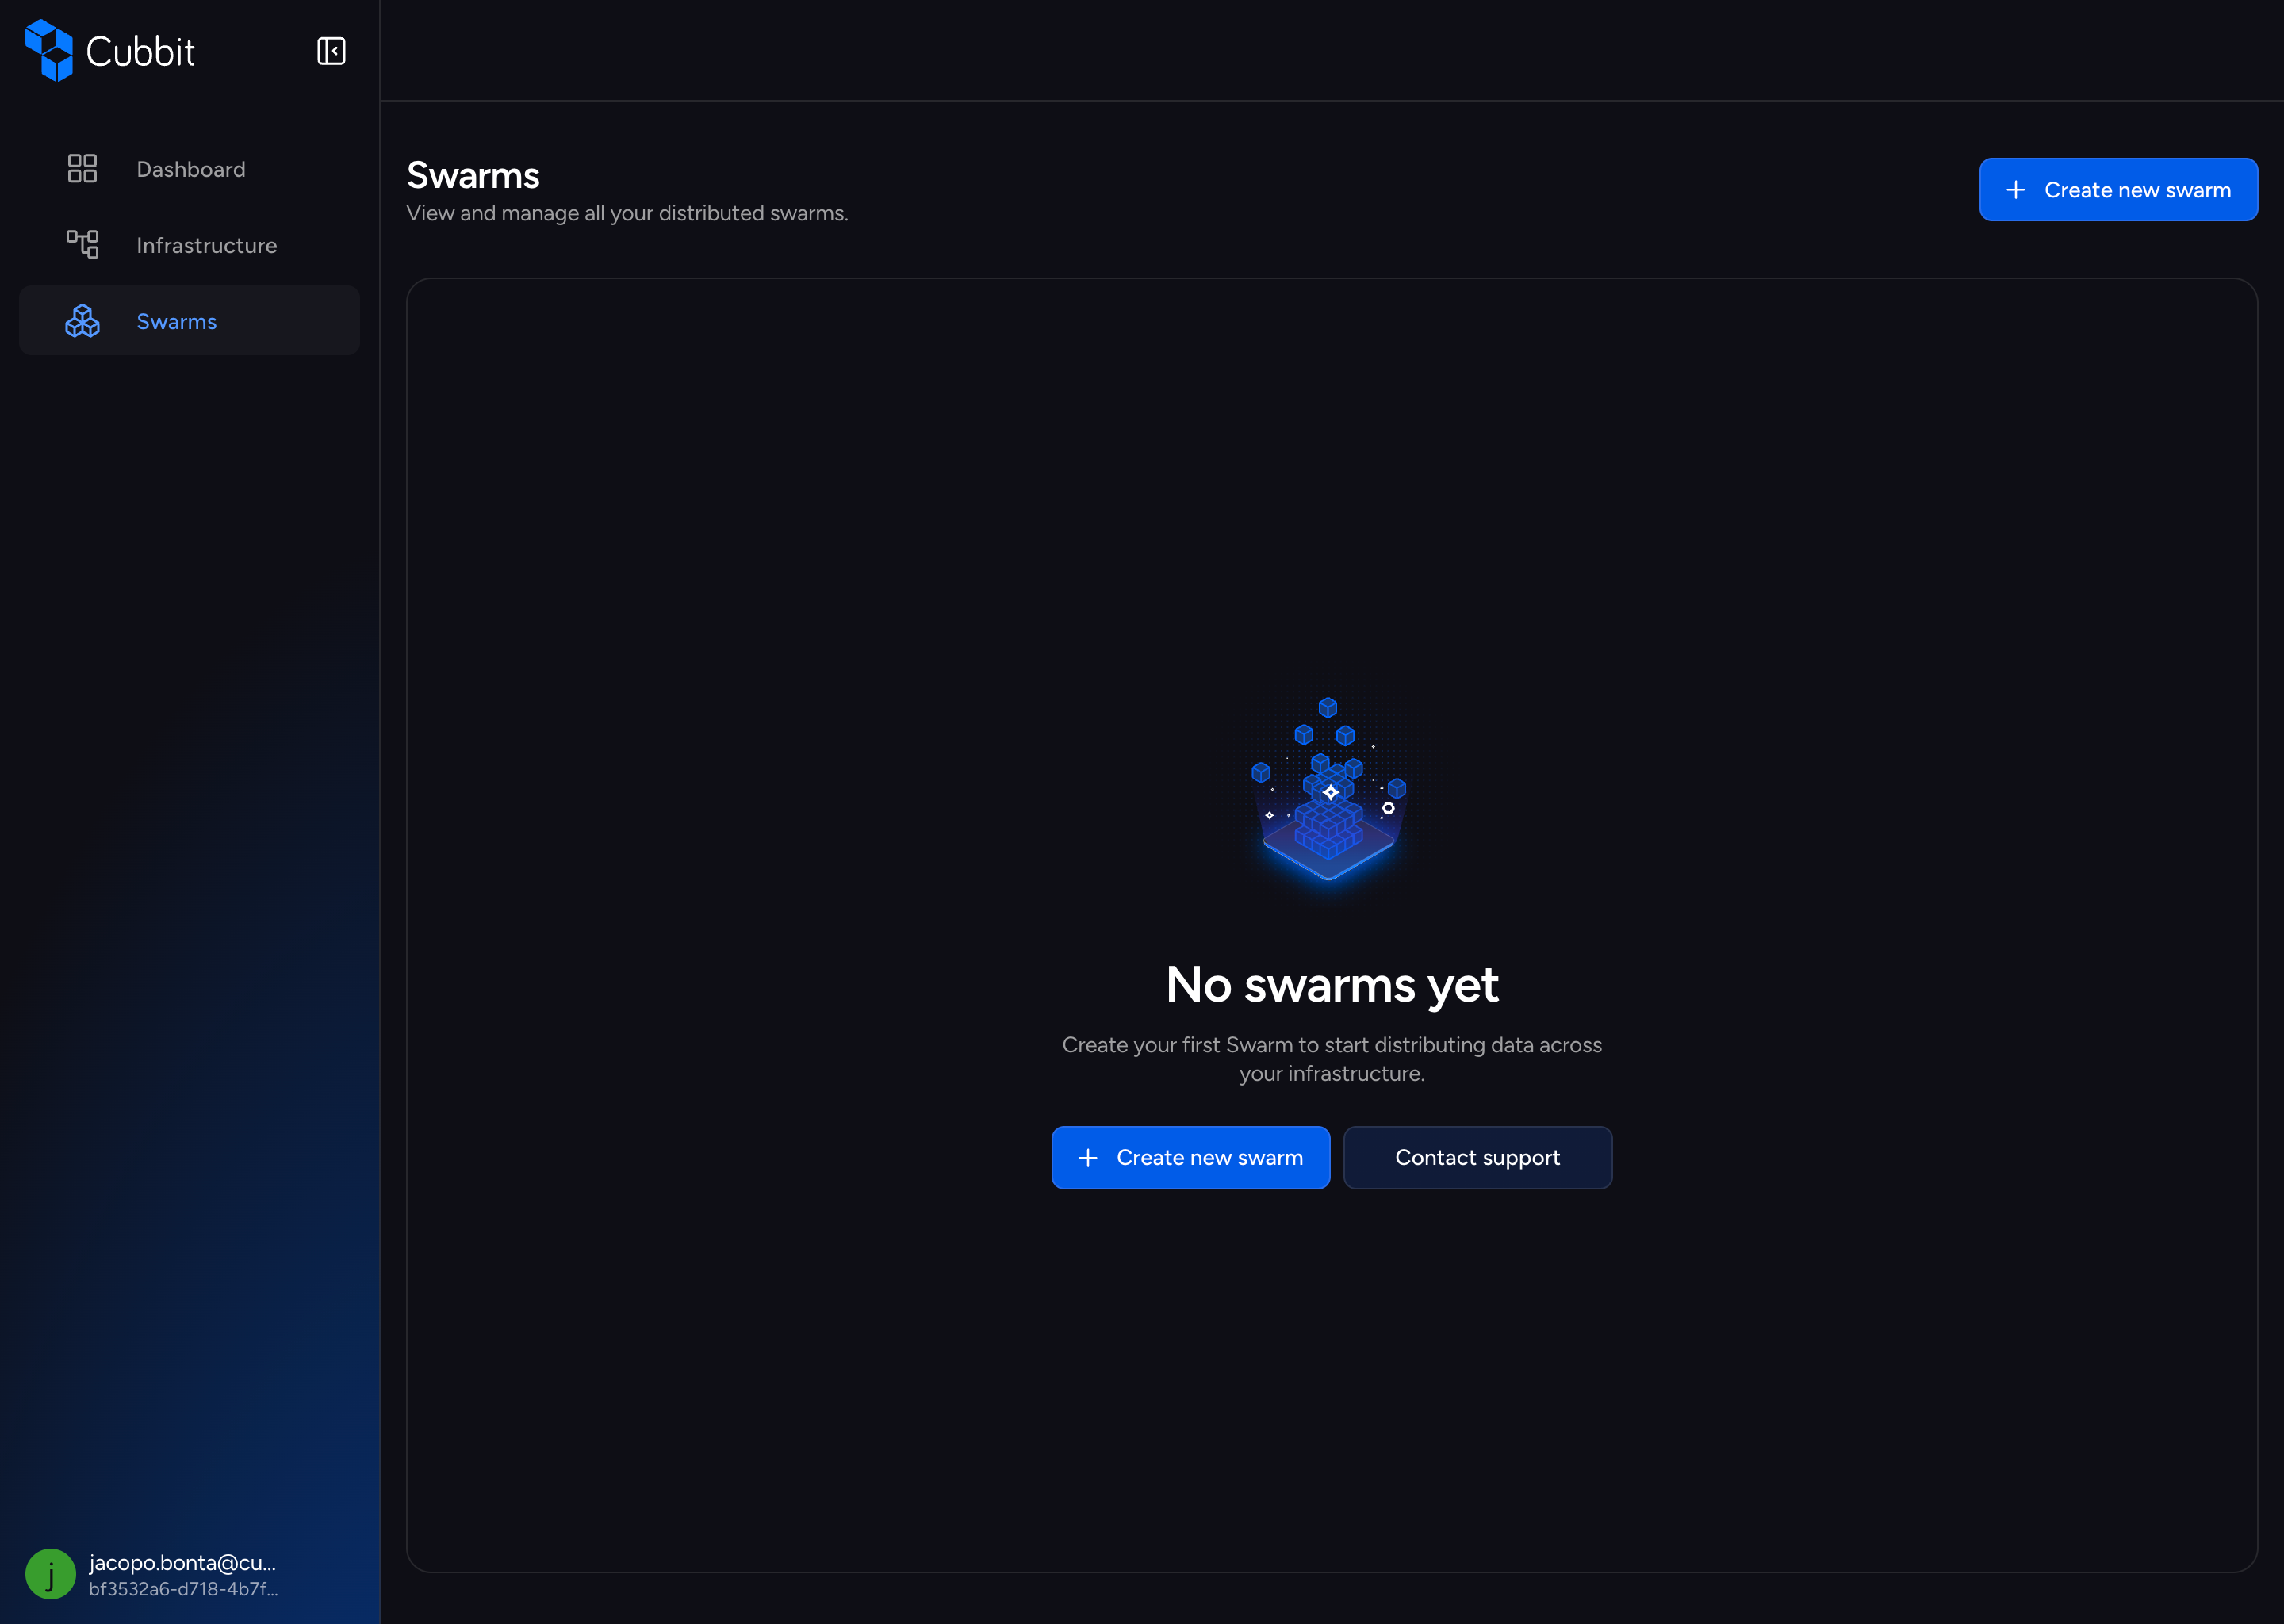
Click the Create Swarm button to begin the swarm creation wizard.
Base Information and Location Selection
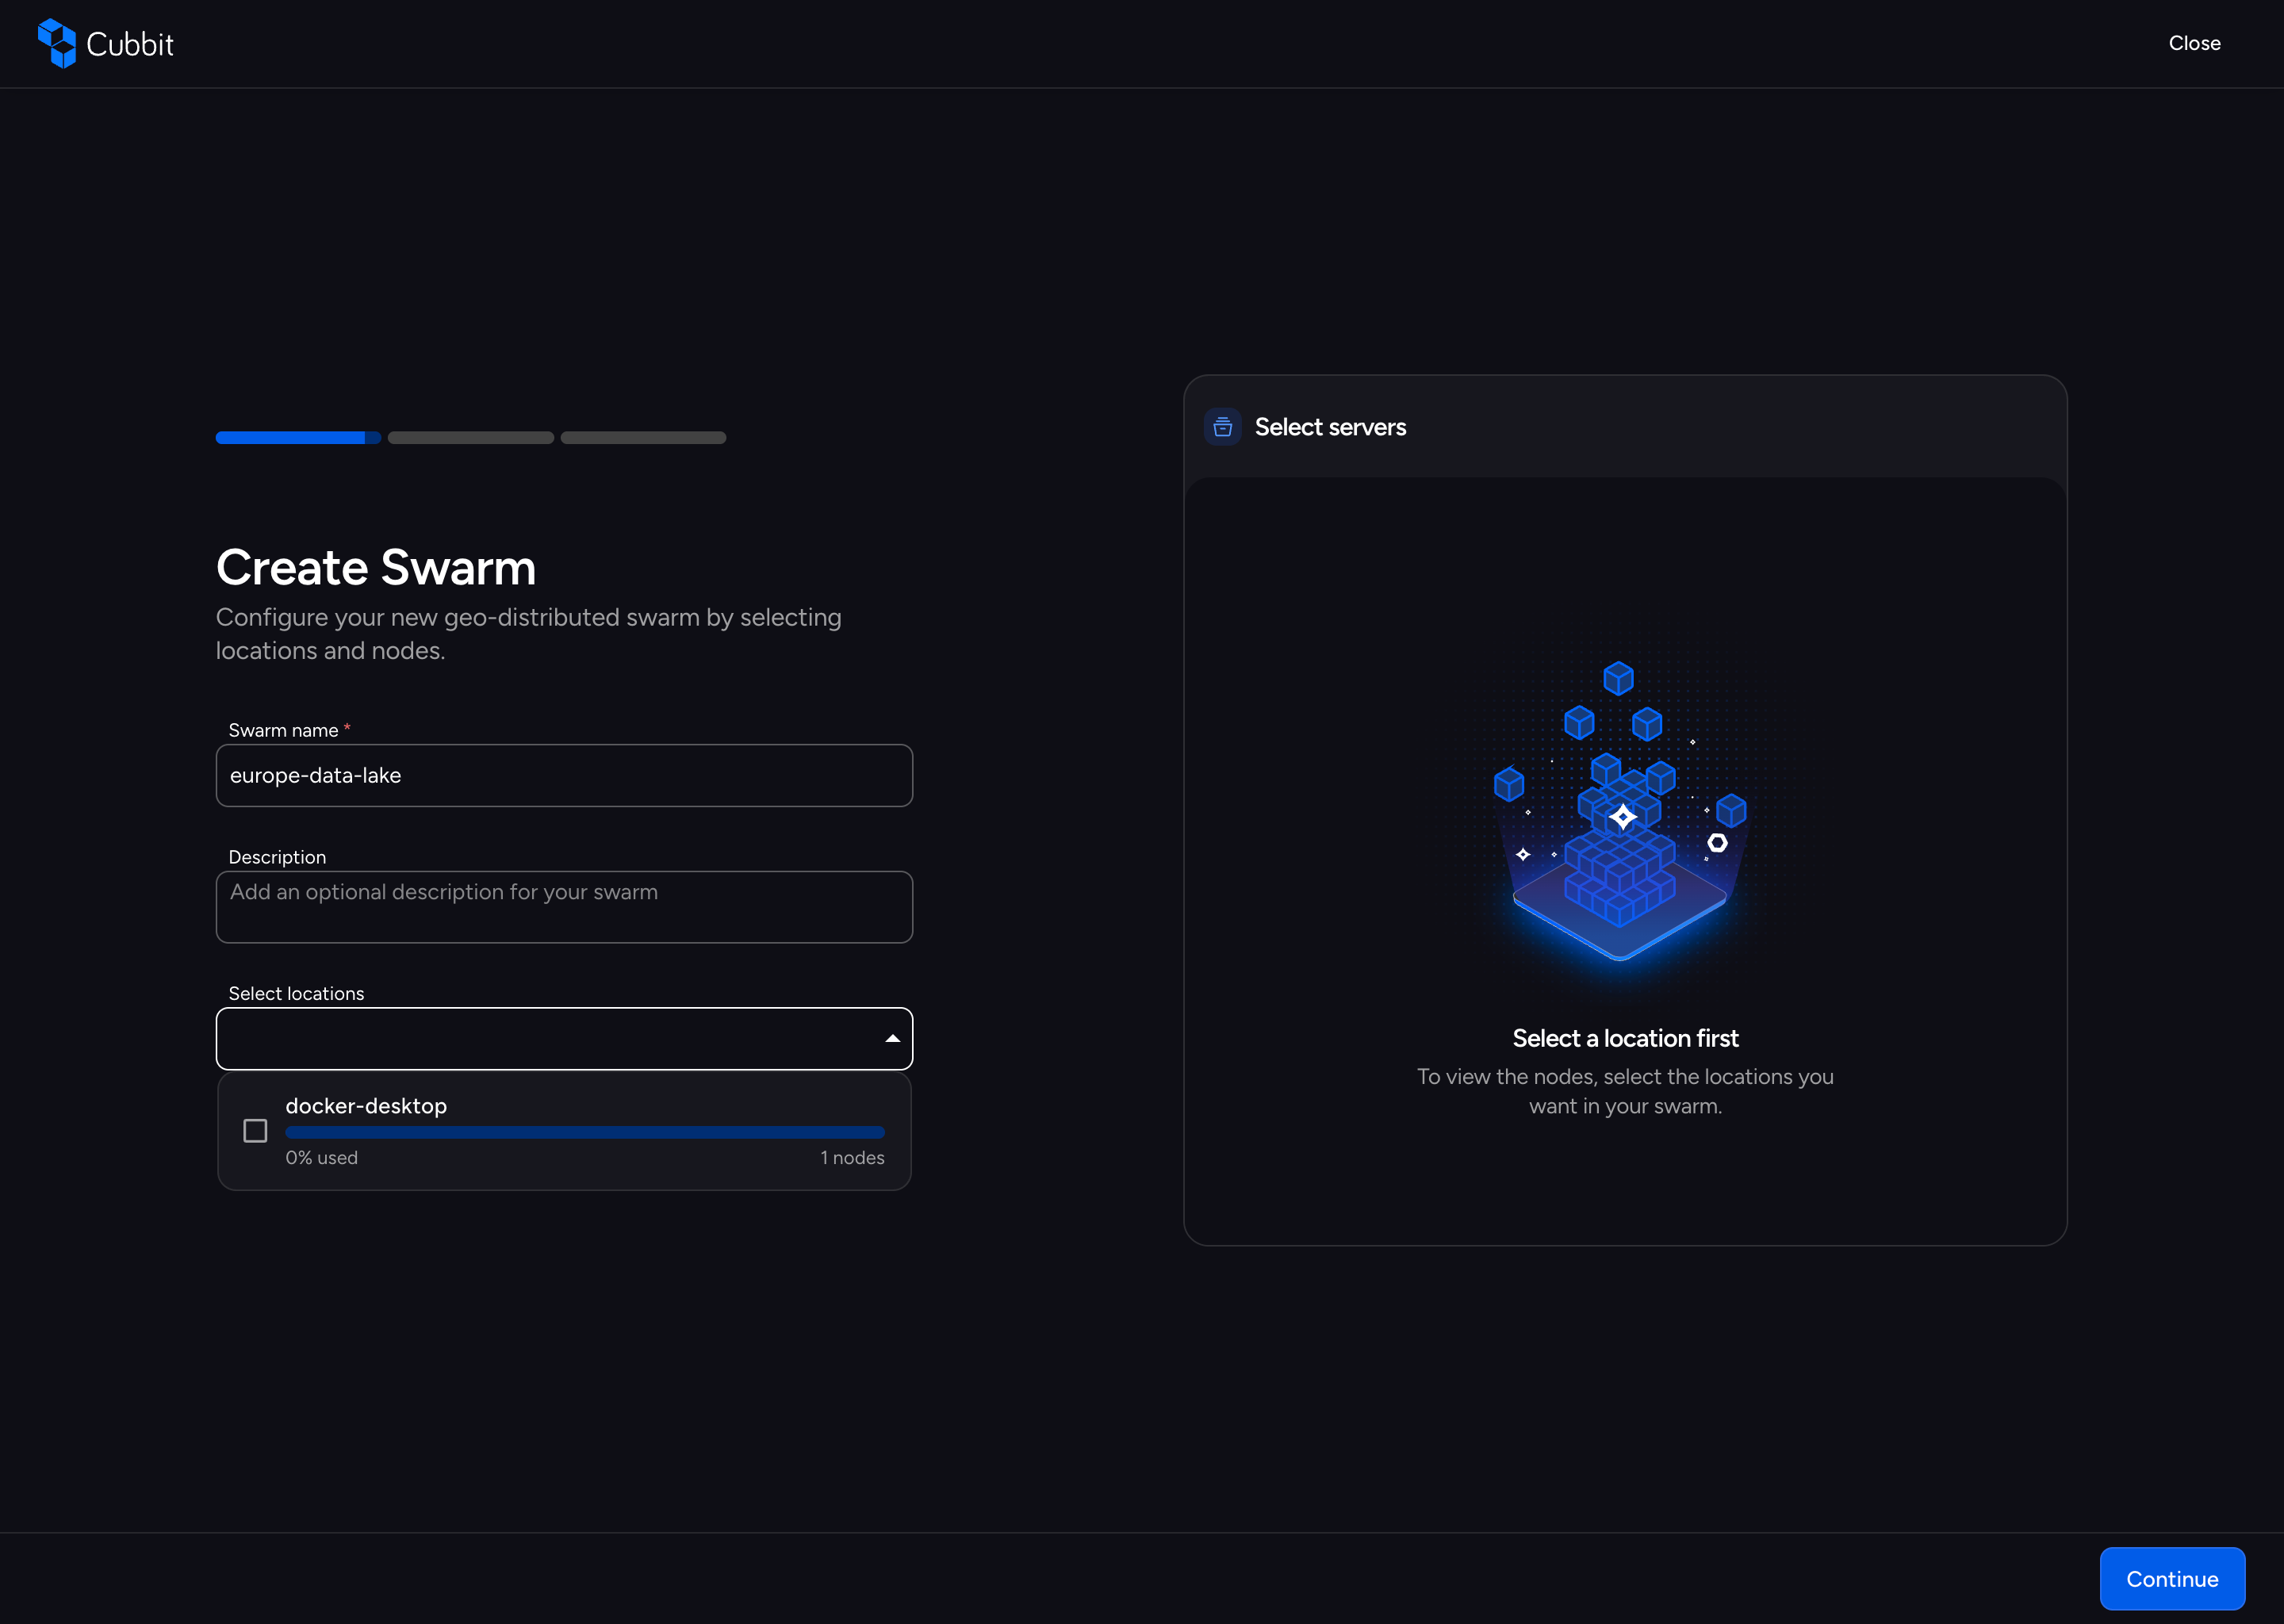
The first step of the swarm creation form requires you to provide basic information about your swarm:
- Swarm Name: A unique identifier for your swarm (e.g., "production-eu-west")
- Description: Optional description of the swarm's purpose
- Location: Select the virtual or physical locations where the swarm will operate
The location selection is critical as it determines the geographic distribution of your nodes and affects data residency and latency characteristics.
Node Selection
After selecting one or multiple locations, you'll select the nodes that will form your swarm. The interface displays all available nodes in the selected location.
Requirements:
- Nodes must be online and healthy and not already being used by other swarms.
- Nodes must have at least one available disk.
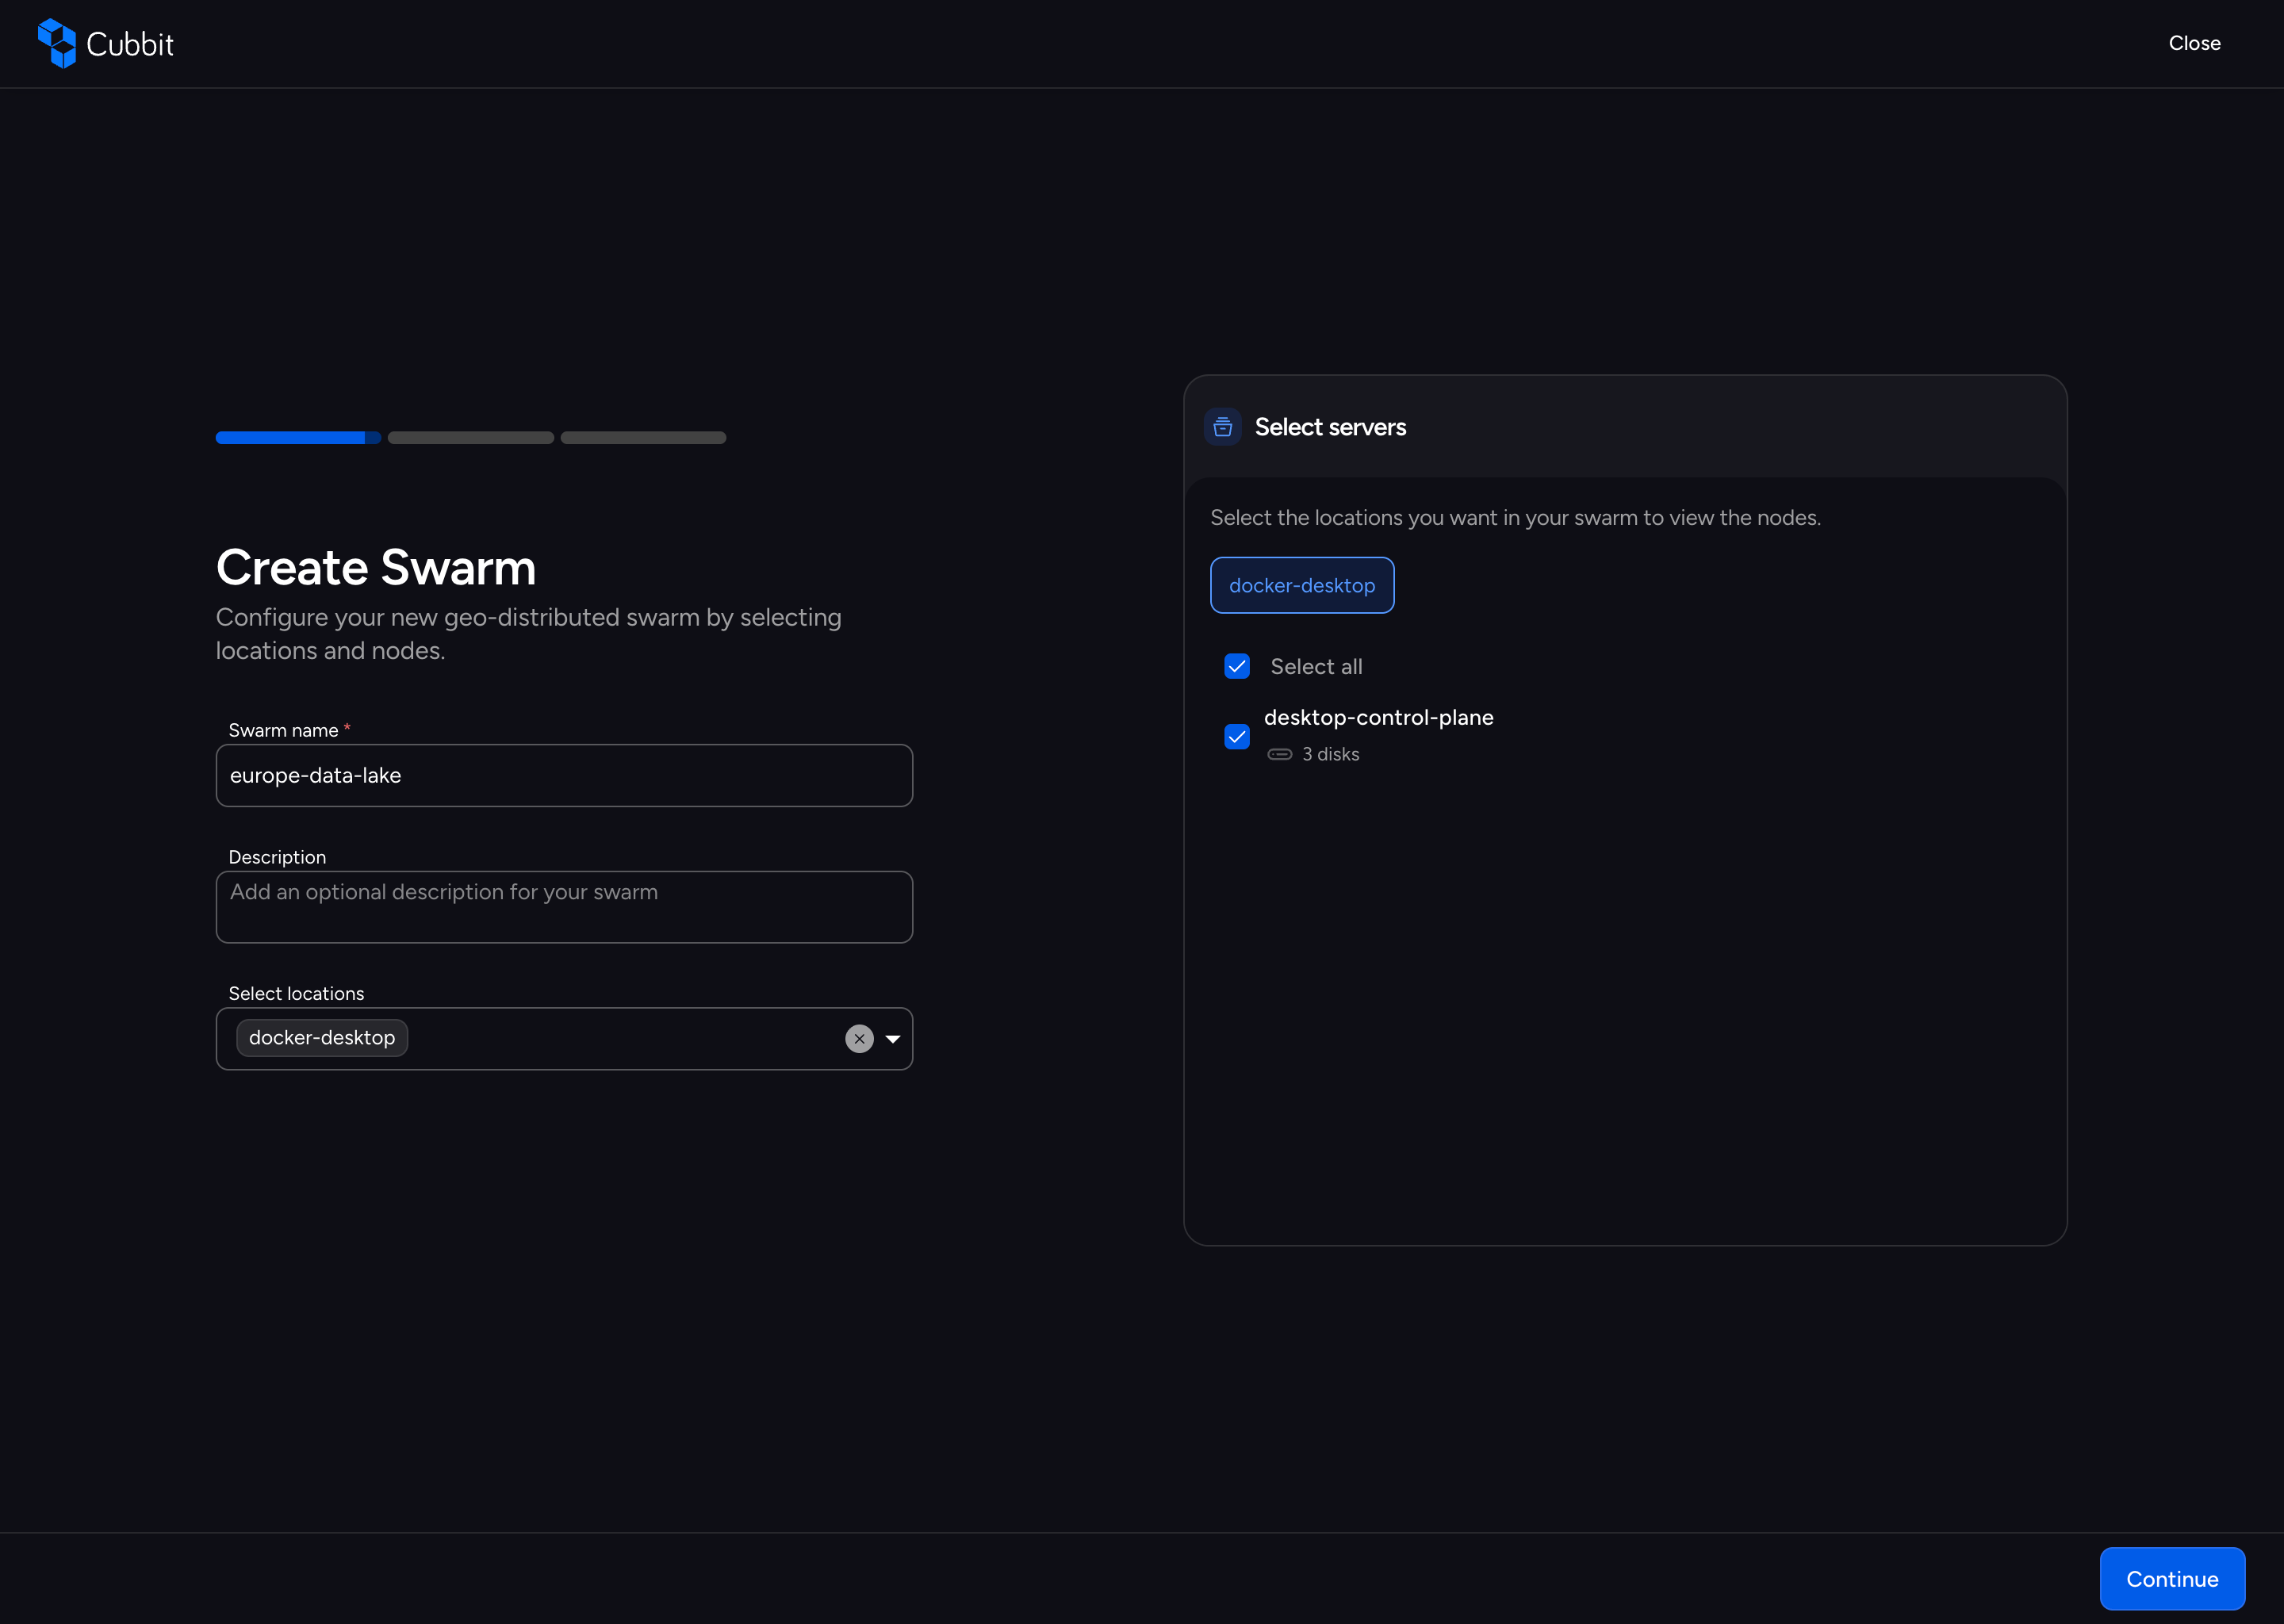
For each node, you can see:
- Node identifier
- Number of disks available for each node
Select the nodes you want to include in your swarm by checking the corresponding boxes.
Click Next to proceed to Redundancy Class configuration.
Redundancy Class Configuration - Step 1
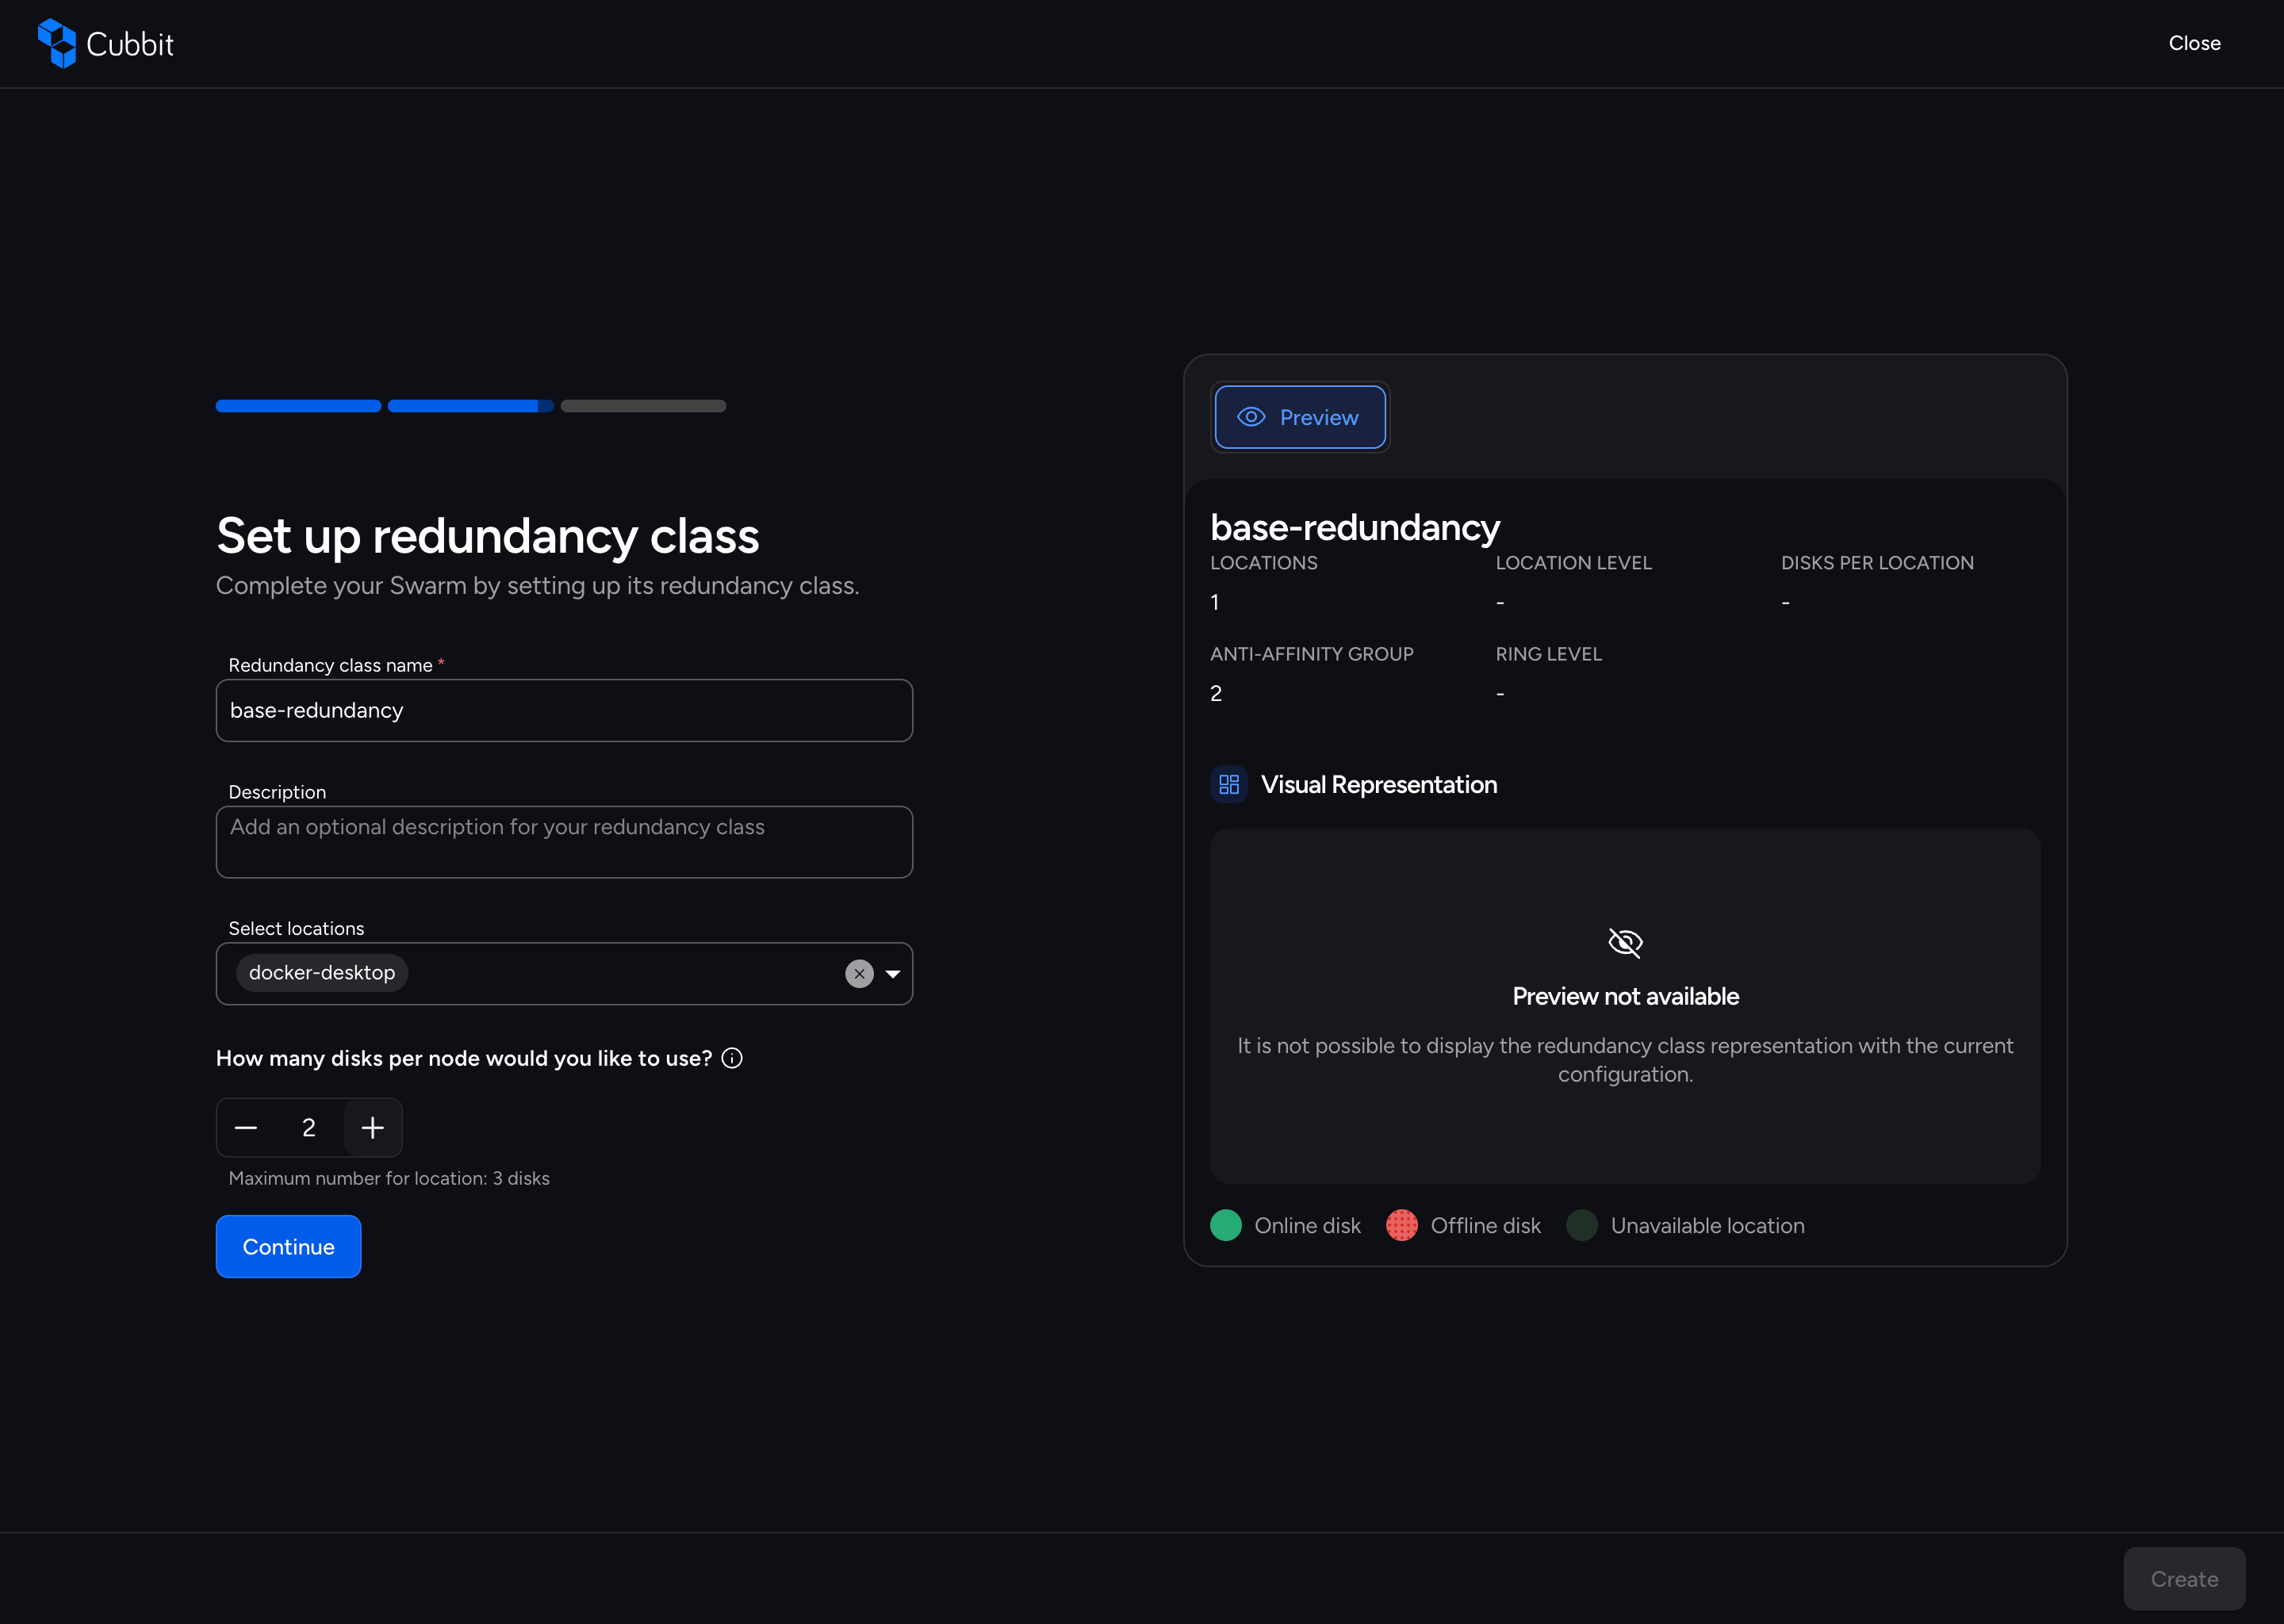
Redundancy Class is the core technology that provides data resilience in Cubbit. This step allows you to configure the redundancy parameters.
You'll need to configure:
- Name: A unique name for the Redundancy Class.
- Description: Optional description of the Redundancy Class purpose.
- Locations: The locations the Redundancy Class operates on.
- Disks per node: Also known as AAG (anti-affinity group), indicates how many disks to use per node.
Redundancy Class Configuration - Step 2
The second step of Redundancy Class configuration allows you to fine-tune advanced parameters:
- Location Level redundancy: The outer redundancy for the locations.
- Ring Level redundancy: The inner redundancy for the disks.
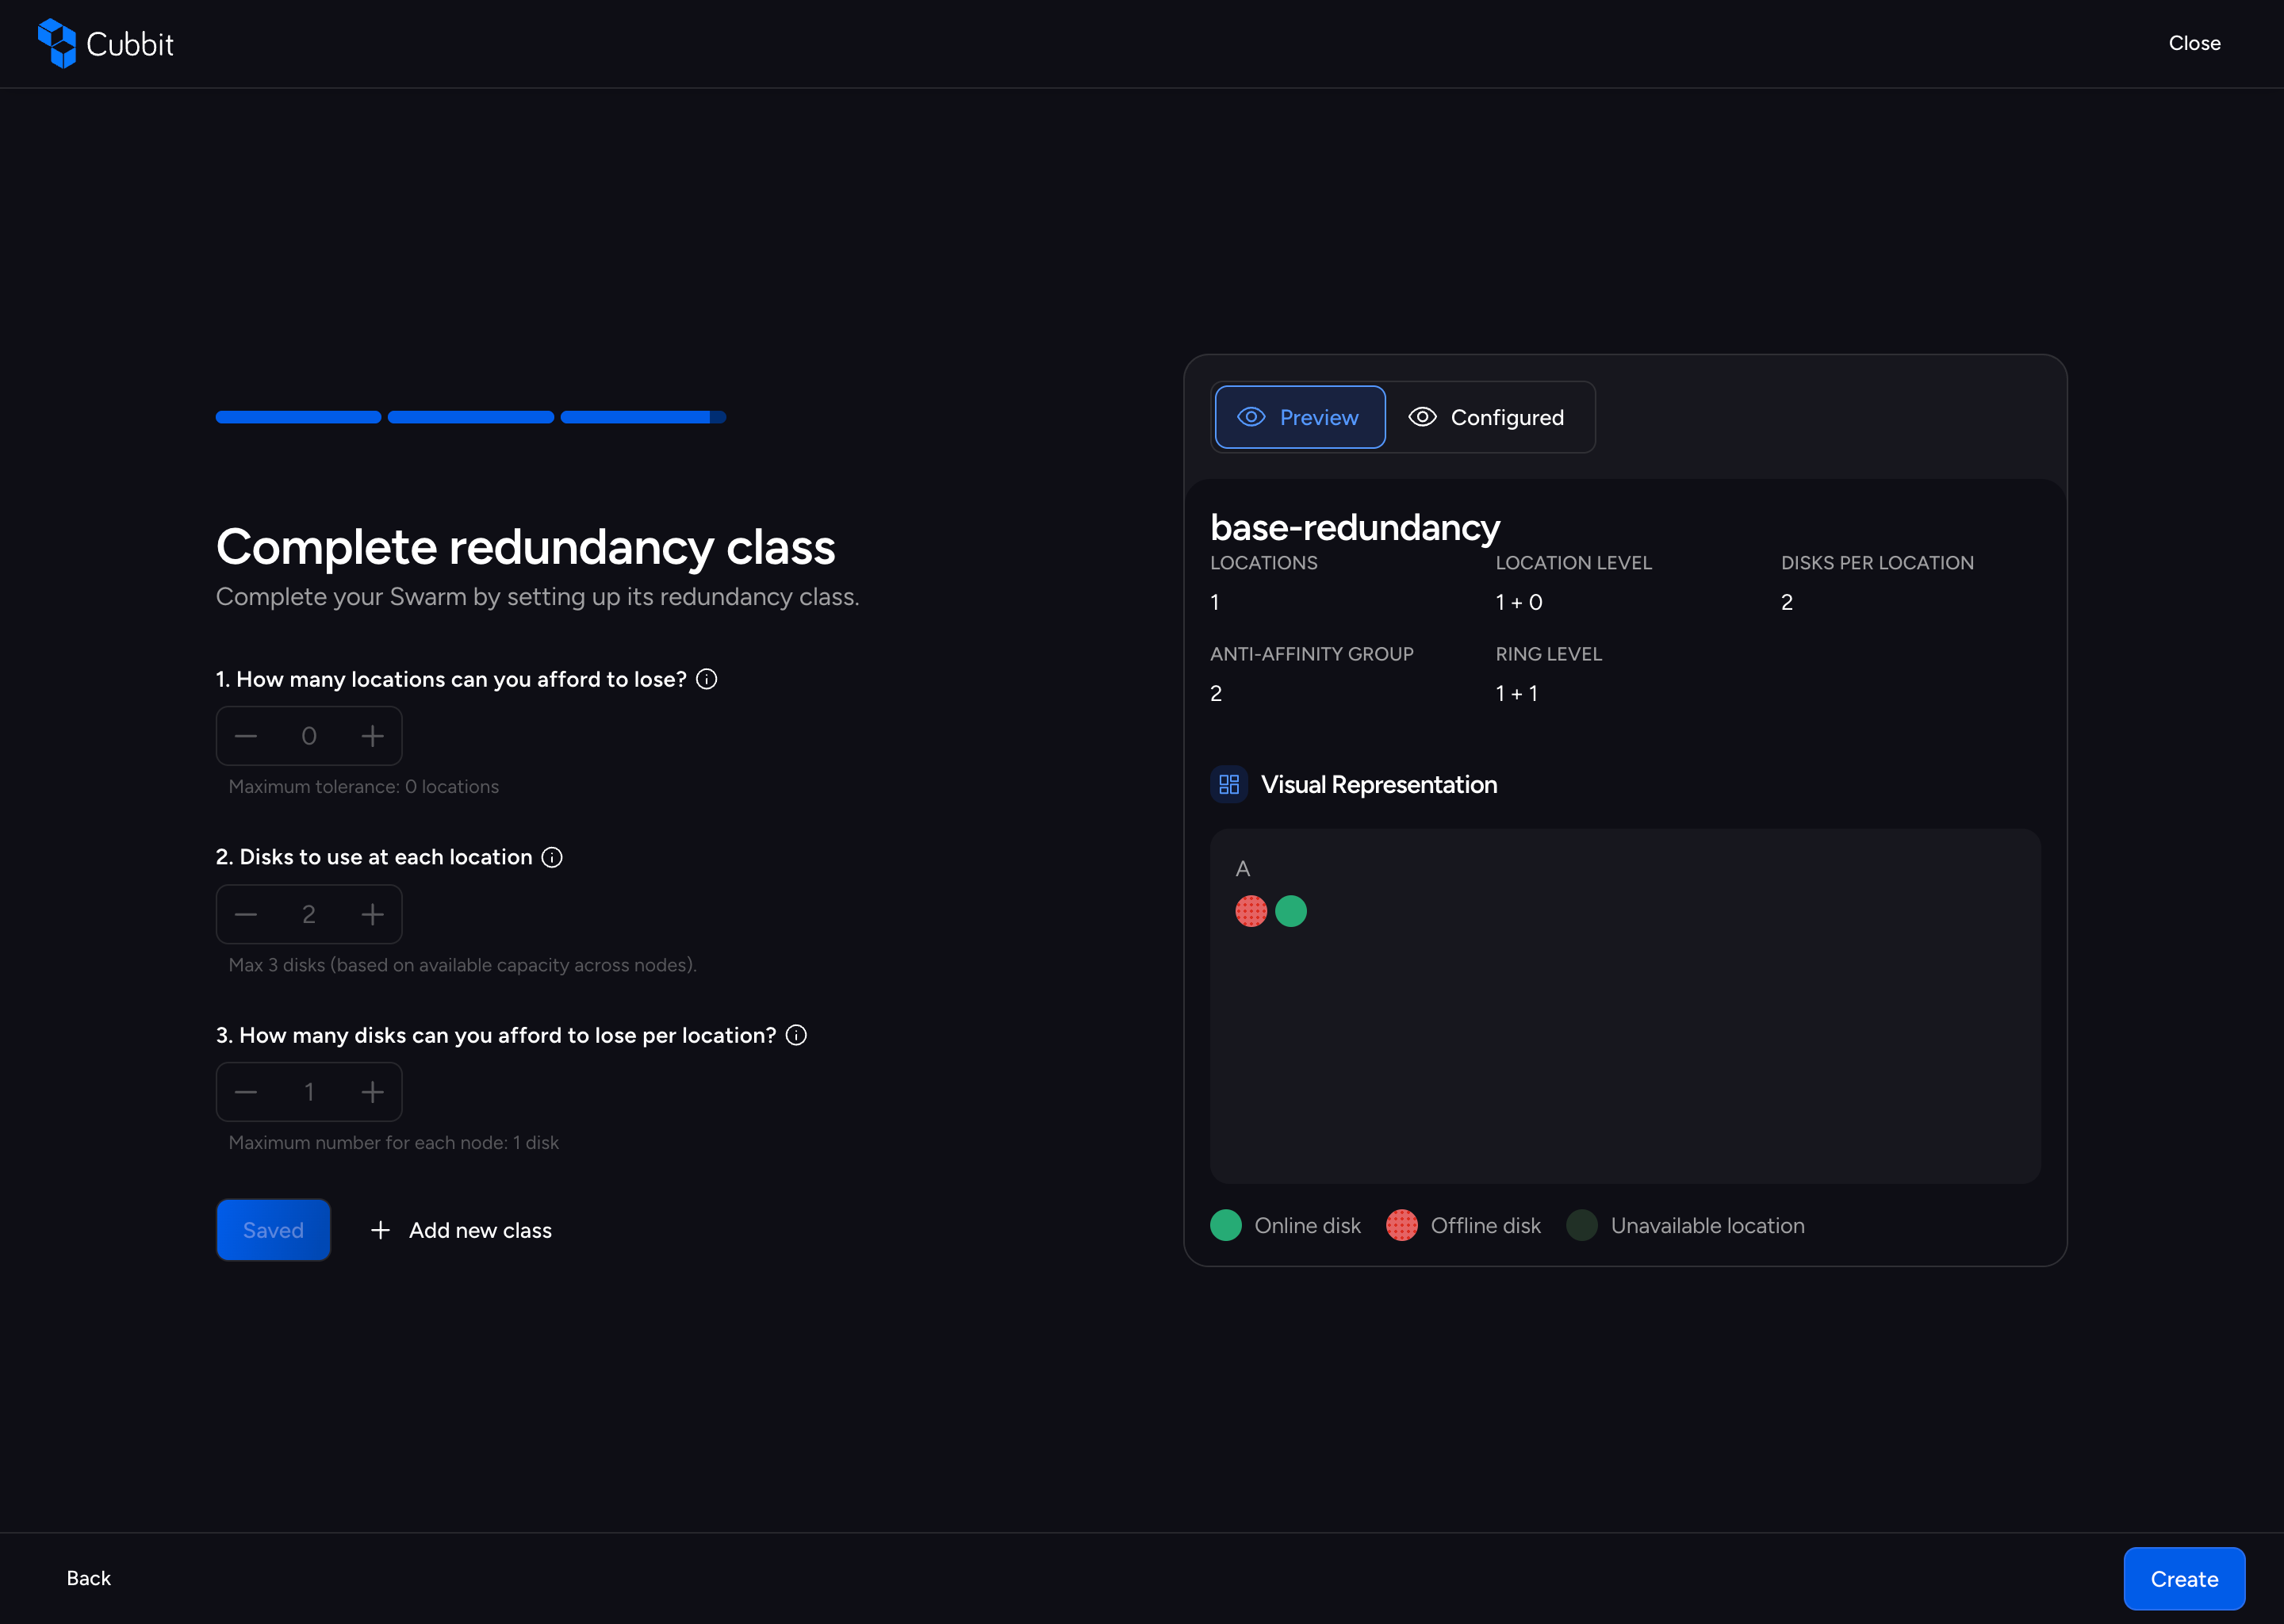
Redundancy class configuration rules
- How many disks per node would you like to use?: This determines the anti-affinity group.
- Minimum is 1.
- Maximum is determined by the disks available on each location.
- How many locations can you afford to lose?: This relates to the locations level redundancy and determine how many locations are allowed to be faulty and still having an operative system.
- Minimum is 0.
- Maximum is the total locations selected - 1.
- Disks to use at each location: Indicates the total amount of disks that will be in use for each location. It relates to the ring level redundancy.
- Minimum is 1.
- Maximum is determined by the minimum number of disks across all selected locations.
- How many disks can you afford to lose per location?: It relates to the ring level redundancy and it indicates how many disks are allowed to be faulty and still having an operative system.
- Minimum is 0.
- Maximum is the number of disks to use at each location - 1.
Click Save to save the configuration or Add new class to start over and create a new class.
Swarm Creation Progress
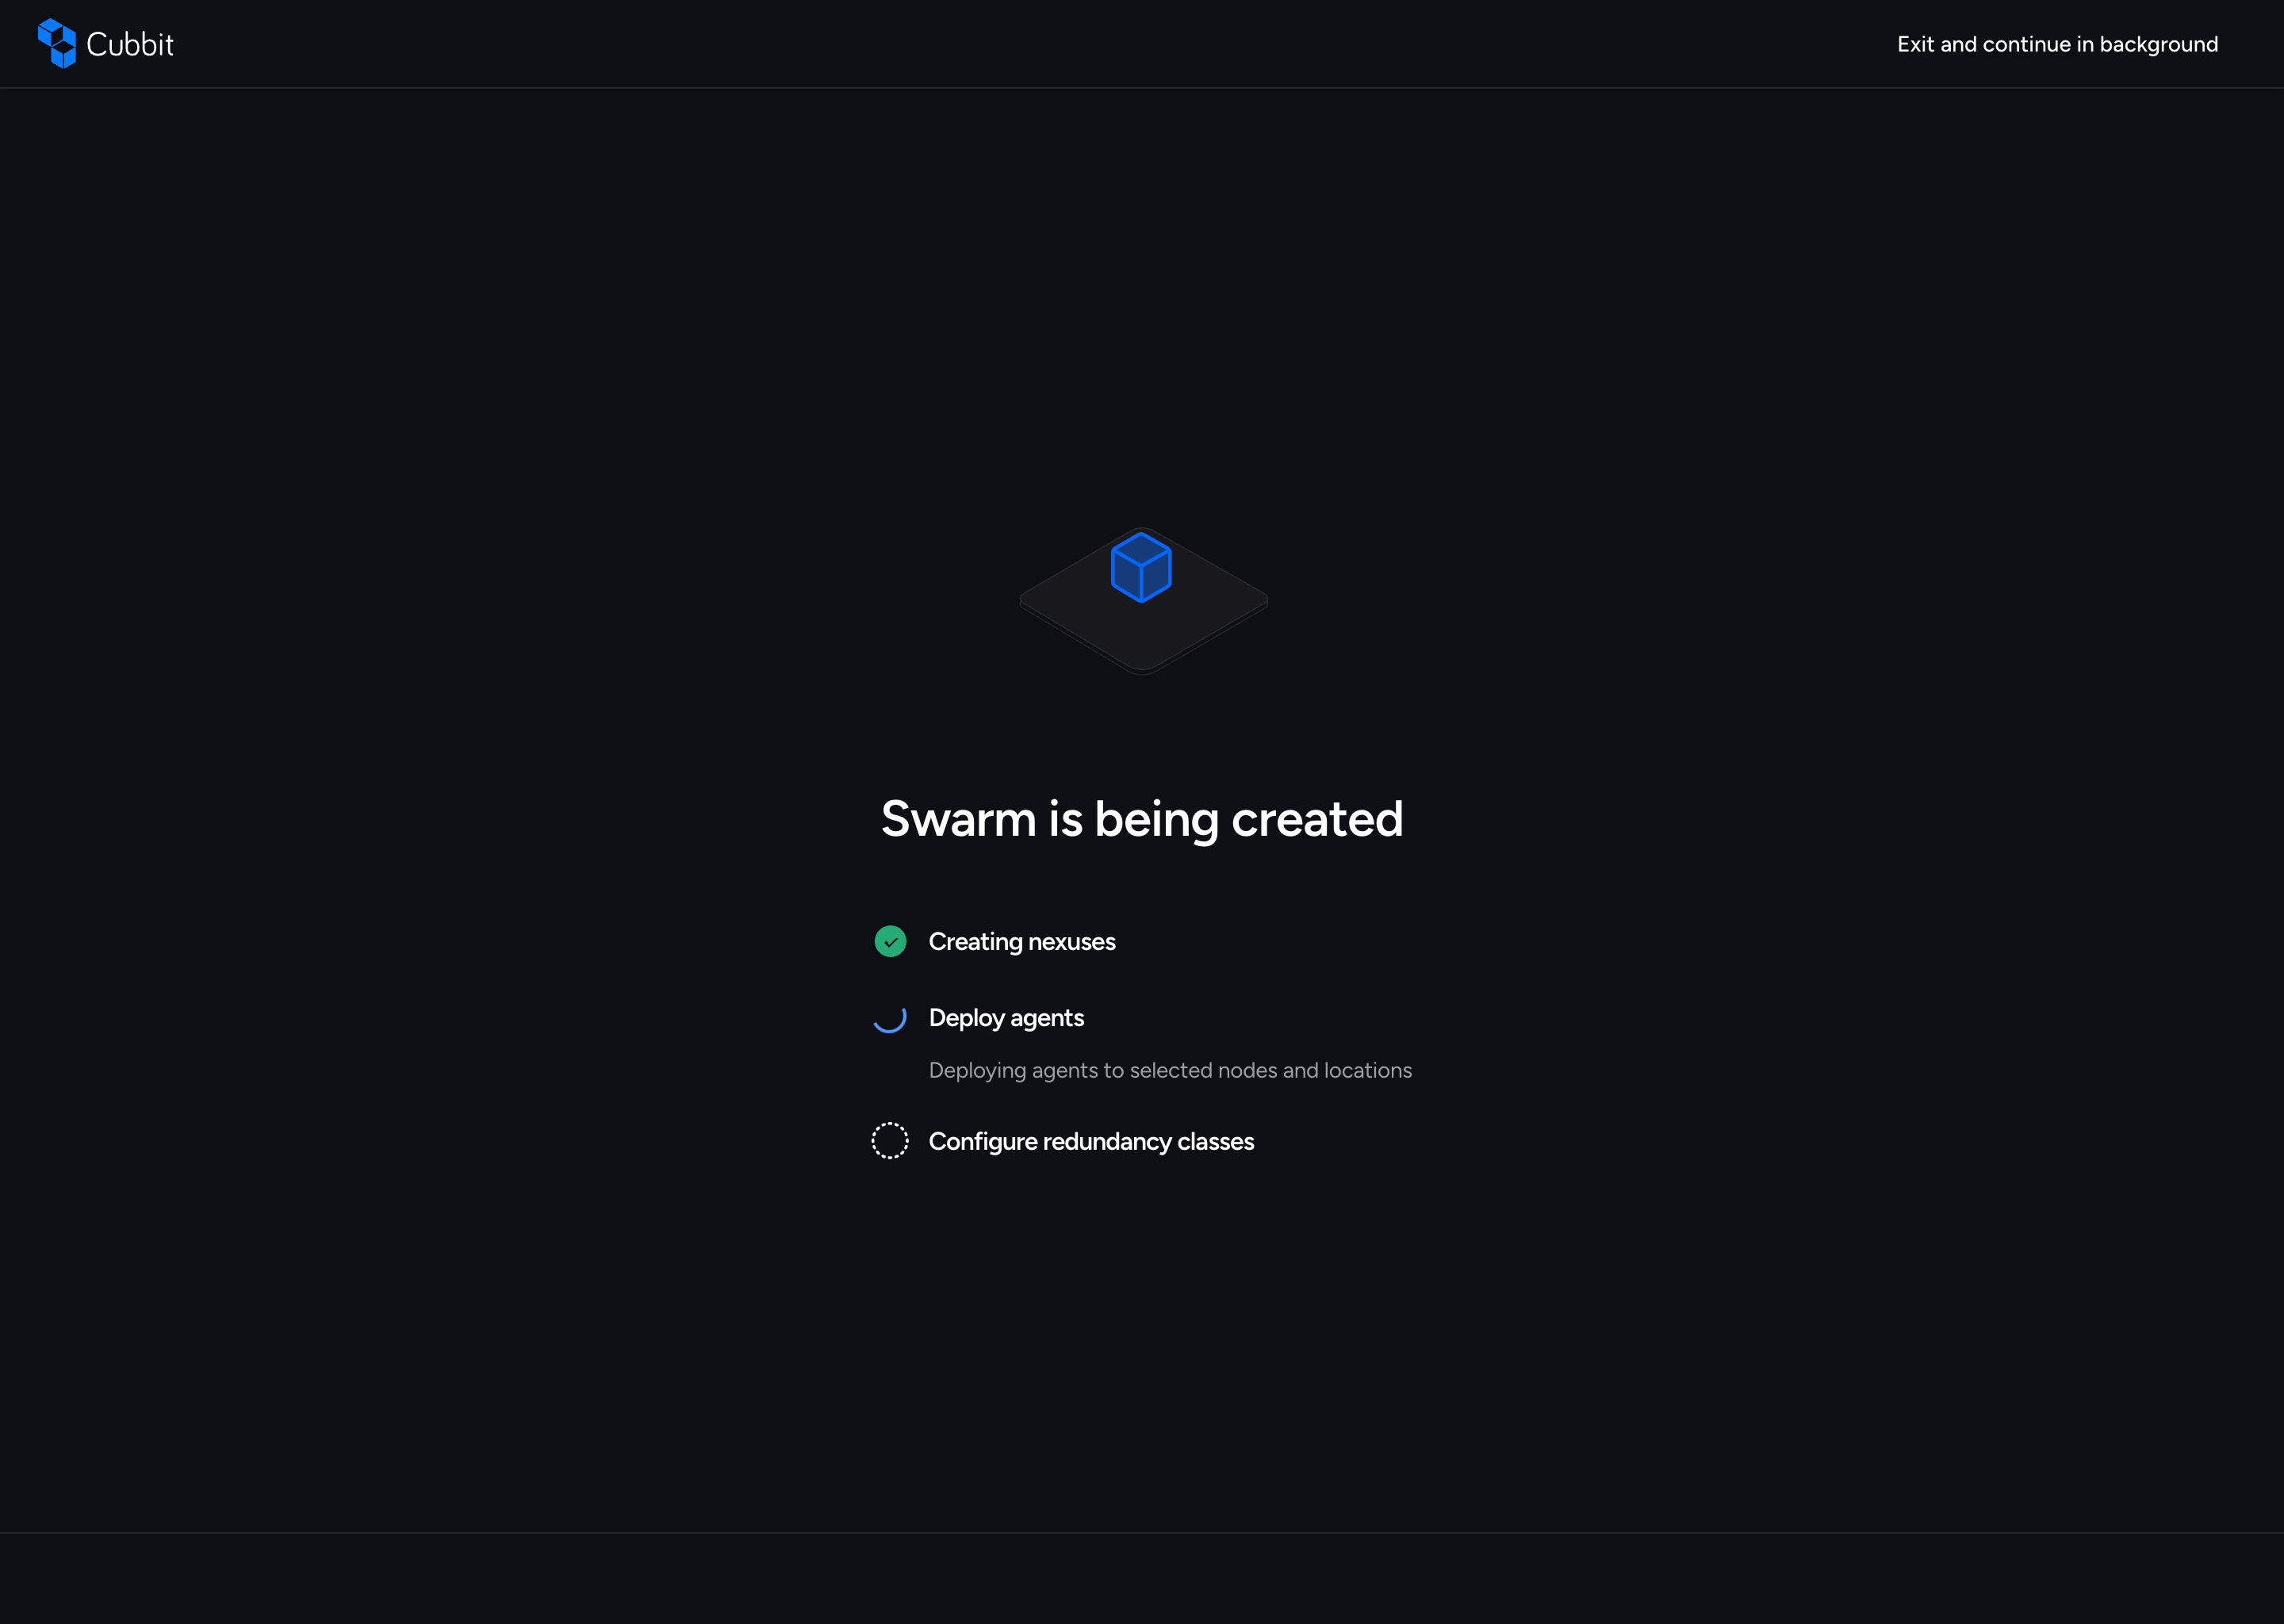
After reviewing your configuration, click Create to begin the provisioning process. You'll see a progress screen showing the various stages of swarm creation:
Swarm Creation Completed
Once the swarm creation is complete, you'll see a success screen:
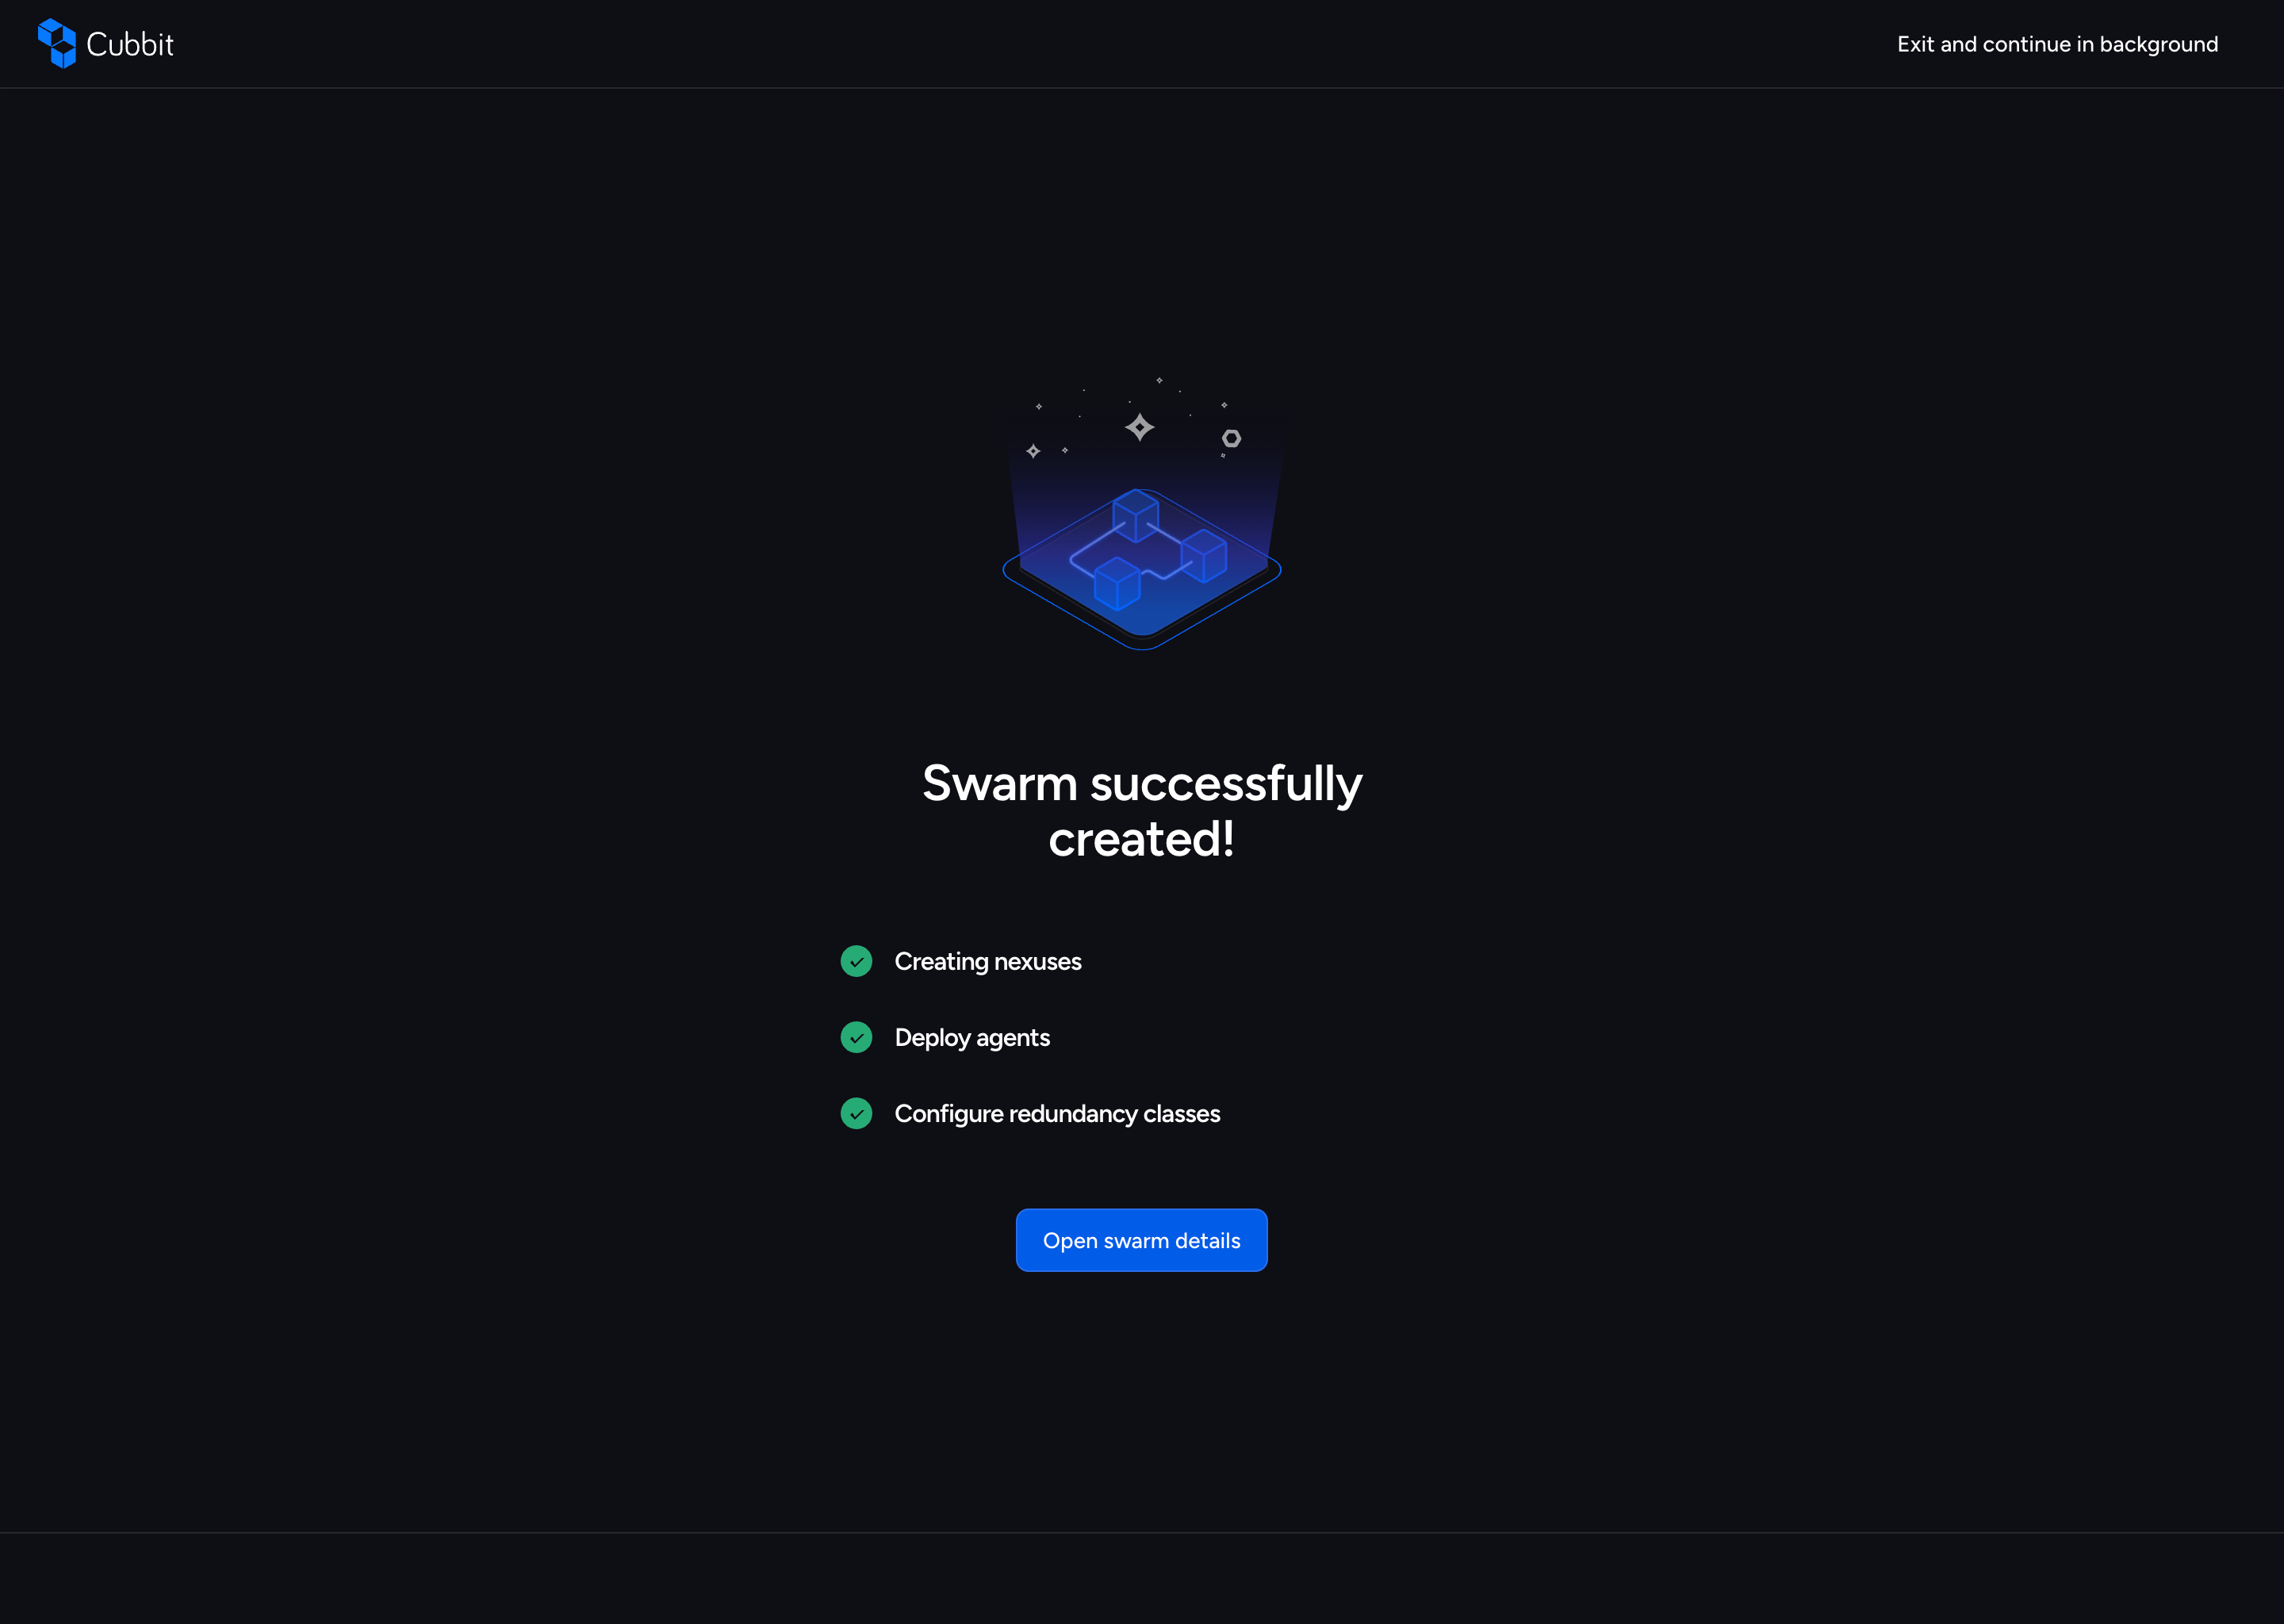
You can now:
- View Swarm: Navigate to the swarm details page to monitor metrics
- Create Tenants: Add tenants to start storing data
- Configure Access: Set up S3 Gateway access for the swarm
- Add More Swarms: Create additional swarms for multi-region deployments